
Creating World Class B&W Images With Leica Monochrome
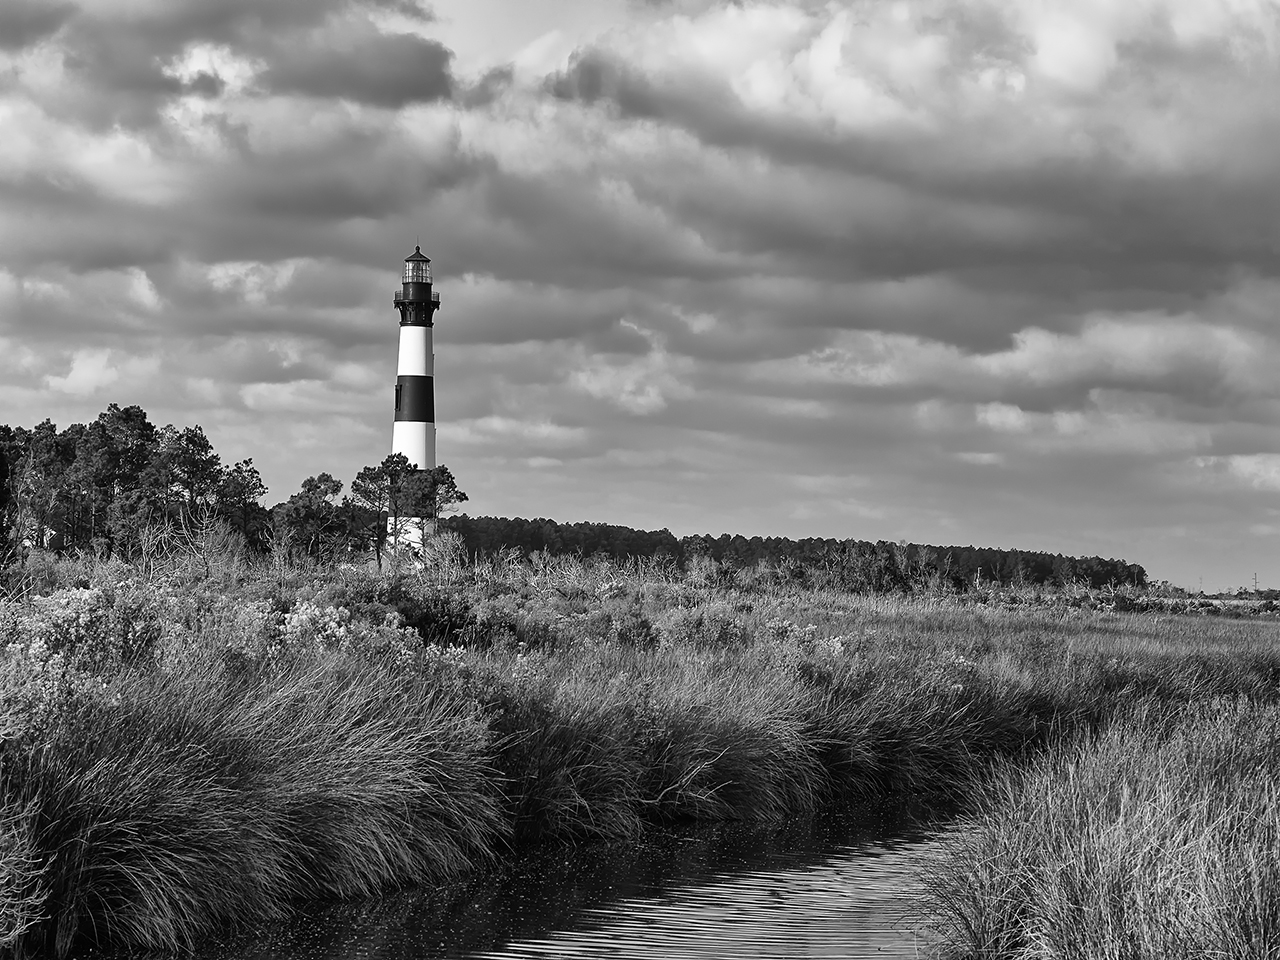
Bodie Island Light, M Monochrome
In my continuing love affair with the Leica M Monochrome camera system I have learned more each day towards creating amazing etherial B&W art… Keep in mind that I have been shooting B&W film (35mm, 6×7 and 4×5) for several decades and know and understand the process very well. But using the Monochrome is such an easy progression that it seams as though the camera is leading me down this path on its own. Yes there is some small post processing to be done using Nik Filters Silver EFX and once in a while I will add some Viveza as well, but for the most part it is almost perfect out of the camera as long as you get the exposure correct in the shooting!
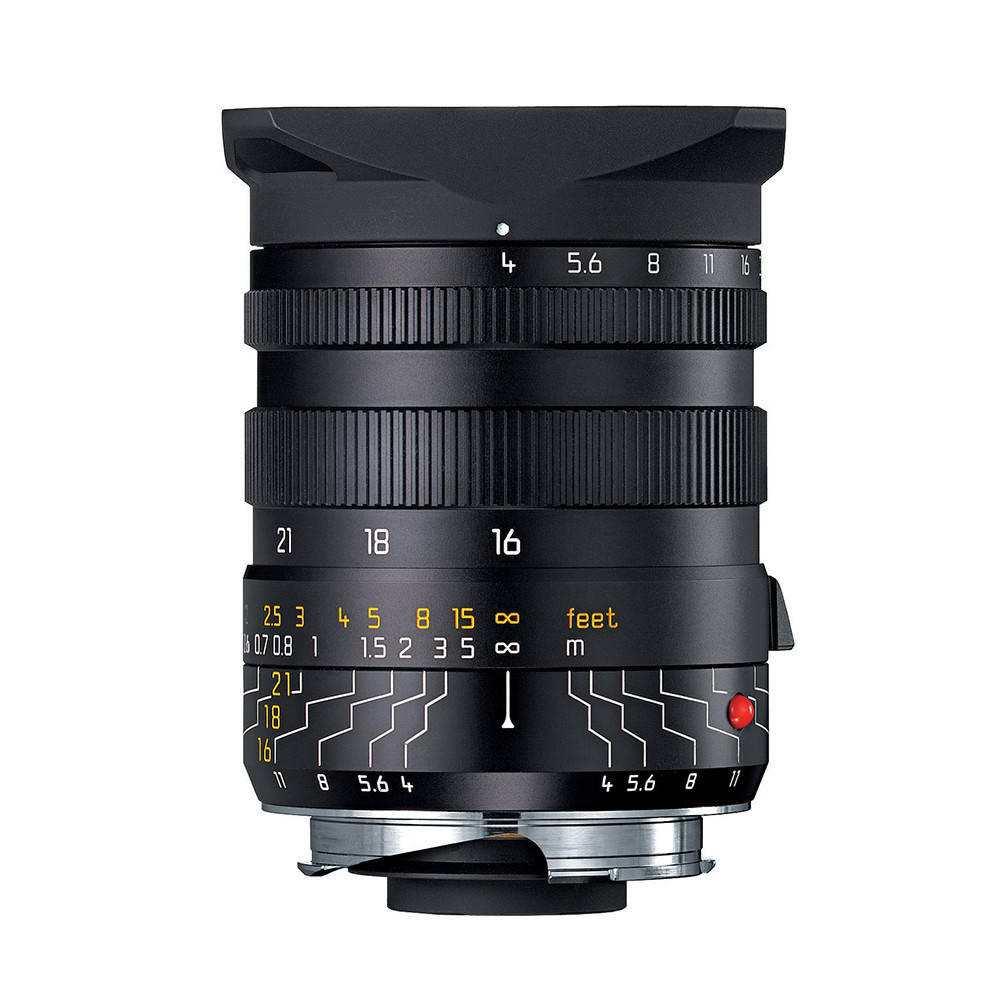
Leica Tri-Elmar 16 – 18 – 21 mm Lens
In the image below of the shrimper Stormy Seas, I used the Leica Tri-Elmar set in 16mm. There is no image distortion from such a wide angle and it is sharp with good depth of field. When using this lens on the Monochrome you are forced to use the frankenstein viewfinder that you purchase with the lens but that is a small price to pay for such a useful lens. I also have a Voigtlander Hellar 12mm lens in the camera bag and it works very well on the Monochrome and uses an external 12mm viewfinder, but it does distort the image slightly due it its wideness but you can correct for that in Photoshop. The thing about the Tri-Elmar is that it replaced 3 separate lenses that were stolen with one small lens!
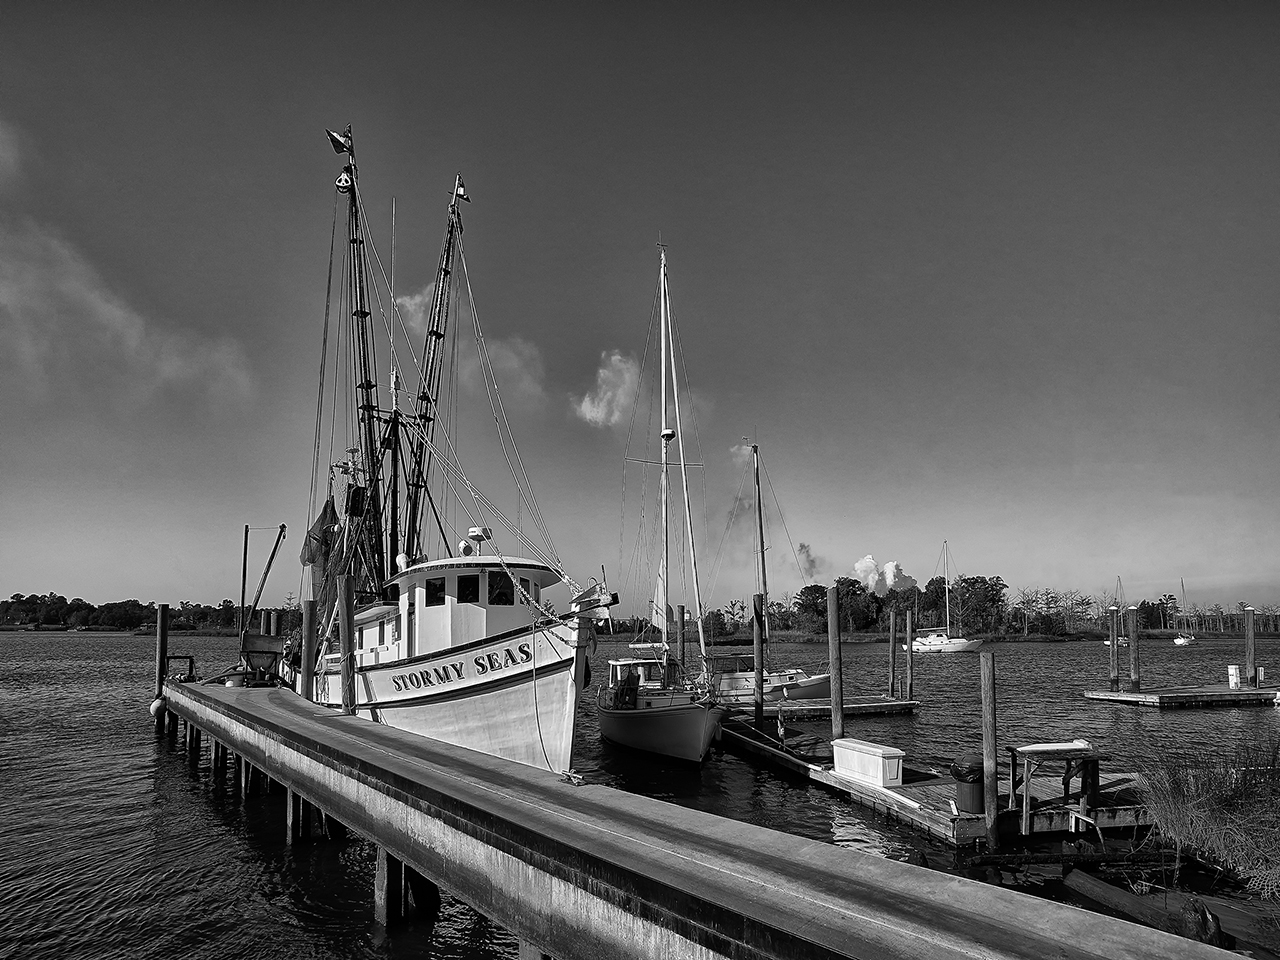
Stormy Seas Shrimper, M Monochrome with Tri-Elmar at 16mm
Using a fast lens like the 50mm Summilux ASPH for the image below of the Roanoke River Lighthouse allows you to hand hold on dark or stormy days and still get crisp images that jump out at you! For this image I also had a yellow filter attached to bring out the structure of the clouds. This is one of the HUGE pluses of the Monochrome in that it reacts to the standard B&W filters the same way as film does!
Roanoke River Lighthouse, M Monochrom
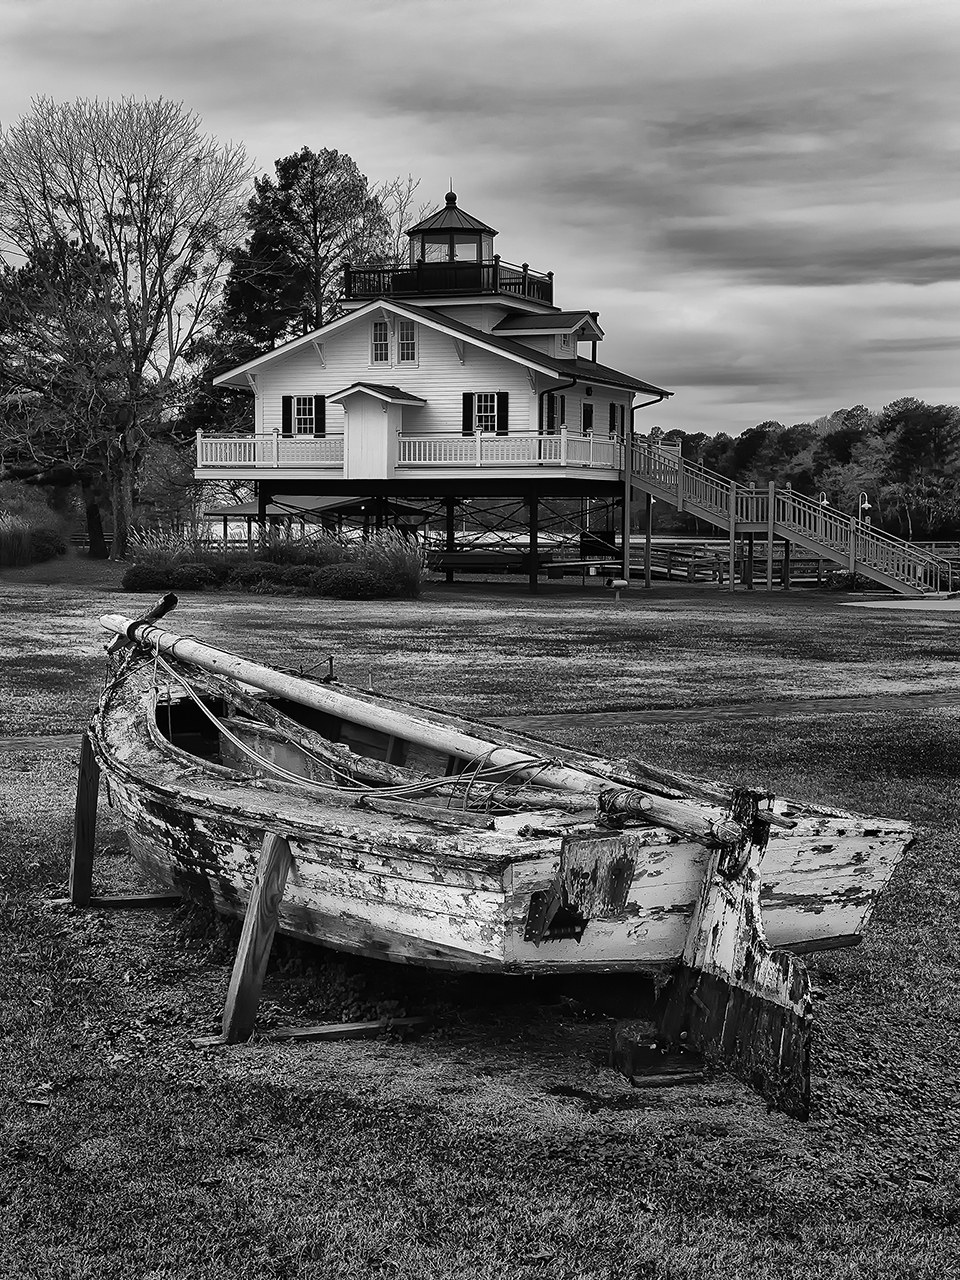
But as always my main use for the camera is long exposures which is where my true love lives! Being able to take ocean shots and smooth out the waves is exciting beyond words and the Monochrome does a great job of it with its 4 min bulb limit. Look at the image below of the (another version) Roanoke Marshes Light House. I was there when the light was on and each time it circled it created another slightly offset star effect. It allows me to create images full of wonder and depth!
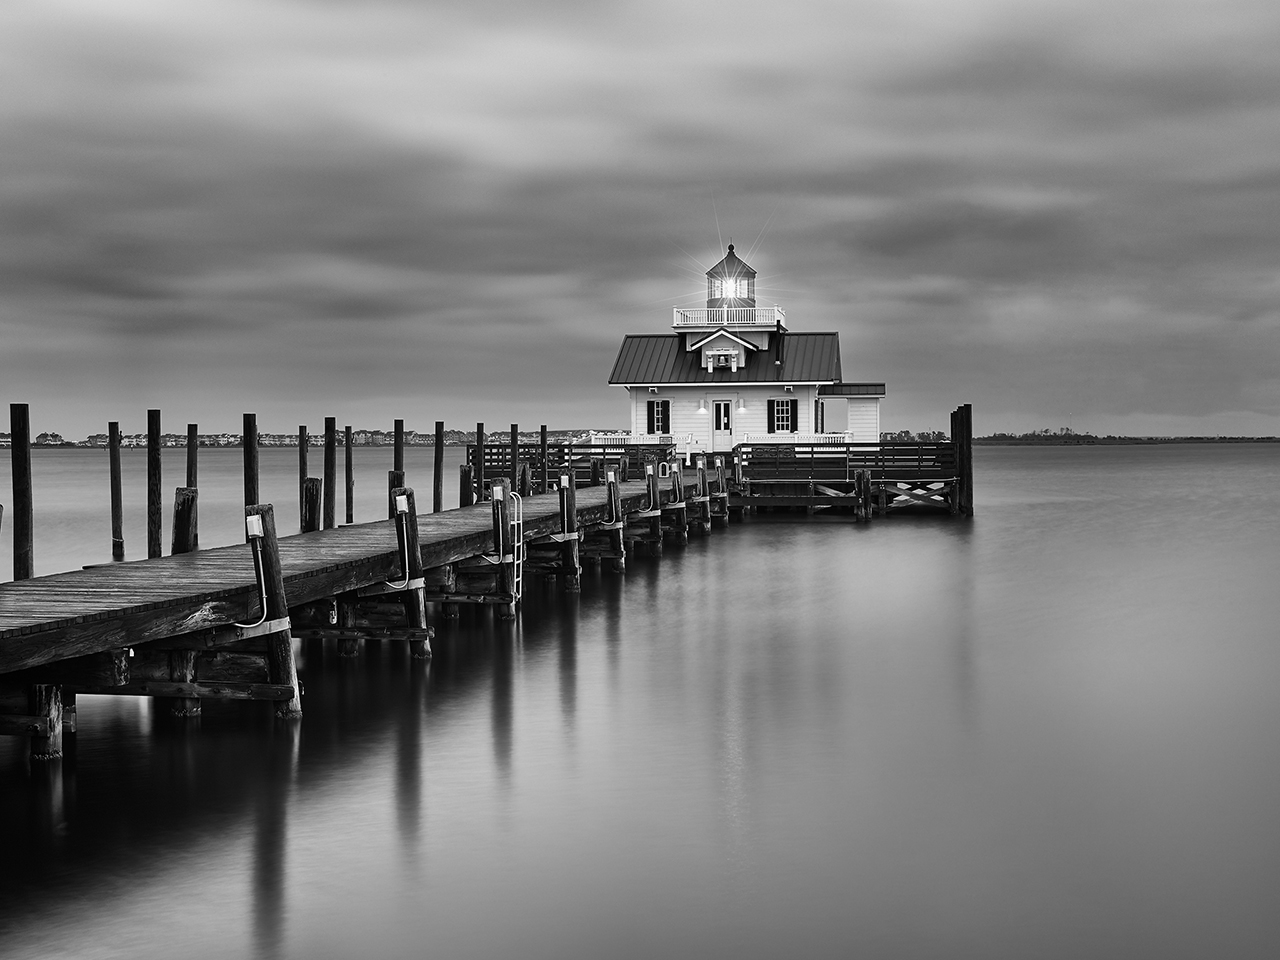
Roanoke Marshes Lighthouse with operating Light, 16 second exposure, M Monochrome
The implied stillness of the water with the graduated reflections create an image full of mood and depth. This is one of my favorite images of this Light House and the fact that during the 16 second exposure the light revolved around 3 times to generate 3 slightly offset star patterns just add more mood to it. This particular shot was done with a B+W 103 3 stop ND filter to allow the longer shutter speed at f/8 for sharpness with the 50mm Summilux ASPH lens!
Now let me share a detail shot of a fishing boat just up the island from the Light House. It is simple yet tells a complex story of the boat and job.
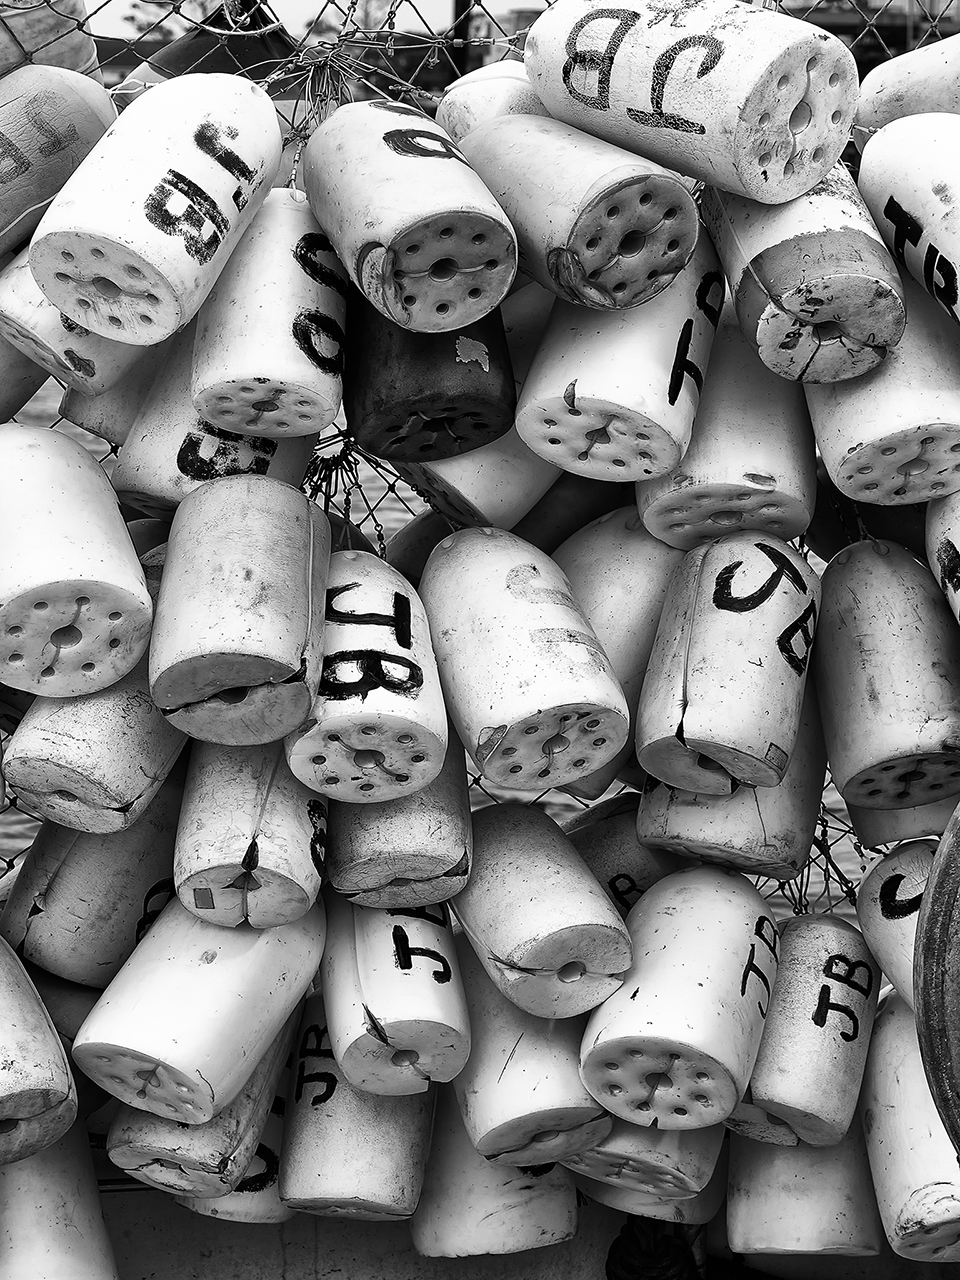
Fishing Float, M Monochrome
I love the textures of the image and the sharpness. The texture on the surface of the individual floats are great and perhaps would have been better served by a closer shot. It was taken with the Macro Elmar 90mm lens (a great lens to invest in) and was done on the tripod!
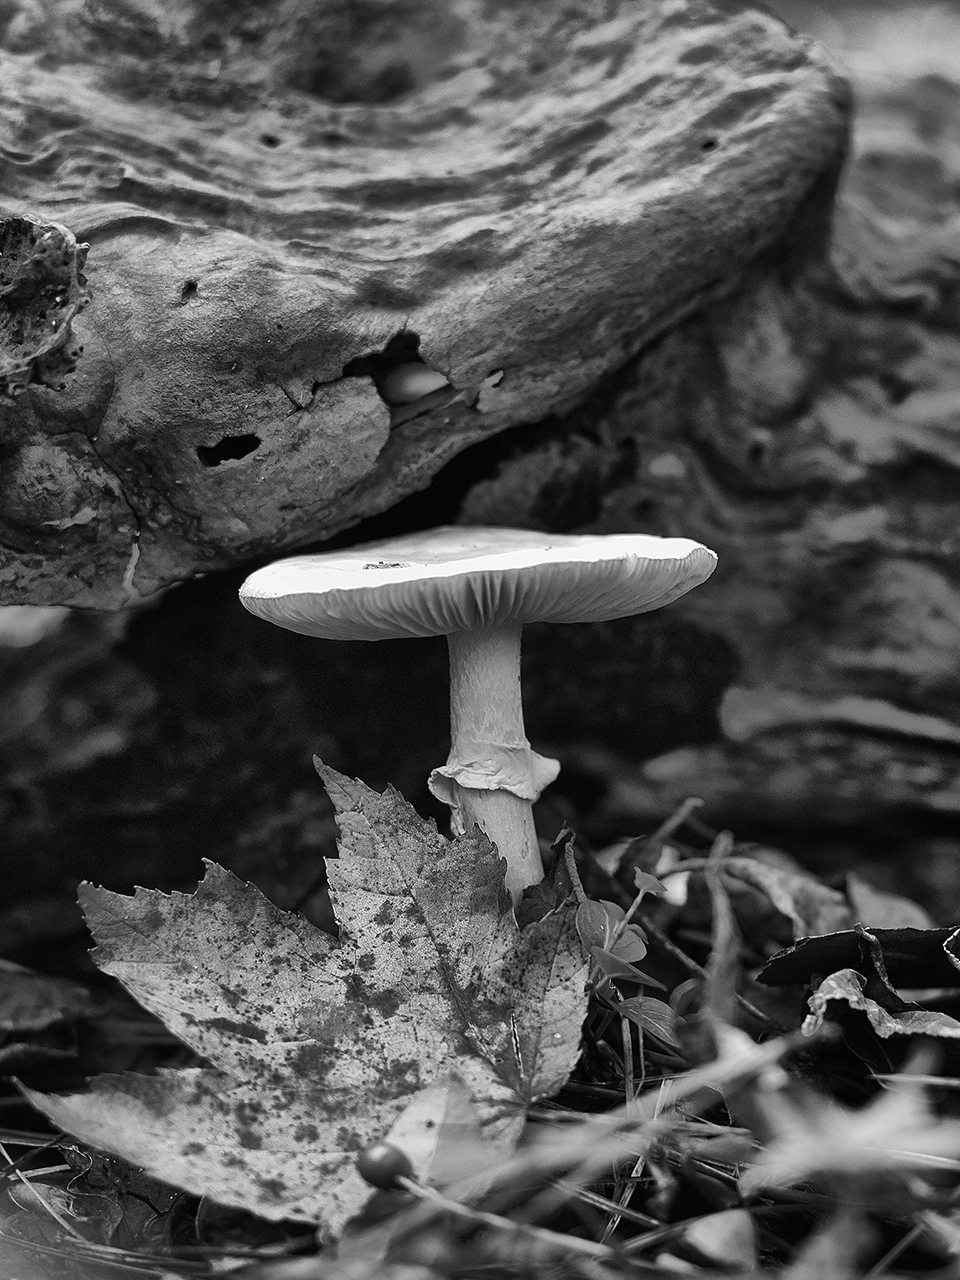
Mushroom, Macro, M Monochrome with Macro Elmar 90mm plus macro adapter
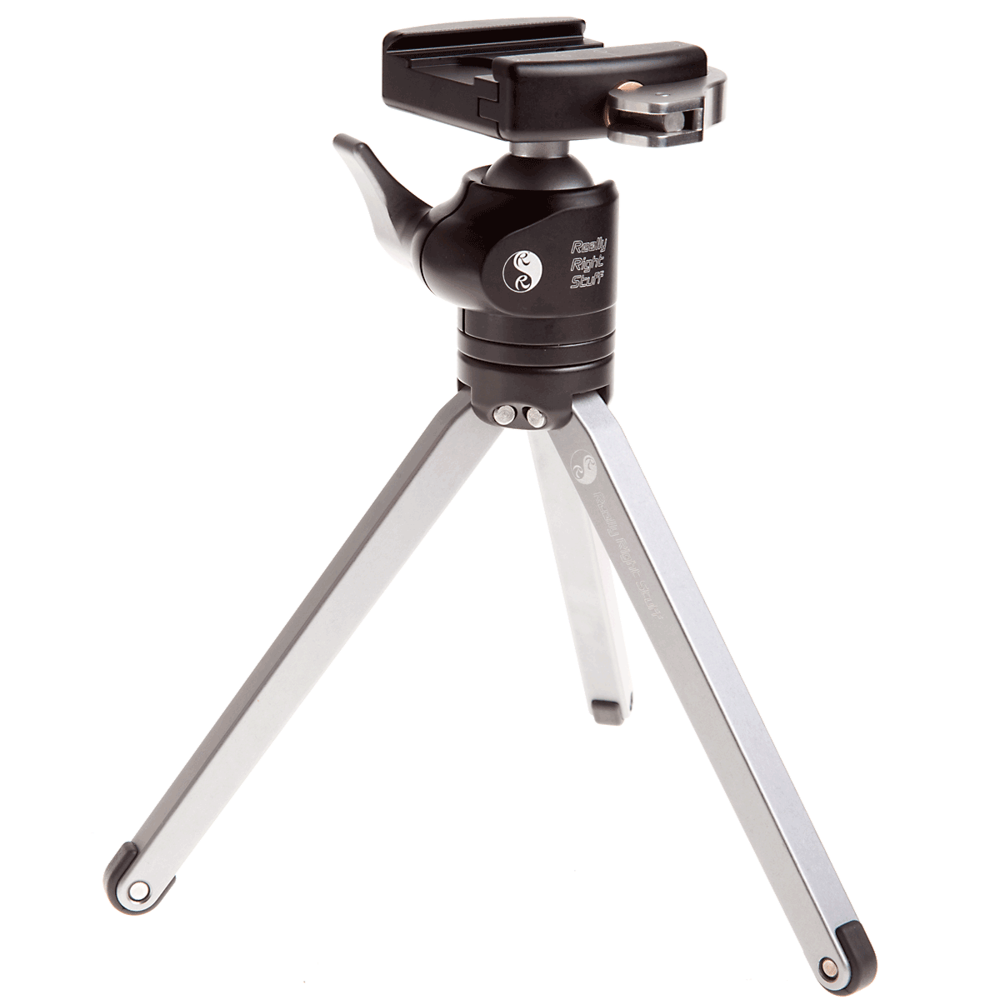
Really Right Stuff TF-01 and Ball Head
Continuing with the 90mm Macro Elmar I give you a closeup image taken just as I left the Outer Banks. This mushroom is only about 2 inches tall and I had to lay down under a log to get it. Yes a tripod was used but it was the Really Right Stuff table pod which is an amazing tool to have in your kit for just this sort of work Look at the textures on the bottom and stalk of the mushroom. This 90mm lens is the only 90 that I will ever buy for my Leica cameras!
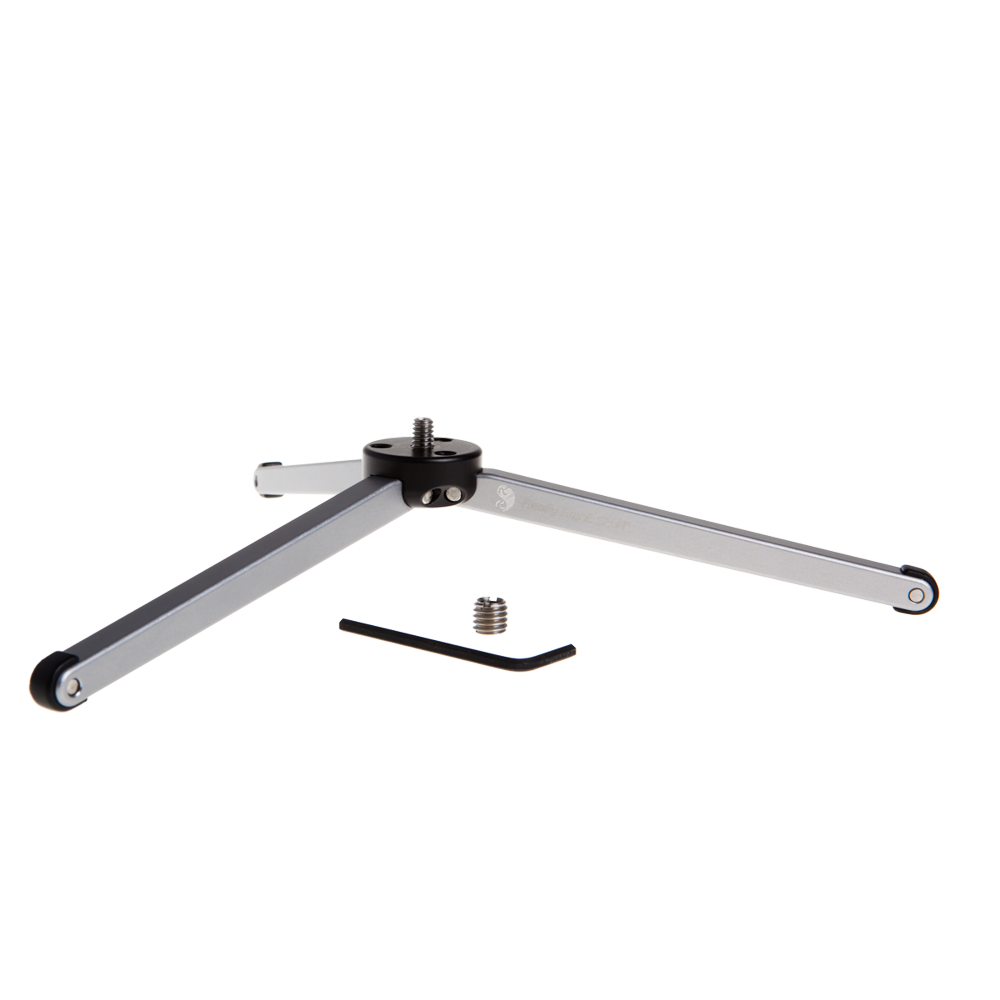
Really Right Stuff TF-01
I hope that you enjoyed this last dedicated post on the Leica M Monochrome camera. I will have many more images to share from it in the future but I think that you are likely getting tired of dedicated posts!

Now much else to say but, “Wow!”
Beautiful work.
Thanks for the kind comment Roger! It is such a fun camera!!
Lovely shots. I esp like the Roanoke River Lighthouse image. I love the area. You should do a workshop here.
Frank, we do! Every year for the past 3 we visit this spot, look for this workshop in November of 2015 again! You would be most welcome to join us! Thanks for the comments!
While it is probably obvious to all of your readers, the inherent sharpness advantage of this monochrome camera emanates from its lack of anti-aliasing filter that deliberately blurs (however slightly) the image in essentially all other cameras.
Another advantage is going to be sensitivity — in a color camera, each pixel sees the scene through a filter (usually red, green or blue) and thus gets only 1/3rd the photons that otherwise would be available. Removing the color filter grid lets all of the photons hit each pixel of the sensor. Obviously this fact alone is going to approximately triple your sensitivity without additional noise.
You can test this theory easily enough; photograph something high contrast with a conventional, but good quality color digital camera and convert the image to monochrome; then do the same with the monochrome camera. Zoom in with high magnification on a corner and the Leica will probably be “pixel sharp”, going from a white pixel to a black pixel adjacent. To actually do that your sample will need to be GIF, PNG or similar; not JPEG which is incapable of pixel sharpness anyway.
Once zoomed you can portray the result as jpeg of course for posting on the website, but the actual comparison should be with images that were never jpeg.
I achieve pixel sharpness by reversing the effect of the anti-aliasing filter; in other words, essentially all of the images I store to disk are reduced by half, reversing the blur induced by the anti-aliasing filter. This yields 9 megapixel images from a Nikon D800; but you’ll get 18 megapixel images just as sharp or sharper with no need to resample smaller just to get rid of anti-aliasing blur.
Thanks for the comments Michael! This is all true PLUS the fact that the brayer array of 9 color lenses requires the boarding color pixels to be guessed at by the camera software where as the monochrome sensor has no array and each image well is a true 16 bit representation of the actual data!!
A great post — Like you, I am in love with my MM more and more every day. A year of bliss shooting the Monochrome. Beautiful images, thanks for sharing.
Thanks for the nice comment Glenn!
Congratulations on your work and this blog, Mark.
I´m a digital Canon (5DMIII system) shooter but I´m getting tired of the digital process. I´ve a strange feeling that digital images aren´t real…
Even when printed.
Even when I do Platinum/Palladium prints.
Also the digital files aren´t permanent. I do carefull backups, but disks die, files became corrupted, etc. Its a cost and worries me all the time.
Shooting film is a “real RAW”, its a first backup in itself and its real. Its an object and its impossible to “look” digital, unless I do a lot of processing.
I do a lot of processing in the opposite direction, so my colour digital files look like film ,-( But I´ve the feeling of a “fake thing”.
Do this makes any sense?
I´ve been thinking about switch to a Leica M system, for a long time. Two things are a problem to me. I´m a macro shooter (not only but a lot) and the high price of the Leica system.
Maybe an M6 could be a start?
Anyway, I would like to ask you how the Monochrome files compare to 35mm B&W film?
Your Monochrome examples are amazing.
Thanks in advance for your opinion.
Best regards.
Luis, thanks for the kind comment.
I don’t have any issues between Digital and Analog, but I do enjoy the analog process much more with the exception of the Leica Monochrome. I sold all of my canon equipment several years ago and moved into the Leica world eventually and have never looked back. I really enjoy the M 240 but I have to tell you that shooting the Monochrom that I recently added to my kit is just as much fun as working in Film. I shoot at least 5 rolls of film a week (I like the Rollei IR400 film the best) but most of my film work is in 6×7 with the Voigtlander Bessa III. I do shoot with a M7 also but I get more excited with the larger negative.
I enjoy macro as well and use the Leica M 240 for that with the Macro Elmar 90mm lens or the Contax/Zeis 100mm macro which goes down to 1:1. I have recently done some closeup work with the Monochrom and the 90mm lens which includes a viewfinder mod and extension tube with good results.
As for the Monochrom vs. Film they are basically the same with the same filter results and only lacking the wet work with film.
I cannot afford two systems (Analog+digital). One or the other. Also, I do macro five times 1:1 with a special macro lens that does´t exist, as far as I know, in the Leica M system.
Its a very hard decision.
Thank you very much for your feedback about the Monochrom behavior.
Do you have any experience with Platinum prints both starting with analog negatives and now the Monochrom RAW files?
I understand perfectly Luis! I have only done Van Dyke Brown prints so far with the Monochrom, I will be doing negative workups for Platinum/Palladium this month for it! Look for a blog post soon!
breath taking
Thanks Ethel! 🙂
After an year of proofs, papers and fine tuning I´ve my first Pt/Pd print ready for a limited edition on demand. I´m working with a friend and Pt/Pd master printer (I´m not a printer myself). Do you´ve any suggestion on the packaging (study and save without any frame) for this kind of prints?
My friend and master printer is here printing for a invitation by Leica using the Monochrom camera and files:
🙂
I am doing Van Dyke Brown prints today (well step chart tests) for 2 new papers. I like to display them (VDB & Platinum) shadow box style with deckled edges held off the backing paper about 1/8 inch with a thin piece of foam core. Then matted out with about 1/2″ space around all of the deckled edges with at least 8 inches of mat on each side.
You can also dry mount them onto heavy black matt board (deckle the edges of the Platinum print) and display them in a nice cloth covered flip box that is sized to the size of the black mat.
Thanks for your suggestions .-)