
Fixing Paper Problems For Van Dyke Brown Printing
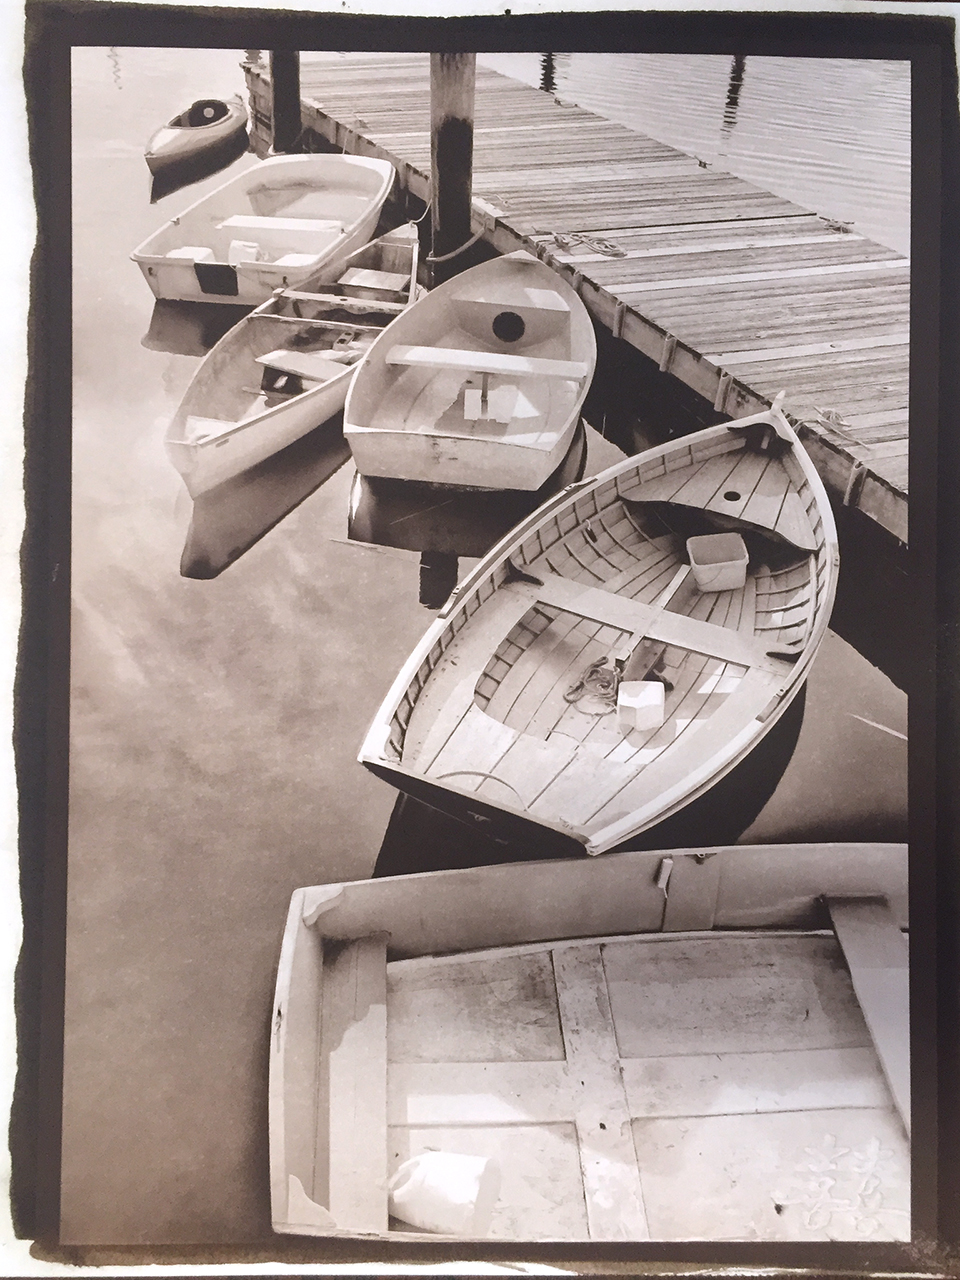
Van Dyke Brown, Dinghys, Rising Stonehenge Paper
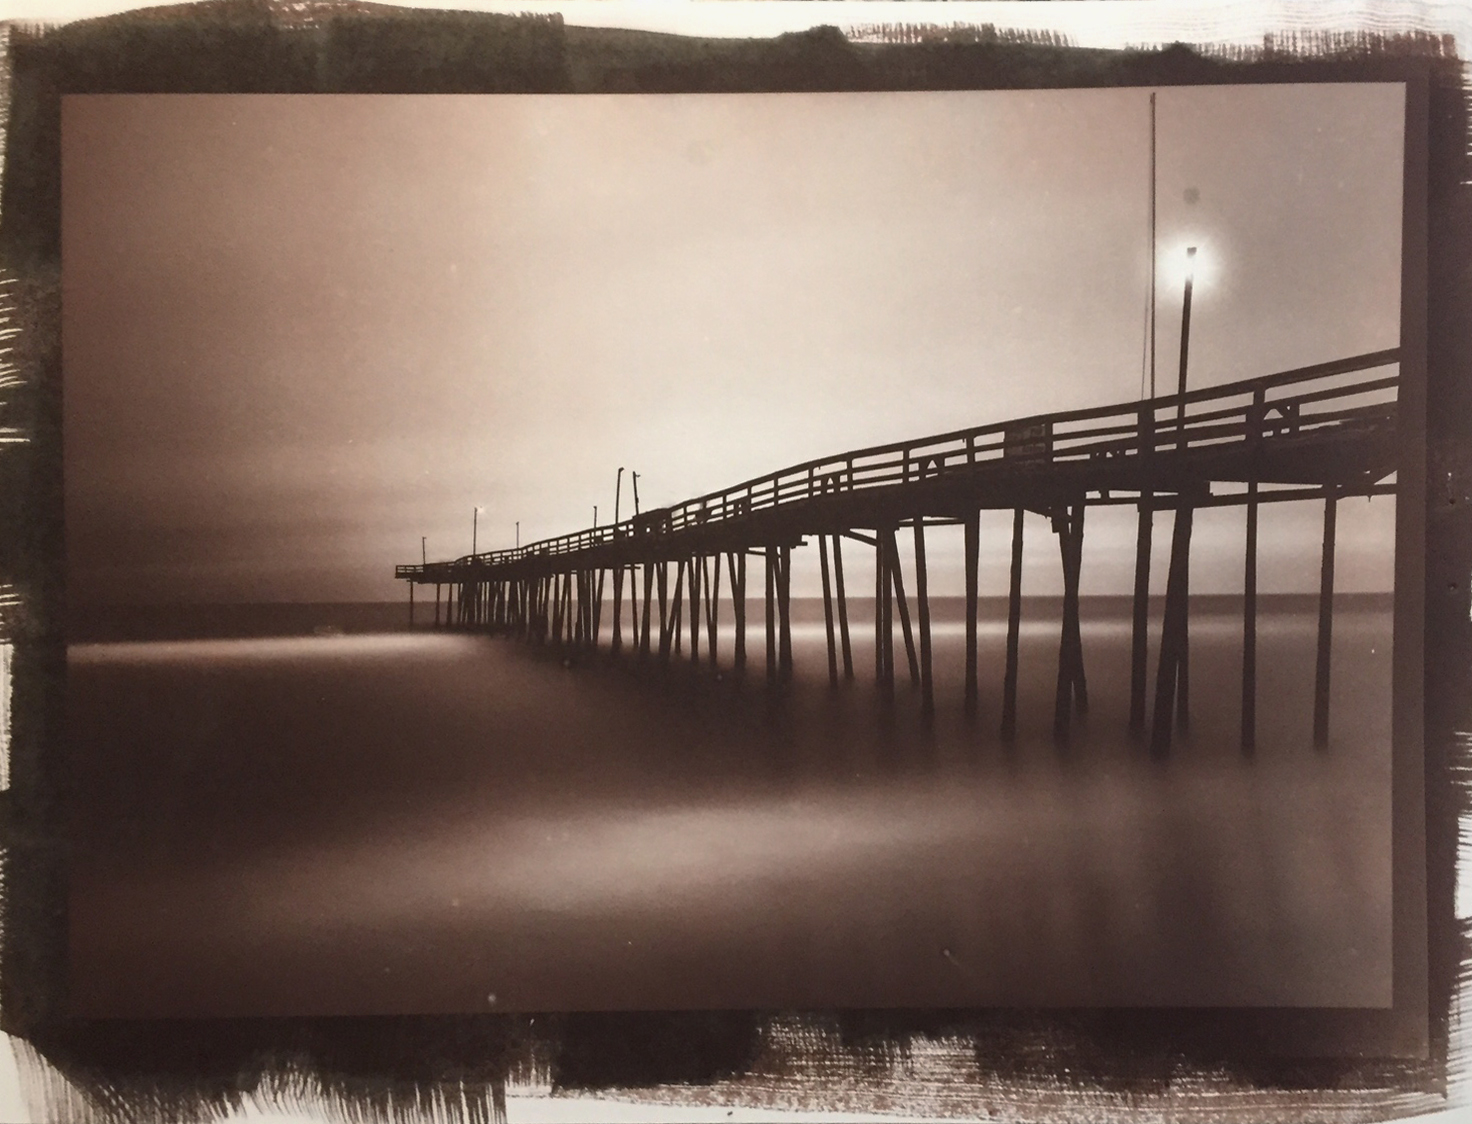
VDB, Revere Platinum Paper & Spots
In my recent printing of the 1840 Van Dyke Brown prints, I have experienced a lot of dark spots on my prints. I ordered several types of papers to try to see if it was a paper problem… I have been using Revere Platinum paper which is easy to coat (provided you use Tween 20 in the emulsion) and gives great tonality but seems to ALWAYS have dark spots all through the print!
Look closely at the image to the right. You will notice dark spots (look above the light) that go completely through the paper! This has been driving me nuts and nothing that I did to try and fix the issue ever helped.
I ordered several new papers plus tried several others that I had on hand:
- Arches Platine (on hand) I have issues coating this paper even with Tween added to the mixture. It tends to sit on the surface with no absorption into the fibers which causes it to wash off instantly in in the first water bath in long stringy tendrils of emulsion. Very little is left on the paper so it has a light chalky appearance. This paper just does not work for me in Van Dyke Brown. I keep hearing online about how much other Van Dyke Brown printers like this paper but I just do not see it…
- Cot 320 (on hand) This paper is a little better than the Arches paper in that it holds the emulsion a little better but is still washes off the surface in the 1st water bath! It is usable for Van Dyke Brown printing though… It has been recently suggested to me that I soak this paper in a 10% citric acid bath, wash it and dry it in order to get better surface adhesion and a higher Dmax. I will try this in a week or two.
- Heavy Kozo 90 gsm (on hand) Bostick & Sullivan states that this paper will work great with Van Dyke Brown. The paper is made from 50% kozo and 50% abaca. Kozo is the inner bark of mulberry tree seedlings, producing a naturally white paper fiber which is very strong and long lasting. The paper looks very promising and fun to work with especially the ultra thin version that I chose to NOT work with due to it being extremely thin and the requirement of special tools to handle it. I have seen videos of artists using it which is why I decided to purchase a few sheets to experiment with. But I have not had time to work with it yet. So look for a post specific to this wonderous paper in the future!
- Revere Platinum (on hand). This paper coats wonderfully with the addition of Tween and the emulsion does NOT wash off in the first water bath! It gives wonderful deep tones and color. The only (MAJOR ISSUE) problem with it is that it gets white and brown spots all over the paper that goes completely through the paper from front to back. These spots can totally ruin the print… I have tried everything that I can think of to fix this issue as I really like the paper but I am at a total loss.
- Rising Stonehenge (new) This paper coats great with Tween and does not wash off. There are no spots and the adjustment curve matches the one for Revere! It is a thinner paper and seems easy to damage during coating. It takes less emulsion to coat the same size as the other papers. I did find that the emulsion migrates from the coated areas to the white around the edges. I have no idea as to why but I think that if I lower the number of drops that I use for coating that it might take care of the problem. It generates a fantastic deep brown warm tone across the image and I love the final prints on it. This paper is readily available on Amazon as well as many other locations.
- Lana Aquarelle (new) All that I can say about this paper is WOW! It coats and prints the Van Dyke Brown images with amazing density and tone. It coats easily with Tween and is a heavy paper with not spotting or migration issues. This is going to be my main paper as long as I can get it. So far the only place that I have found it is at Bostic & Sullivan. The curves for the Revere paper work perfectly with the Lana!
Lana Aquarelle Paper Notes
Lets first talk about the Lana Aquarelle paper. This paper is simply amazing! It coats very well with both the brush and a glass rod as long as you add a little Tween at 25%
For a 8×12 print:
- Using a glass coating rod for a 8×12 print it takes 36 drops of VDB and 2 drops of Tween 25%.
- Using a Synthetic Sable brush it takes 72 doors of VDB and 2 drops of Tween 25%.
Once coated, I let it AIR DRY for 30 min then expose in a 12 bulb UV box in a vacuum frame for 2 to 4 min depending on the paper and negative. Usually the base exposure time is 3 min.
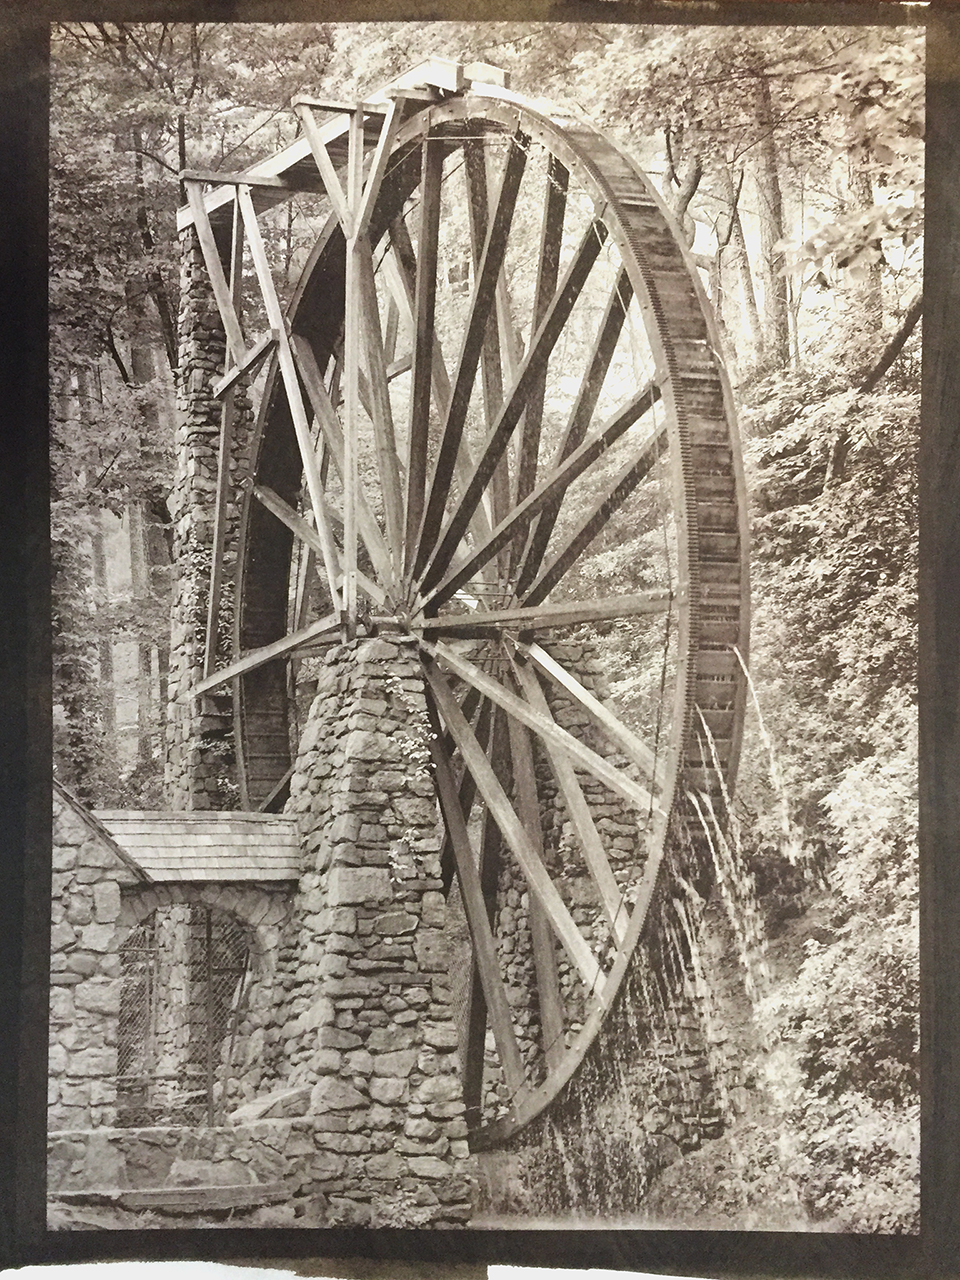
Van Dyke Brown, Berry Mill, Lana Aquarelle Paper brush coated
As I said the results from this paper is a nice warm print with great density in the black areas and the edges.
I coated four pieces of paper yesterday, two with a glass coating rod and two with a synthetic Sable brush. Both methods worked very well and gave nice even coatings. The image above was a applied with the Sable brush and the one below was coated with a glass rod.
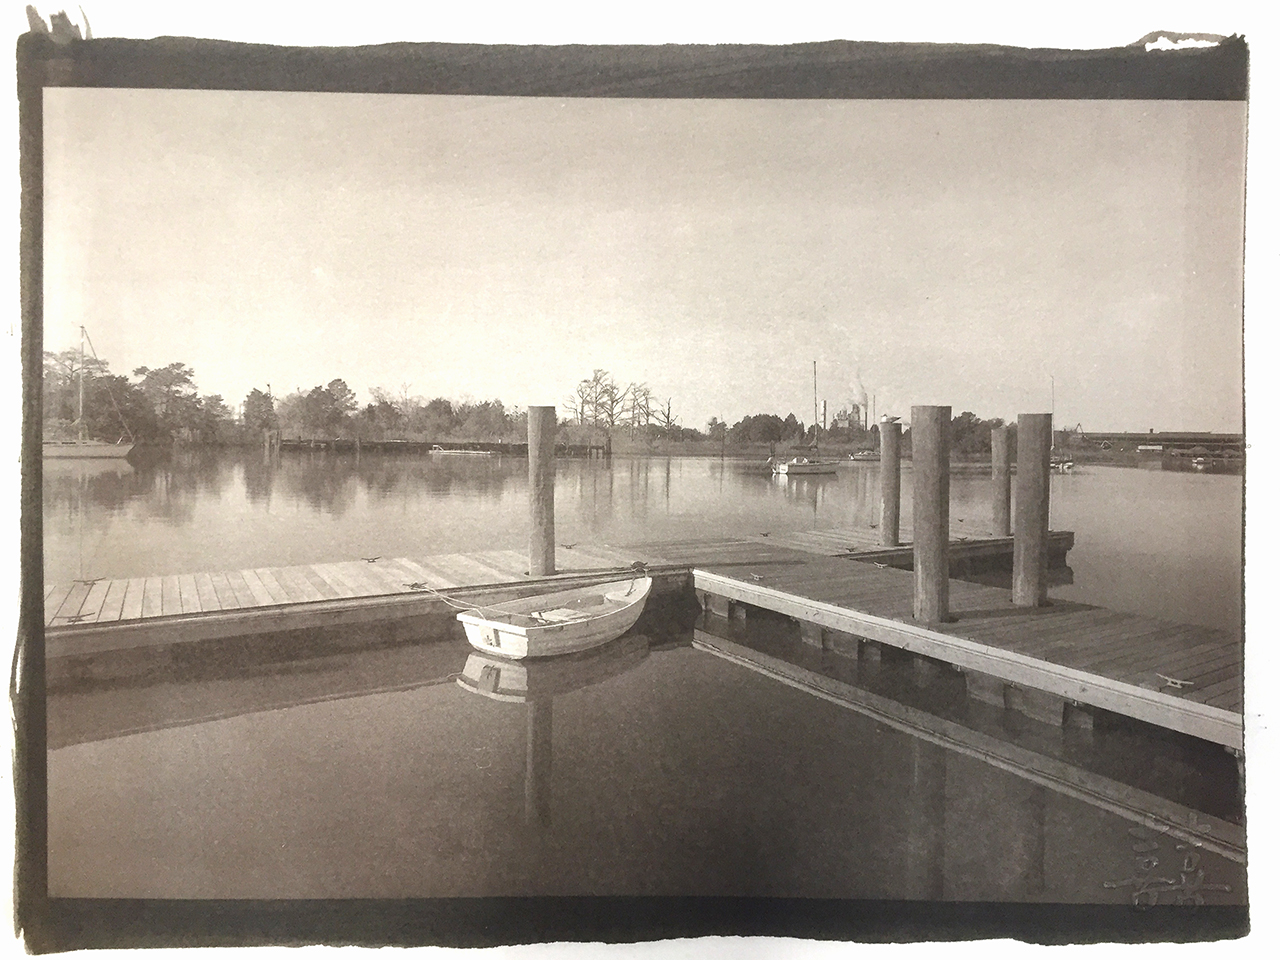
Van Dyke Brown, Lana Aquarelle Paper Glass coated
Notice in the image above if the lone dinghy that there are NO spots at all. The paper was clean on the front and back and gave a nice density in the dark areas! This paper is very heavy and after coating it will want to curl a little but will flatten in about 5 min. Let it dry for the full 30 min in the air and do not use a hair drier.
Rising Stonehenge Paper
For a 8×12 print:
- Using a glass coating rod for a 8×12 print it takes 26 drops of VDB and 2 drops of Tween 25%.
- Using a Synthetic Sable brush it takes 65 doors of VDB and 2 drops of Tween 25%.
Rising Stonehenge Paper is another good paper for the Van Dyke Brown process. It is a MUCH lighter weight paper than the Lana paper but it really does not cost any less! You can find it on Amazon which means free shipping. The shipping charges from B&S are going to kill me, with the average cost for paper being around $20 per order! This is what makes Amazon so great, but they just don’t carry all of the papers that I like to keep on hand…
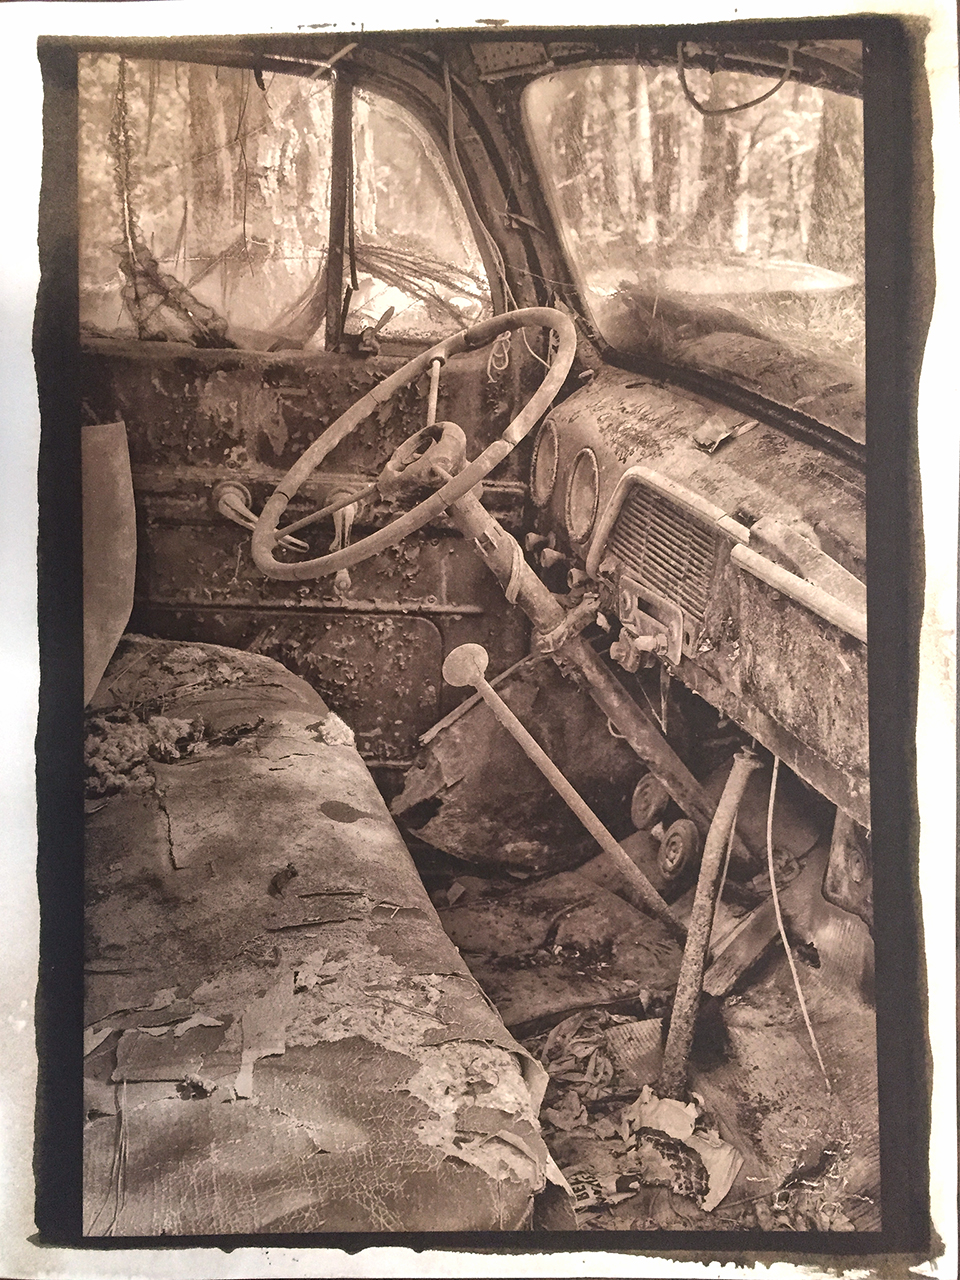
Van Dyke Brown, The Old Truck, Rising Stonehenge Paper
So far, my work with Rising Stonehenge has been very good. It coats evenly and the emulsion soaks into the paper fibers nicely. The print is very dense and nice dark areas. The paper is quite thin and I discovered that the surface is easily damaged during coating. Since the surface requires much less VDB emulsion I will reduce it the next time I coat (I used 36 drops of VDB and 2 drops of Tween for this test coating) and the surface damage will likely go away due to the glass rod not going across the paper surface more than 4 times ( for 36 drops the coating rod required 8 trips across the paper surface) thus reducing working the papers surface too much and causing damage.
One small problem with the paper that I discovered was that the emulsion has a tendency to migrate from the coated areas to the uncoated areas giving a grey shadow around the image. If you look closely you can see actual small spots of it surrounding the coating. This is really no big deal but I am unsure as to why this is happening.
I will continue to use this paper because it generates VERY WARM BROWN in the print and I just love the look of it!
Now, it has been suggested that I soak or pre coat the paper with an acid bath of 10% citric acid for a 1 or 2 min, then wash the paper and allow it to dry before coating. I am told that this will vastly increase the papers Dmax! I am going to test this next time I print!
The image at the top of this post was also printed on Rising Stonehenge paper!
Bergger Cot 320 Paper
The Cot 320 paper is a very nice, smooth paper. I love the look and feel of it. BUT, for Van Dyke Brown it has a problem in that it will not readily absorb the VDB emulsion into the paper fibers. Even with Tween added to the emulsion, it is not enough. What happens is that in the first water bath after exposure the majority of the emulsion washes off in thick tendrils of brown goo. Unlike the Arches paper, enough is left on the paper to still make for a good (not great) image.
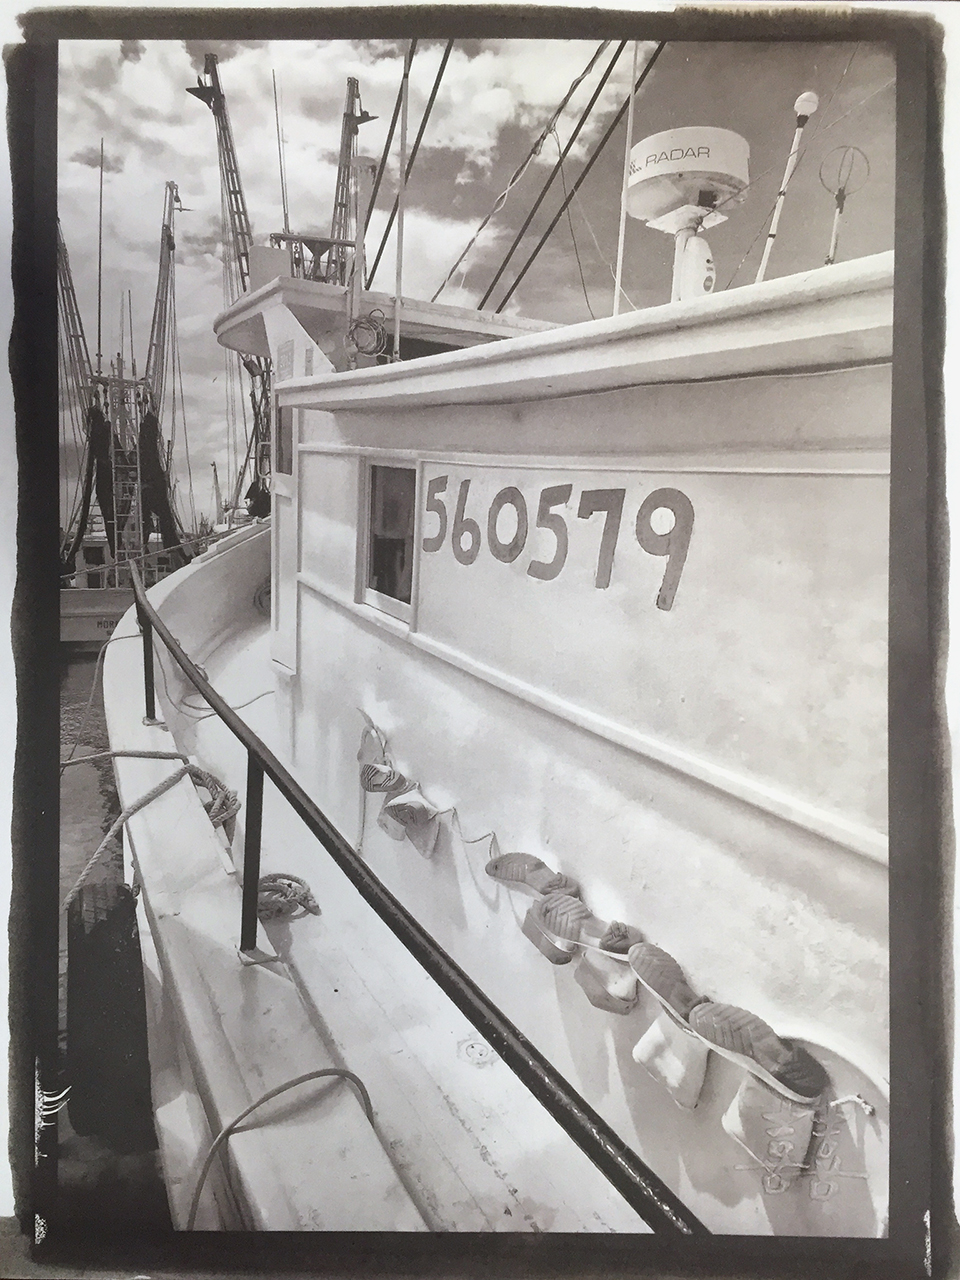
Van Dyke Brown, Das Boots, Cot 320 Paper
There is enough promise from this paper that I am going to experiment further with this paper by washing the paper with an acidic solution of citric acid and distilled water, brushing it on and letting it soak in for a few seconds then washing the paper again with distilled water. Once it dries and I will flatten it in a low temp heat press and coat the VDB on it. I think that this will break down the surface coatings enough for it to accept the emulsion better and increase the papers Dmax.
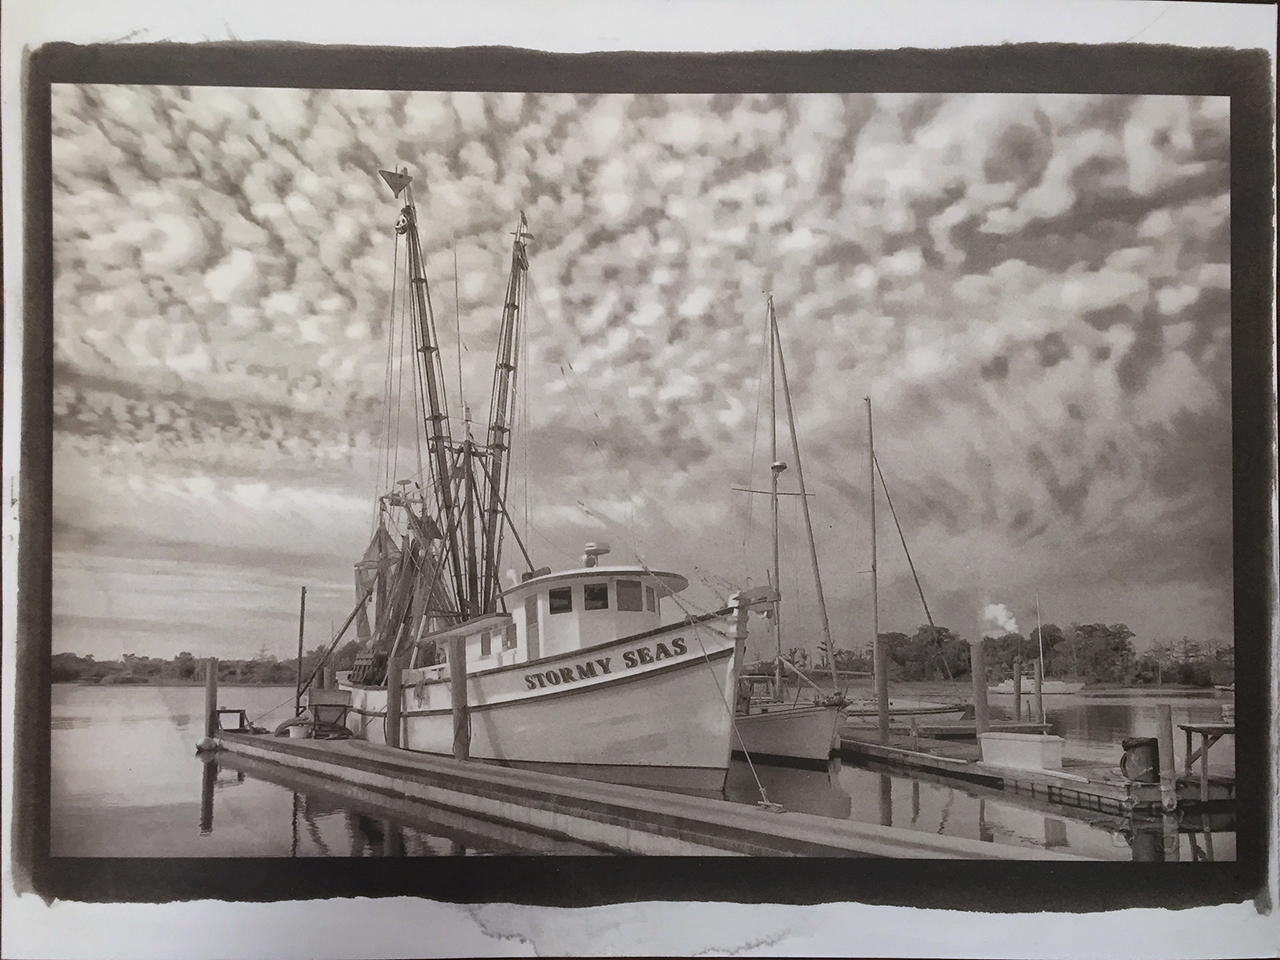
Van Dyke Brown, Stormy Sky, Cot 320 Paper
I will report on this more in the future.
OK that is all for this post. I am not going to report on the Arches and Revere papers as I have discussed them in the previous two posts.
I hope that you got something out of the info here! Let me know…

Amazing work Mark! Would love to see these live.
Thanks for the kind comment!
Thanks for the kind comments.
Thanks for this. Are you using digital negatives? I’ve been using some softer cheaper paper and the images aren’t as crisp, and they are much more contrasty — I think it might be my negative more than anything else.
Thanks for the comment Mark! Yes I use digital negatives printed on a Epson 7900. I subscribe to Peter Mrhar’s technique in making them in his book “Easy Digital Negatives” that you can get on Amazon. If your have not read this book I HIGHLY advise that you do….
The use of Fumed Alumena on ANY paper makes an amazing difference and only takes moments to do!
I’ll have to google fumed alumena — I have no idea what that is! I just ordered two pads of the Rising Stonehenge — I can’t wait to try it out. I’ll pick up that book, as well. Thanks for the tips.
Fumed Alumina is a very light powder that is rolled on with harder paint rollers then coated. The dust has little hooks that embed into the paper. It gives amazing results. B&S sells the stuff for very little. Here is the link.
Sounds great for your lungs. 🙂 I tried the paper with cyanotype and it washes right off.
This stuff is in a lot of food you eat and drink! No I would would not want to breath it but I use paper filters to protect myself. B&S also sells these! BUT IT WORKS!!! I had the same issue where images would lift off in the wash!
Thhanks for posting this