The joys of returning to our photographic roots…

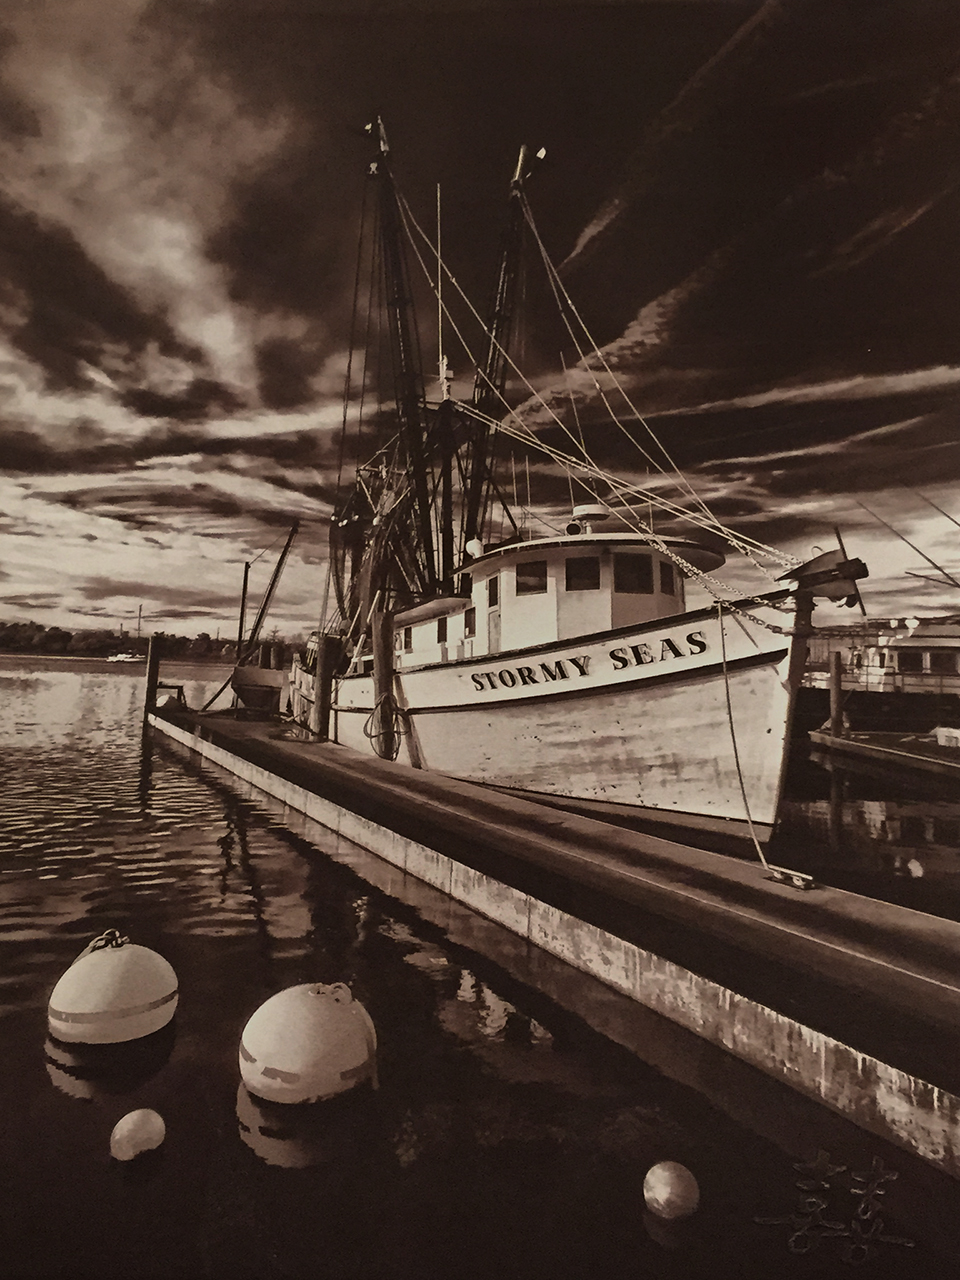
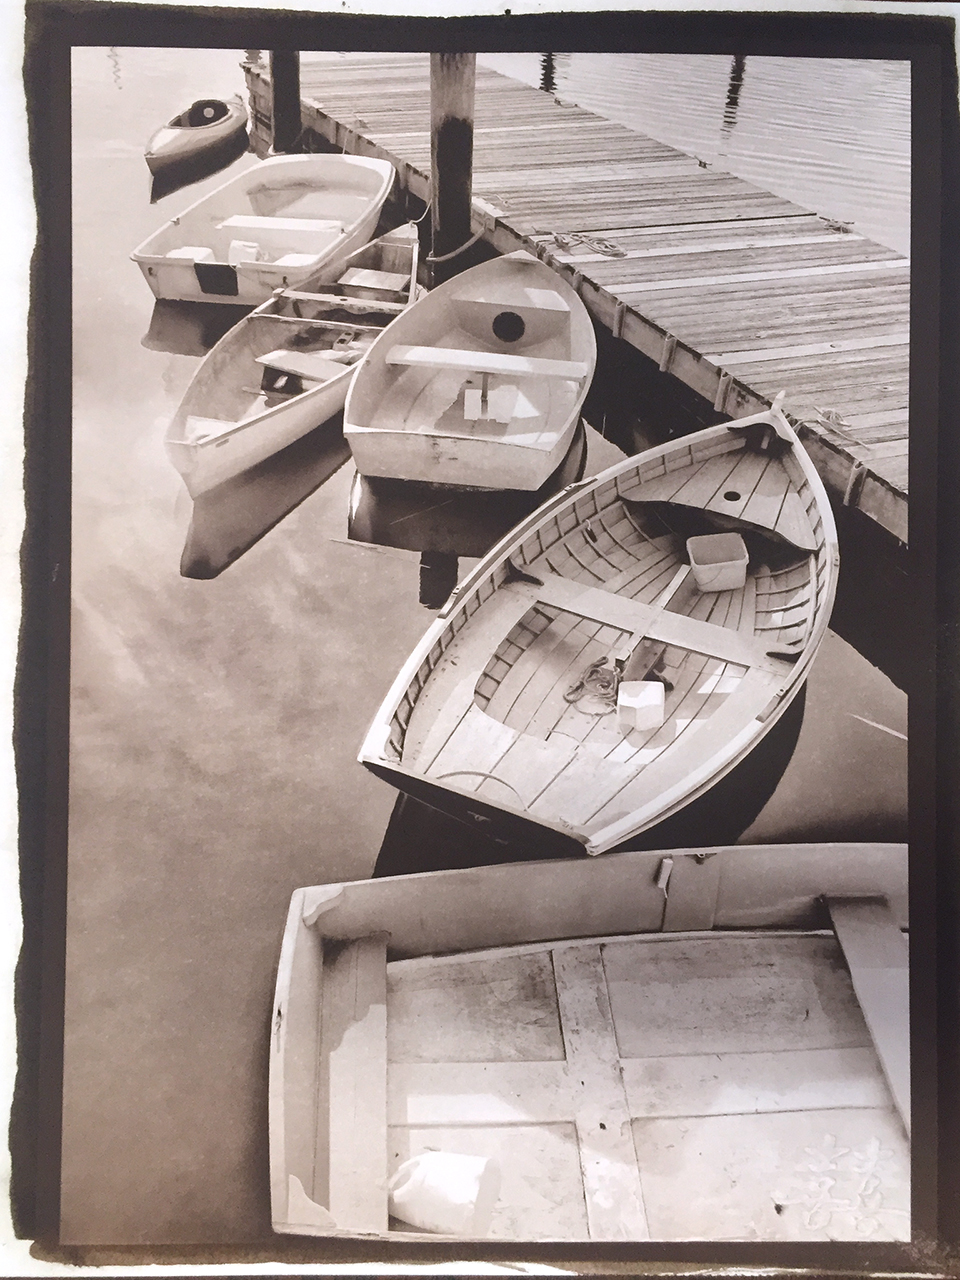
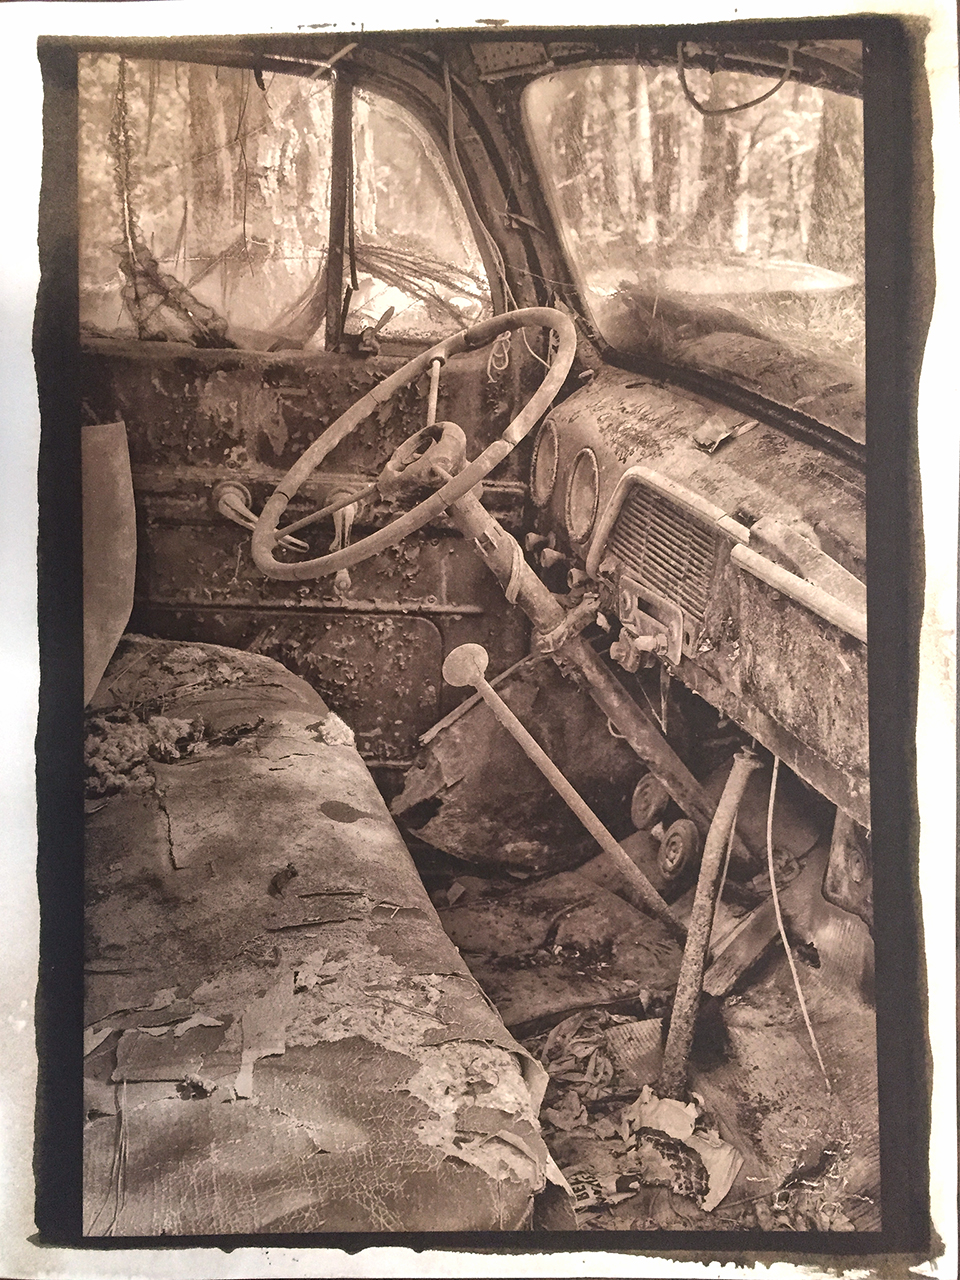
Murrells Inlet Fleet, Polaroid Type 55 4×5 film, Wet Mount Scan
Have any of you considered film photography?
There is something about working with film that is very calming which can center one’s soul allowing you to really connect with your art. For me it was like going home to Mama. The feeling of working with your hands as part of creating your art will make it more involved and enable you to to really influence the hidden nuances in your work. It will add a bit more complexity to your workflow but trust me it is worth the effort. The single largest change is forcing you to slow down in your creative process, it forces you to really consider every part of your workflow. It really is not any more difficult than digital photography, but it is a bit more involved.

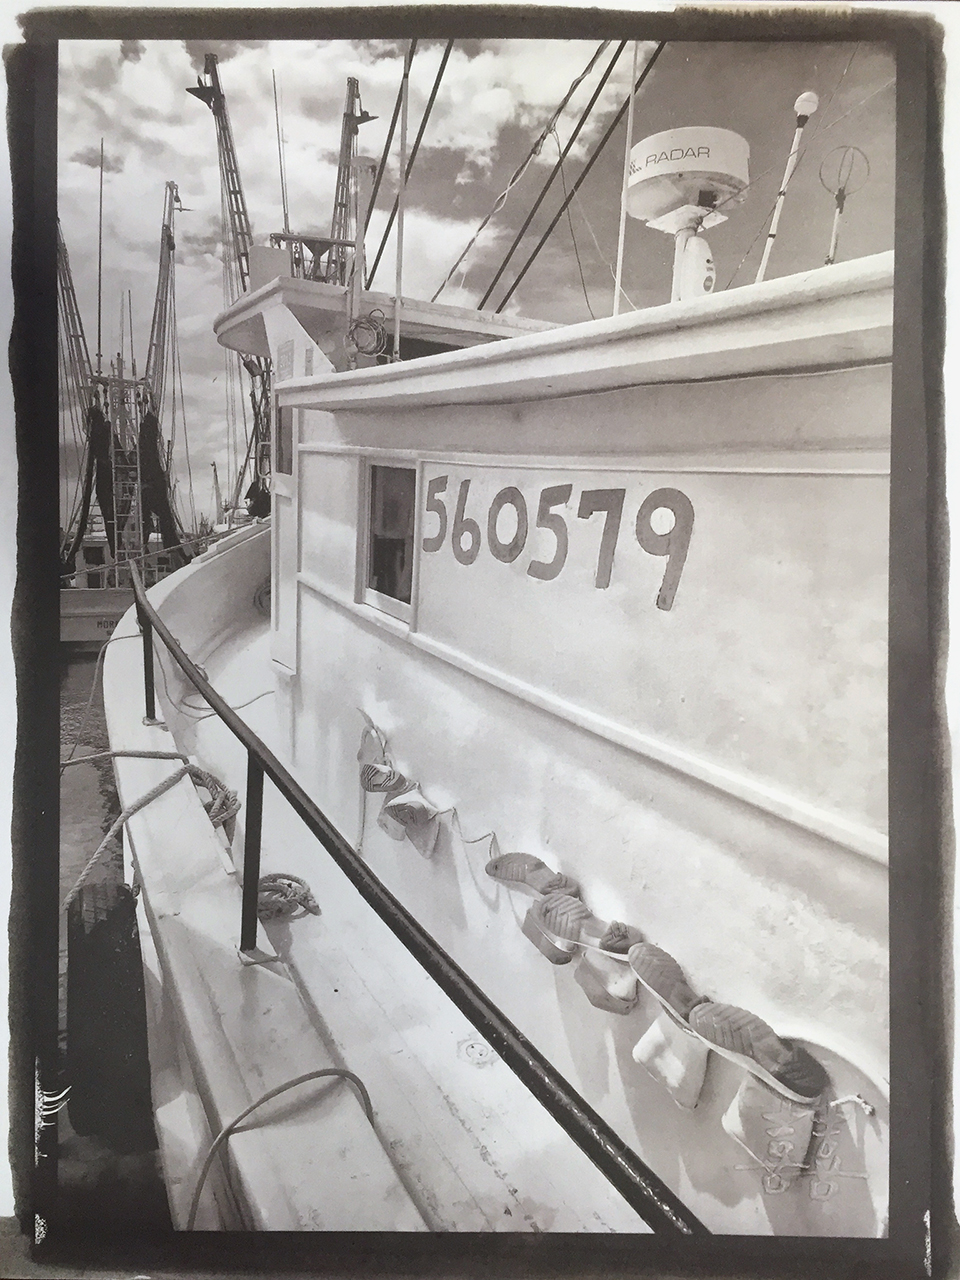
Polaroid 900 with a Fujinon 150mm lens, Tmax 100 4×5 @ 64, Perceptol 1:1 developing
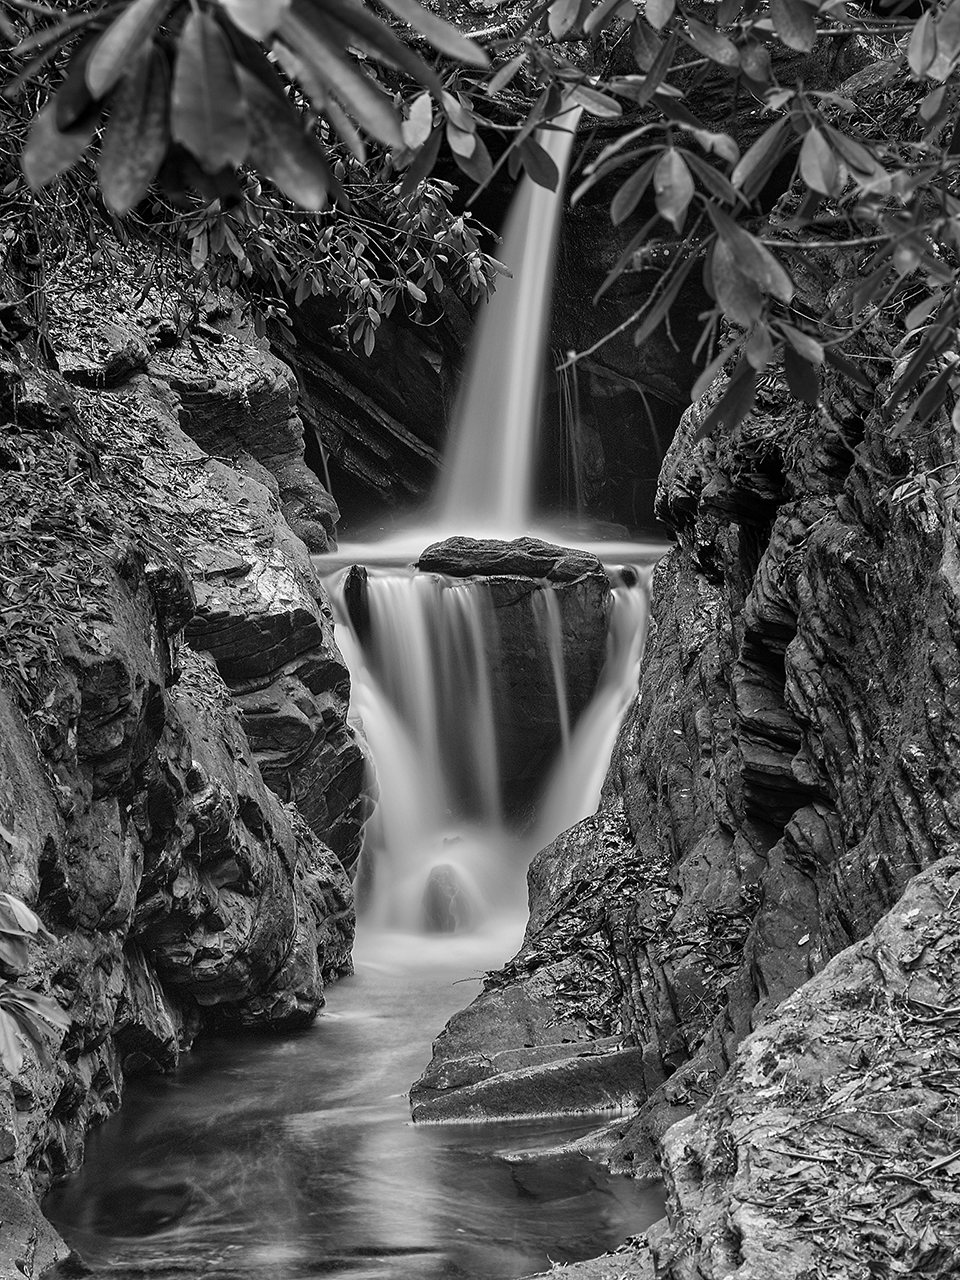
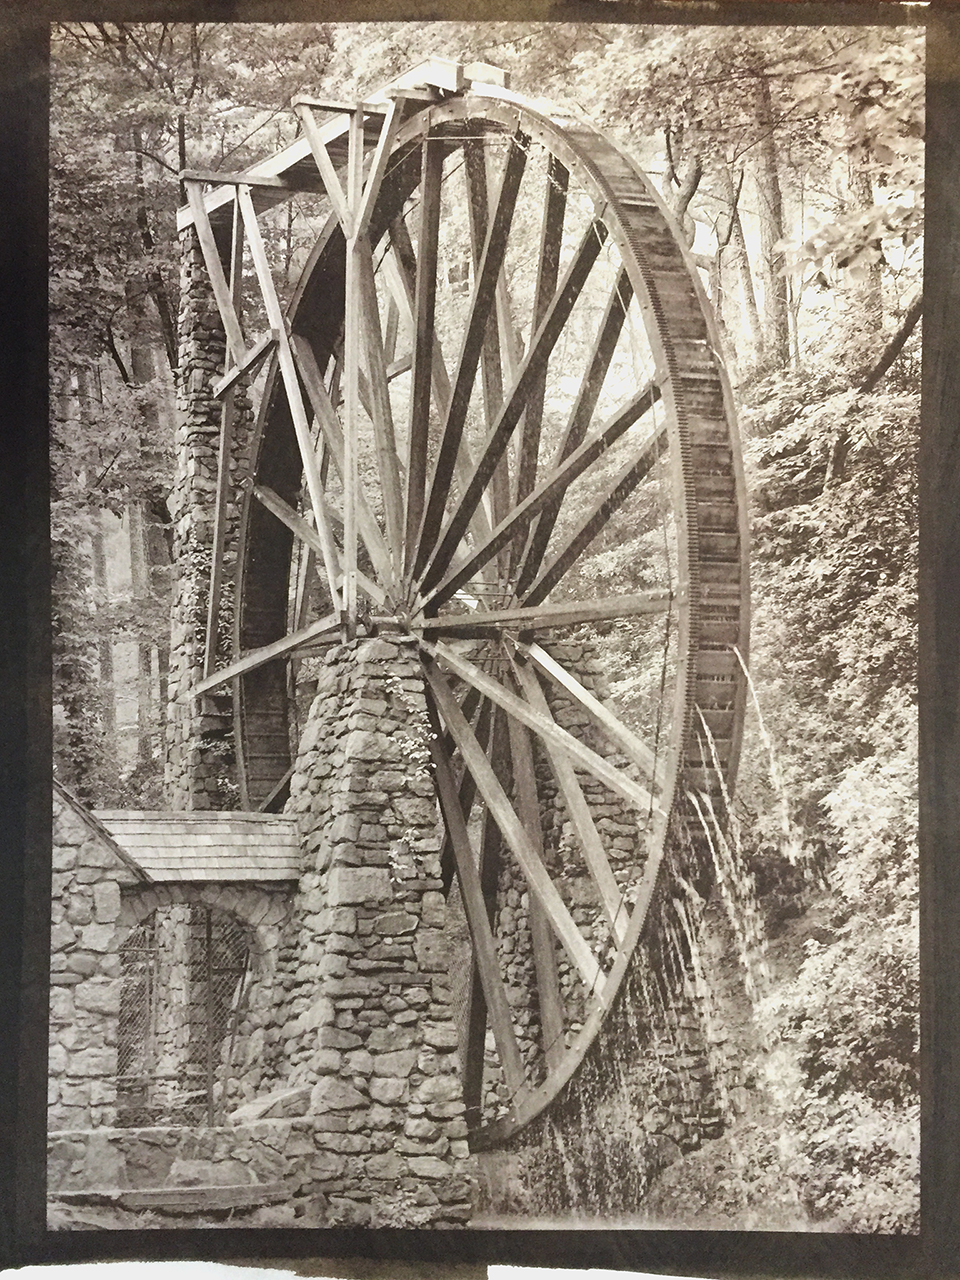
Take a really close look at the details in this image, click on it and look at it in the full screen mode. Look at the GEARING on the edge of the wheel. The detail there will take your breath away!
Film Cameras

Olympus XA 135mm
I have way too many film cameras to list them all, some really small like the Olympus XA which is the worlds smallest 35mm rangefinder and a joy to use.
I also have an Olympus RC 35 camera that is another fixed lens rangefinder. It is simple and fun to use and can be found for very little money. I have mine rebuild and given a bright blue suite that suites it quite well!

My Custom Olympus 35 RC

My Leica M7 Film Body
My last 35mm camera system is a Leica M7 system. It has interchangeable lenses and is one of the best built camera systems that I have. Couple it with the world class Leica lenses and you have an unbeatable 35mm system.

Confusion, Petri 7S 35mm, Eastman XX flim

Fuji GF670

Fuji GF670
Moving up to Medium Format 120 film systems I have three. I have the Voigtlander Bessa IIIw system that is 6×7 format and the Fuji GF670 camera (also sold under the name of Bessa III) with a longer 85mm lens (left & right). The 670 is my medium format travel camera of choice. Not only is it a functional camera with a built in meter but it is attractive and it always will draw a crowd when I get it out to use! Another nice point to the GF670 is that it folds down on itself to a thin easy to store camera in your bag!

Mamaya RZ Pro II system
And lastly the Mamaya RZ Pro II SLR ( Right) with interchangeable lenses and a world class metering system. This camera is large and heavy but easy to use and a very powerful camera system! I have a f/4 65mm and f/4 180mm lens for it. I also have both the waist level finder and a metering prism with spot and matrix! Like I said, heavy and big, but I use it for ultra long exposures on the coast with the Fuji Acros 100 film which has almost NO RECIPROCITY failure up to 140 seconds then only 1/2 stop after that! The film base is a little on the thin side but still my film of choice for long exposures.

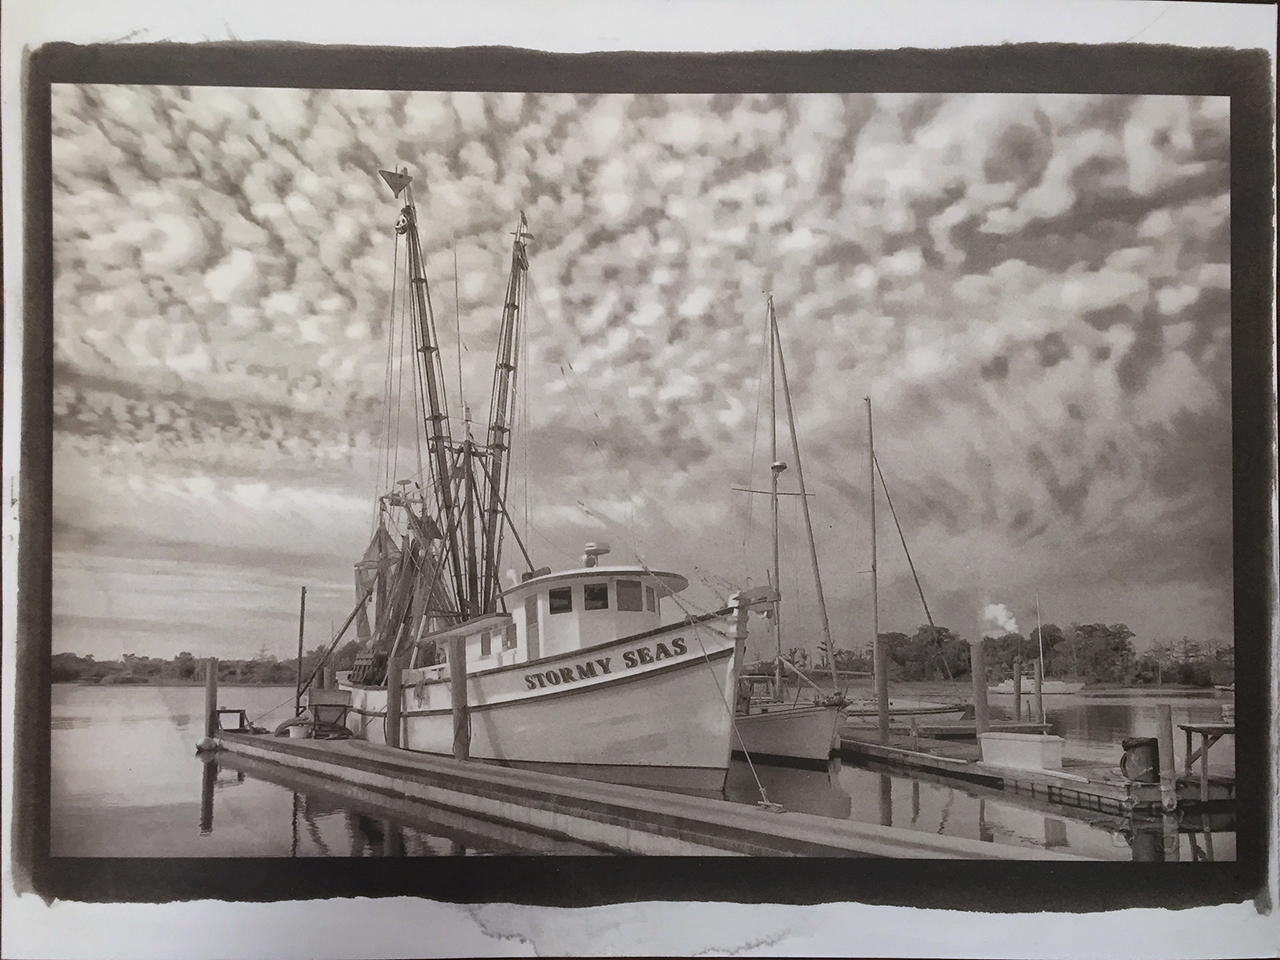
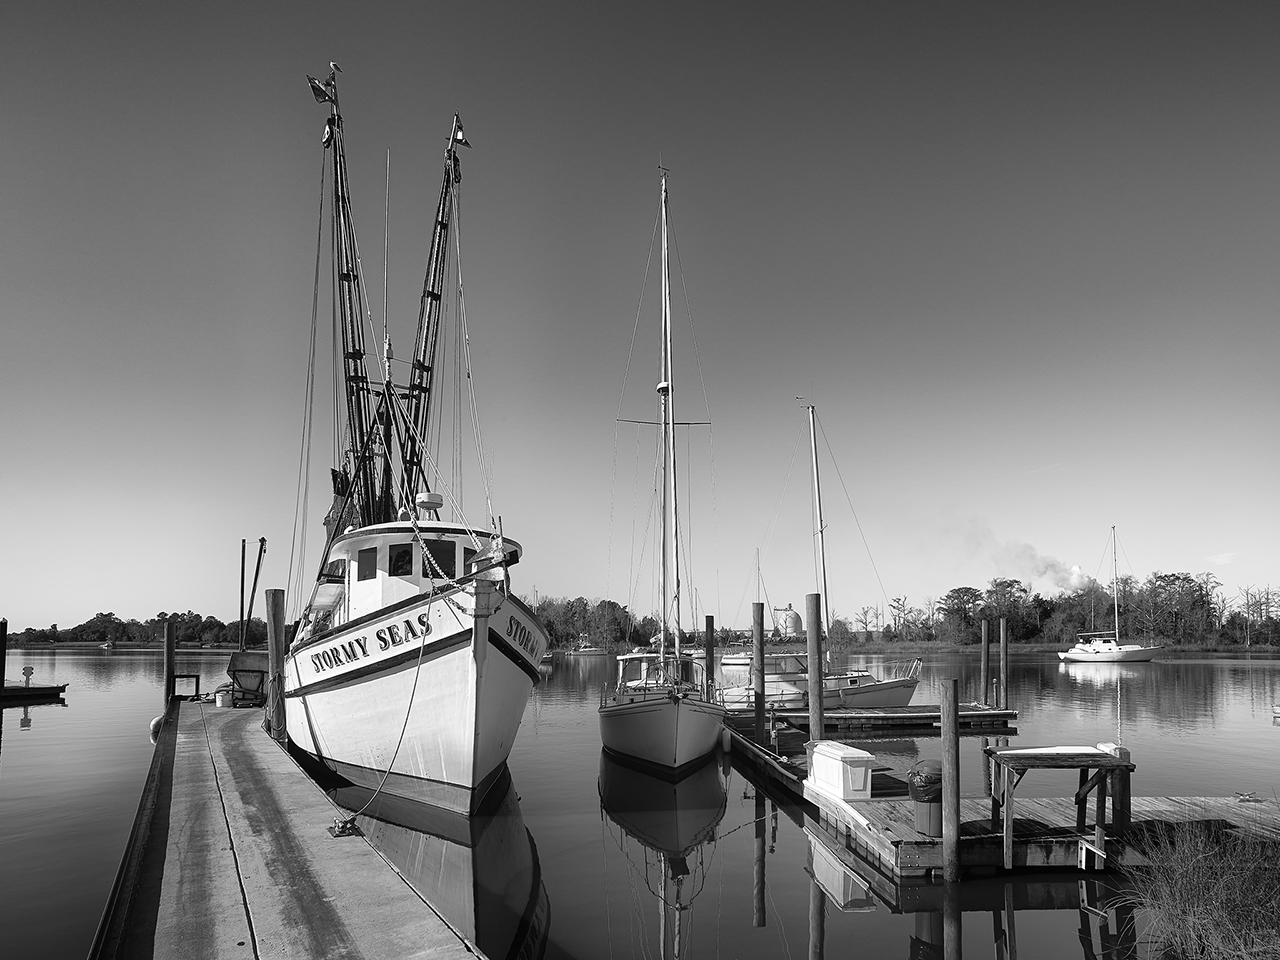
Stormy Seas, Fuji GF670, Tmax 100, Perceptol 1:1, Wet Mount Scan

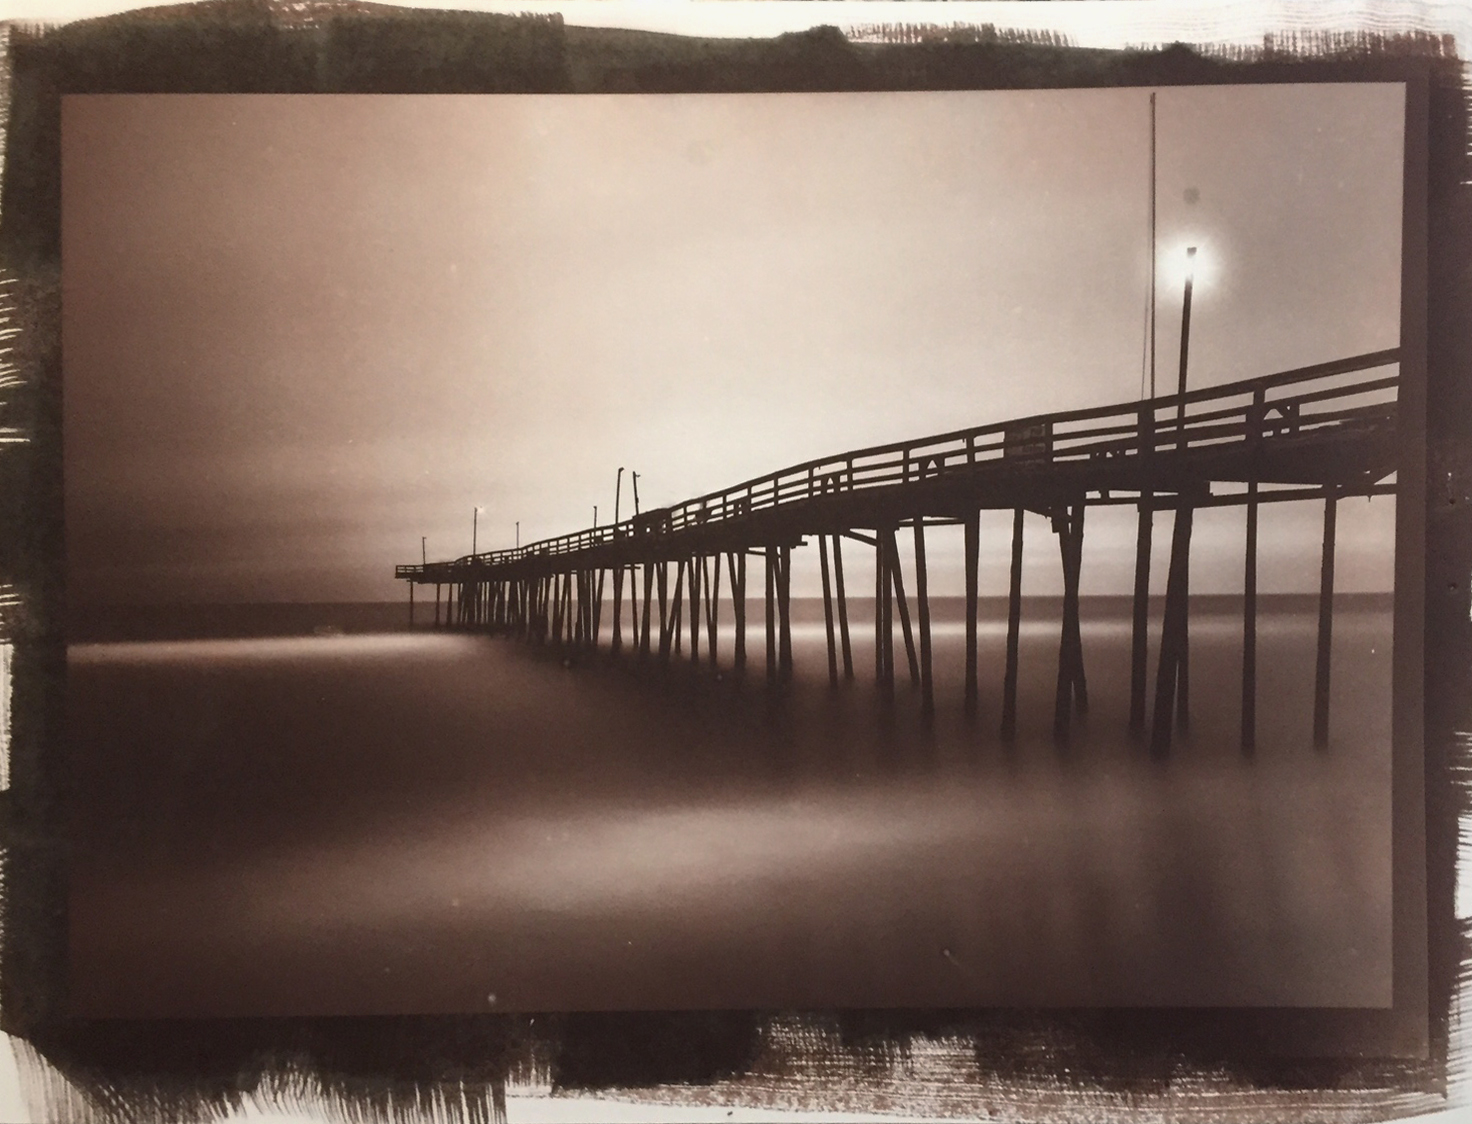
Polaroid 110 with 90mm lens converted to 4×5!

Polaroid 900with 150mm Fujinon lens converted to 4×5
Moving up to 4×5 Large Format cameras, I have three. first I have a Shen Hao cherry field camera. Functional as it is beautiful. I rarely take it out, rather I am using a Polaroid 900 converted to 4×5 with a Fujinon 150mm lens and a Polaroid 110B camera converted to 4×5 with a Schneider Super Angulon 90mm lens. It is a beauty and very wide!
Yes, as you may have noticed, some of these cameras are quite large. This is due to the negative size. Let me give you some idea as to why digital cameras can never come close to the resolution of film.

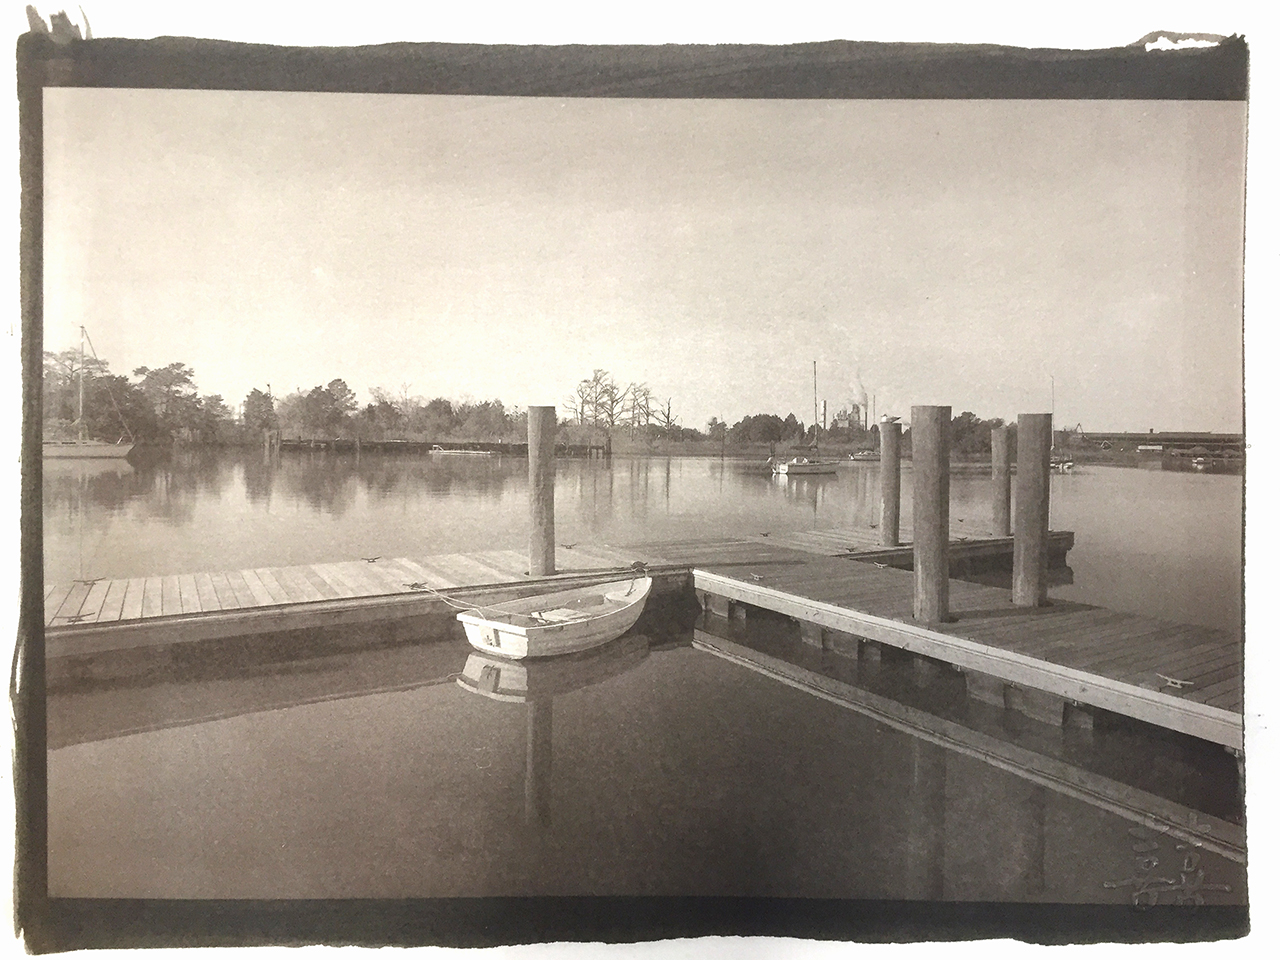
Montreat Cascades, 4×5 Tmax 100 developed in Perceptol and wet mount scanned.
Lets start with medium format:
- Medium Format 6×7 format makes an image 2 1/4 inches tall and much wider. Scanned at native resolution of 6400 dpi on an Epson 850 Pro scanner gives me a file resolution of 16452 x 19668 dpi or a print size at 300 dpi of 4.5 feet by 5.3 feet! This is huge.
- Large Format of 4″ x 5 ” scanned at 6400 dpi (native) gives a file size of 29107 x 36070 dpi or a print size of 8 feet x 10 feet! There is not a digital camera system in the world that can come more than a small fraction of this!
Film
Film has turned wildly popular again in the past several years and many of the big film manufacturers have started increasing their film production lines again. This is especially true in the medium format lines (120) and 4×5 large format films! Film can be found in single rolls or in bulk almost everywhere again. The big box companies like B&H, Adorama and many others carry almost every type and format that you could ever want!
Processing in B&W has never been easier at home with eco friendly chemistry with no darkroom needed. Only an initial outlay of around $150 will get you started. Cameras can be found anywhere for next to nothing! You will need:
- Dark Bag, a cloth bag that it light proof with arm sleeves that enable you to put your film, developing tank, reel an lid inside with your arms to move the film into a light tight developing tank!
- Developing Tank, I recommend a stainless steel version.
- Film Reels, I like the Hewes stainless steel ones.
- Developer, comes either in a powder or a Liquid. I like Perceptol and/or Rodinal R09.
- Fixer, to remove un-used silver
- Liquid wetting agent to prevent drops to dry on your negative.
- Clips to hang you film up to dry!
You can scan your film into your computer with a good Epson scanner like the 700, 750, 800 or 850. You can also buy an adapter for your camera allowing you to scan by photograph!
While I work in both color and B&W, digital and film I find time after time I pick up a film system and load it up with a good B&W film. The process of developing your film can really help you connect to your work as well.
I like several films, here they are in order of favor:
- Kodak Tmax 100 in 35, 120 and 4×5, very small grain, good dynamic range easy to process
- Fuji Acros 100 in 35, 120 and 4×5, very small grain, good dynamic range NO RECIPROCITY FAILURE, easy to process
- Rollei IR400 in 35, 120 and 4×5, Infrared or normal B&W, good dynamic range, easy to process
- Rollei Retro 80S in 35 and 120, amazing clarity and sharpness, good dynamic range easy to process
- Eastman XX in 35, motion picture film used in B&W movies of the 50’s, smooth gradient transitions.
As an example here is the top image from last week of the fishing fleet taken on 20 year out of date Polaroid Type 55 monochrome instant film. The camera is also a Polaroid 900 that my daughter sent me years ago from a garage sale that I had converted to 4×5 with a Fujinon 150mm lens. A MOST beautiful camera in a bright new blue suite that is just fun to use. It is both rangefinder and ground glass focusing that forces you to slow down and really consider each and every image you capture!
The Type 55 film, even outdated, works flawlessly and generates amazing images where the edge markings add to the artistic impact of your subject

Pelican Dock – Type 55 4×5 Film, Wet Scan
So what do you think? Are you tempted to try this out? It is easy. For starters, you can look at the continuing education departments at a local college or hight school. Most offer B&W film photography with darkroom work. This will teach you enough to allow you to determine if you would like to further investigate this wonderful medium!
You can also contact me and request info on one of my film workshops held in Pawleys Island SC. I would love to have you and share this amazing link to our past!
Please let me know what you think of this post!