Slower can be better…

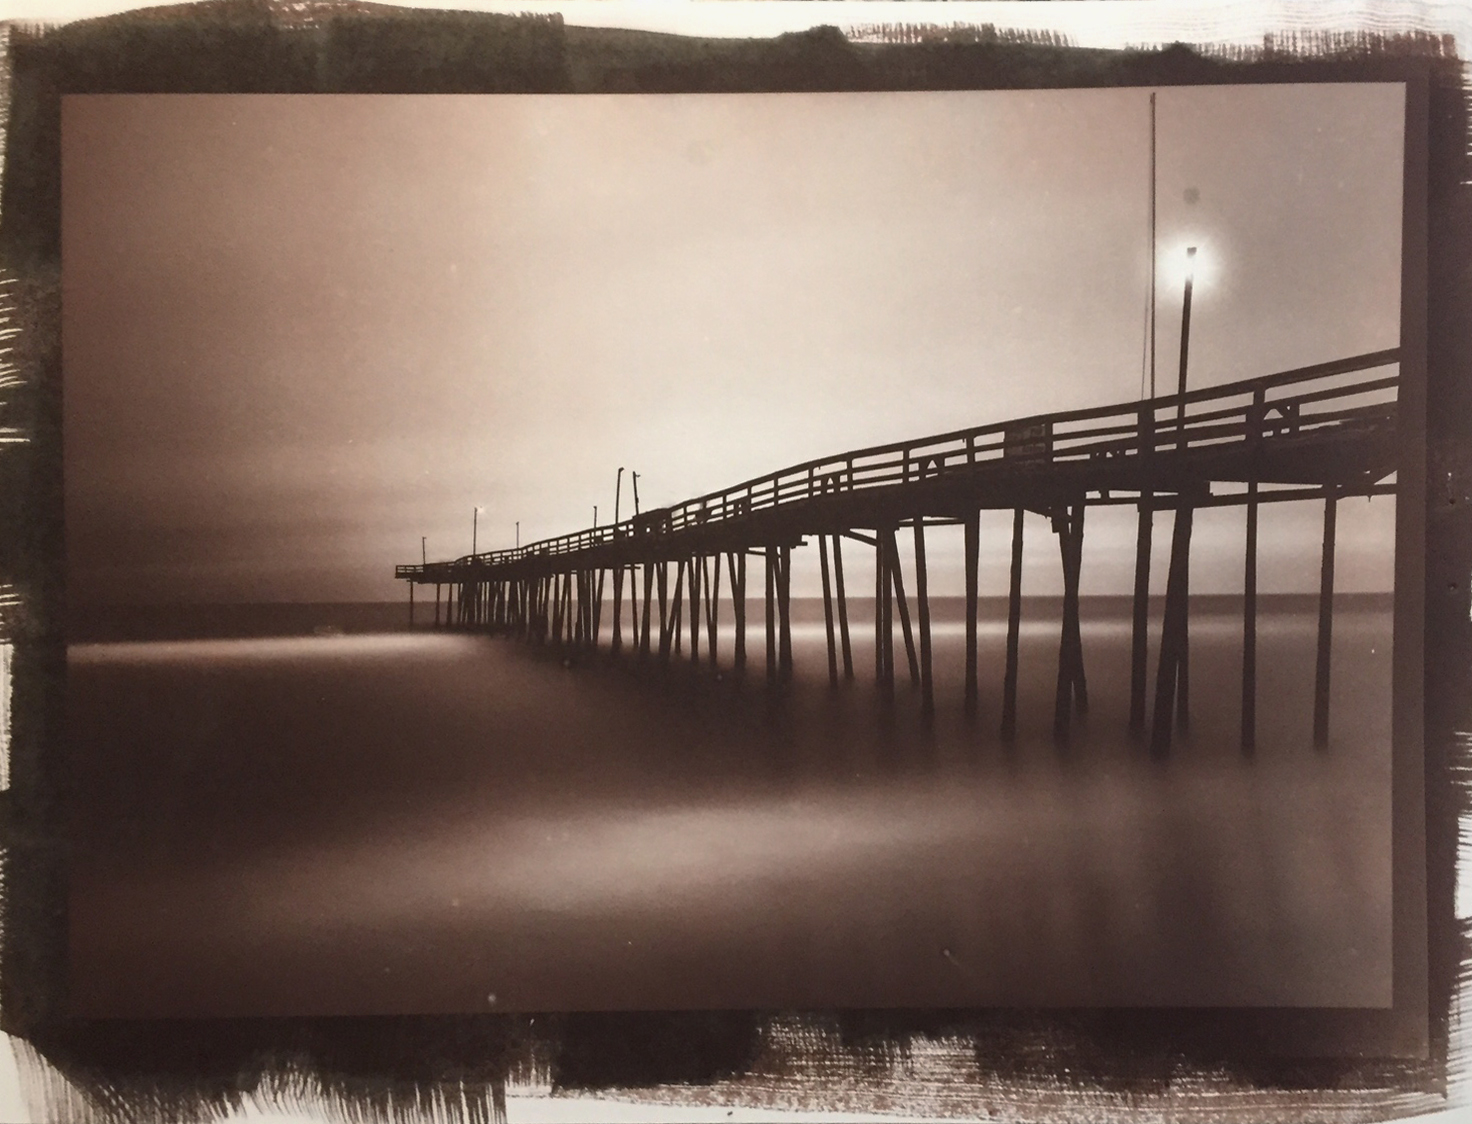
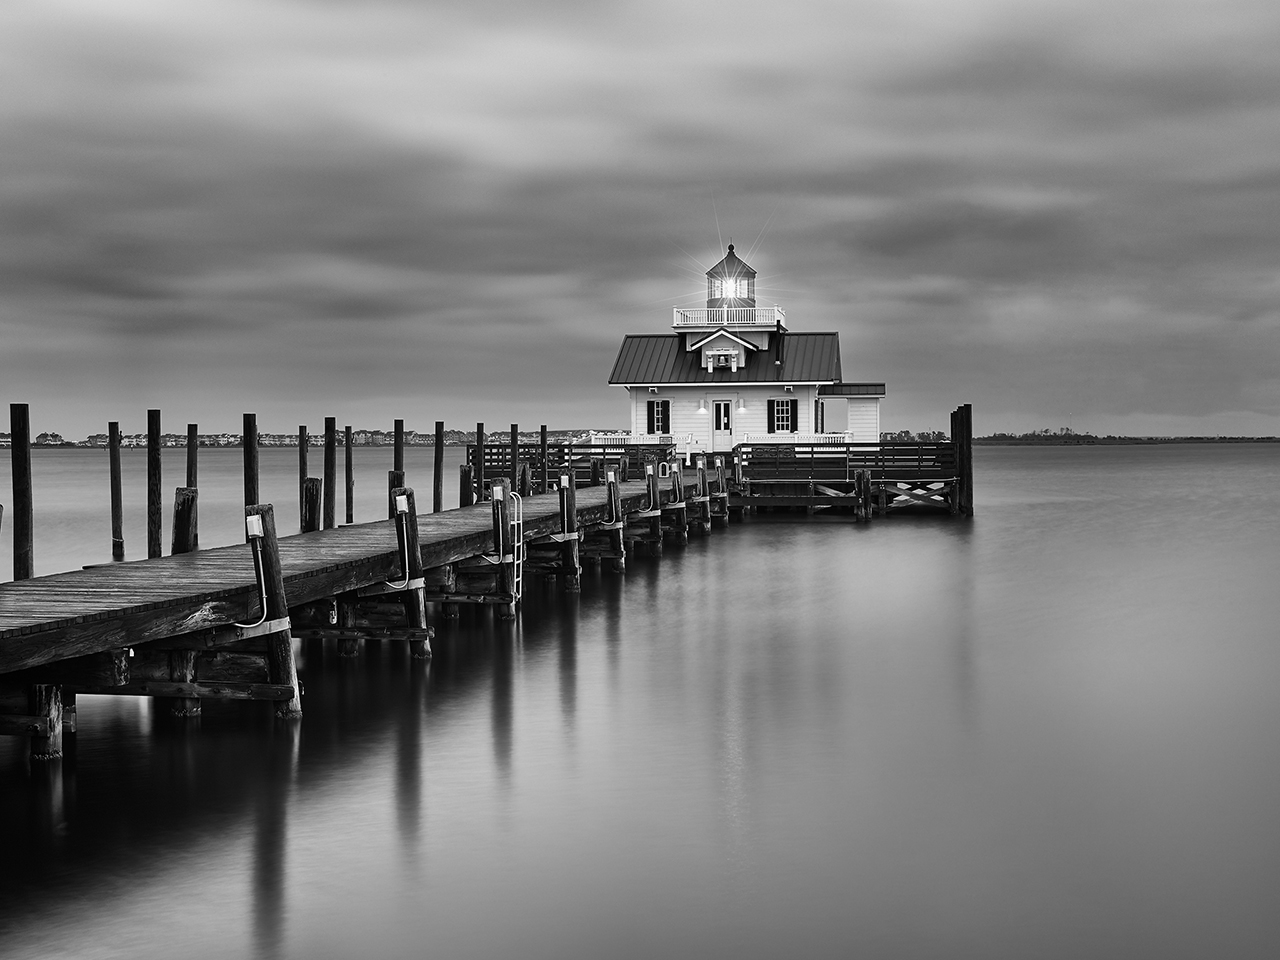
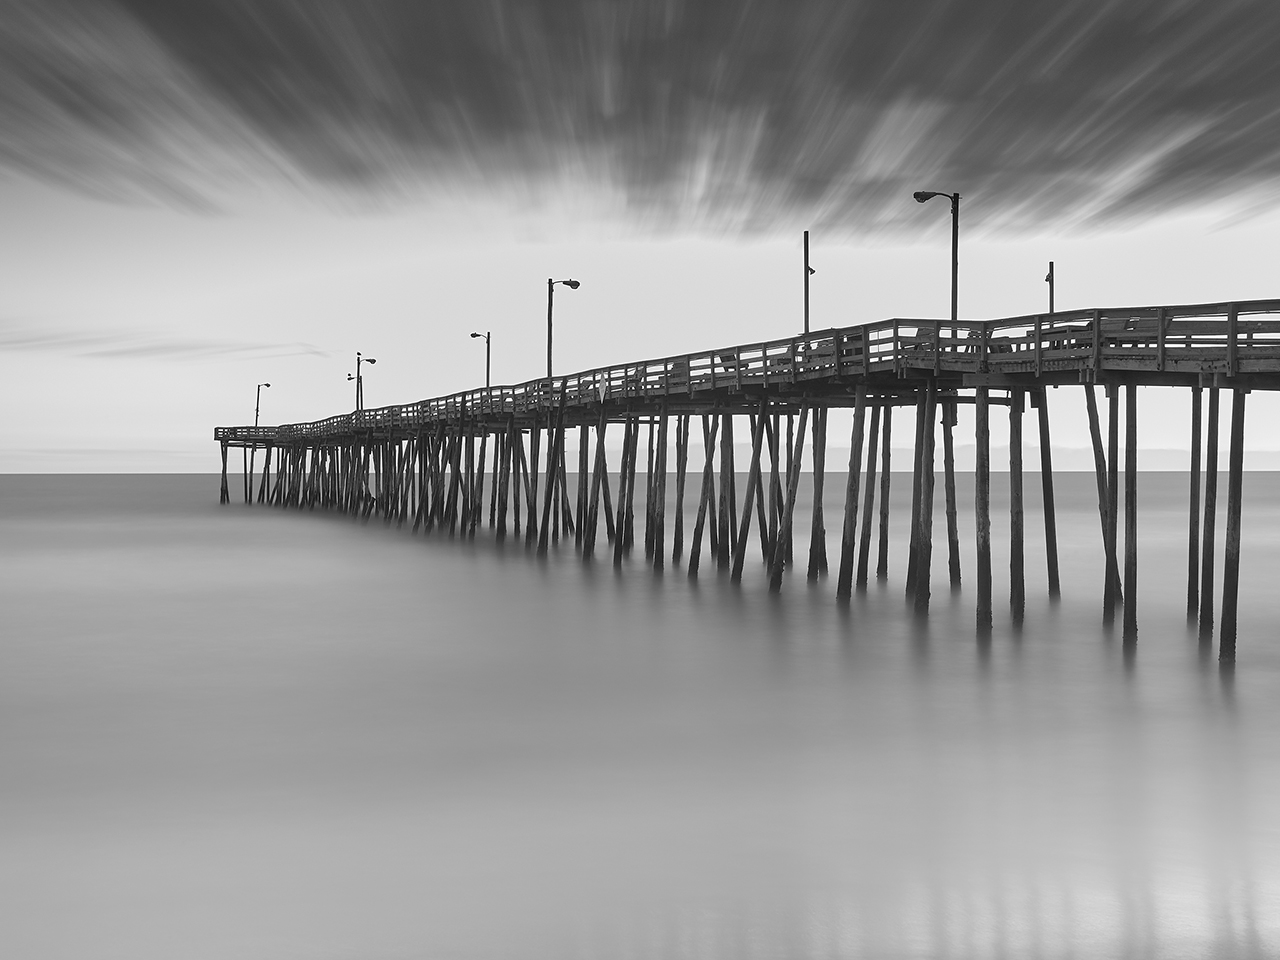
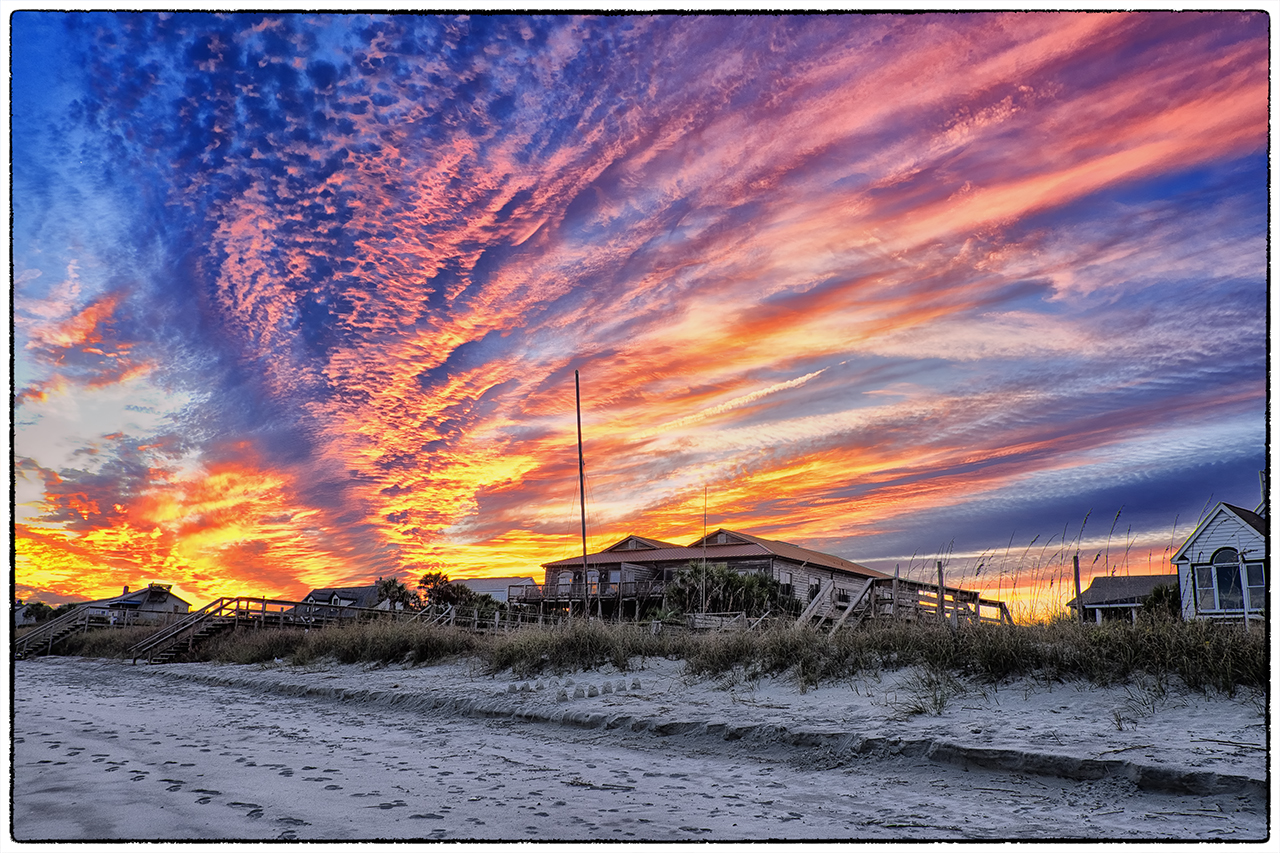
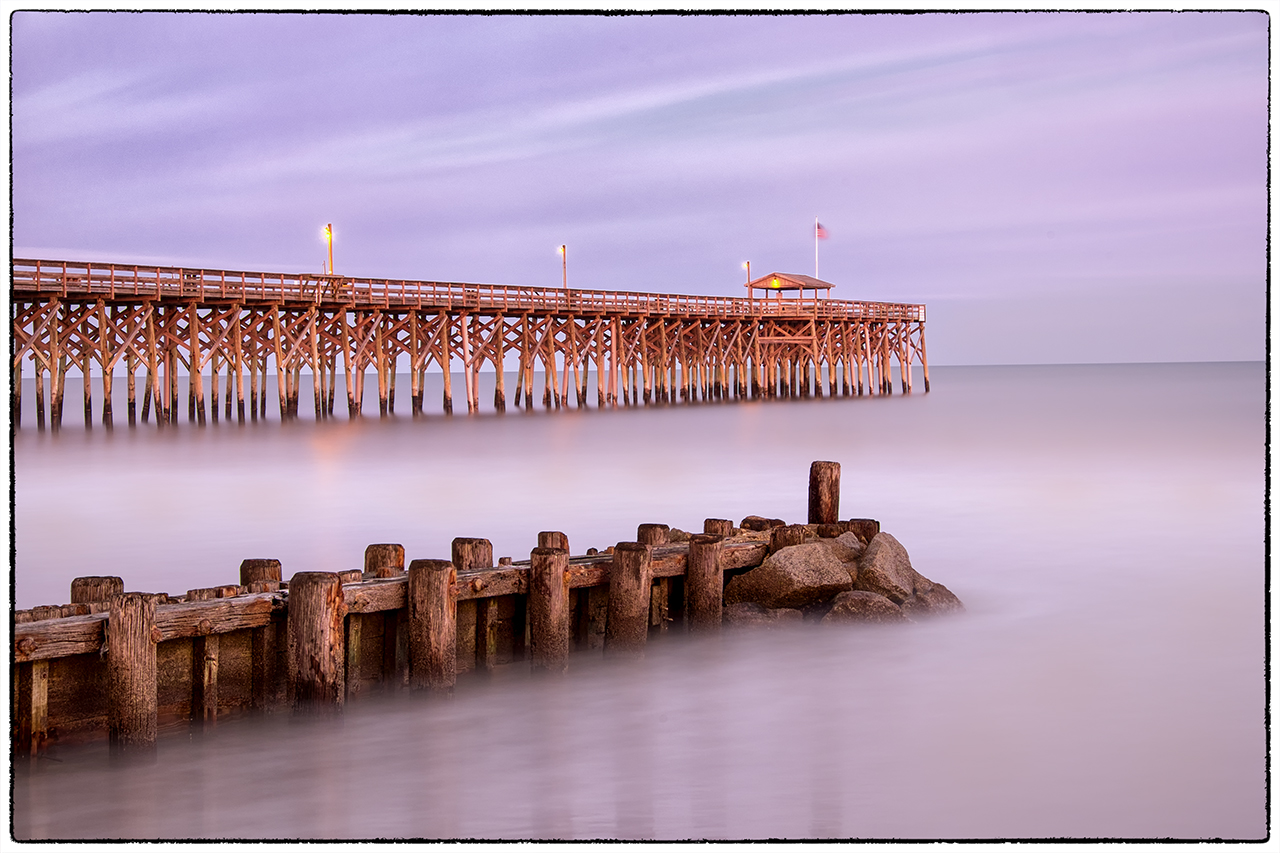
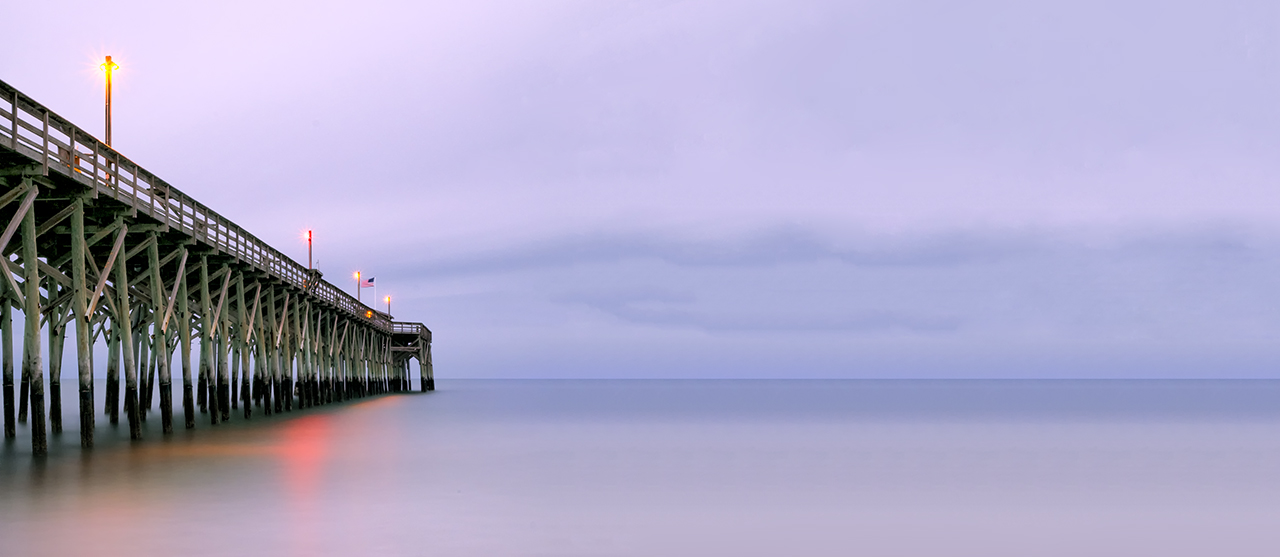
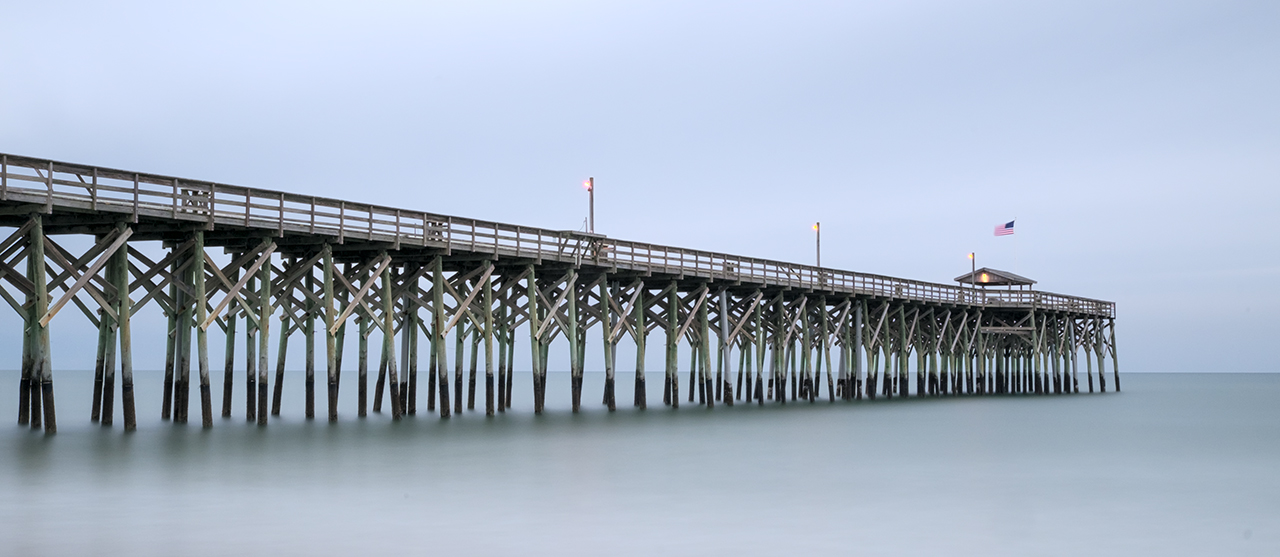
Pawleys Pier at night, Fuji X-E1, 480 seconds, f/22, 6 stop ND
Ultra long exposure photography can be a very fulfilling pursuit and generate etherial images that draw your viewer into them leaving them week in the knees! As a photography master generalist I can tell you that there are a few speciality areas that can really excite me and force my juices to flow! Specifically they are:
- Ultra High Speed photography: Water Drop Collision Photography, Daytime Lightning Photography & Hummingbird Photography
- Infrared Photography
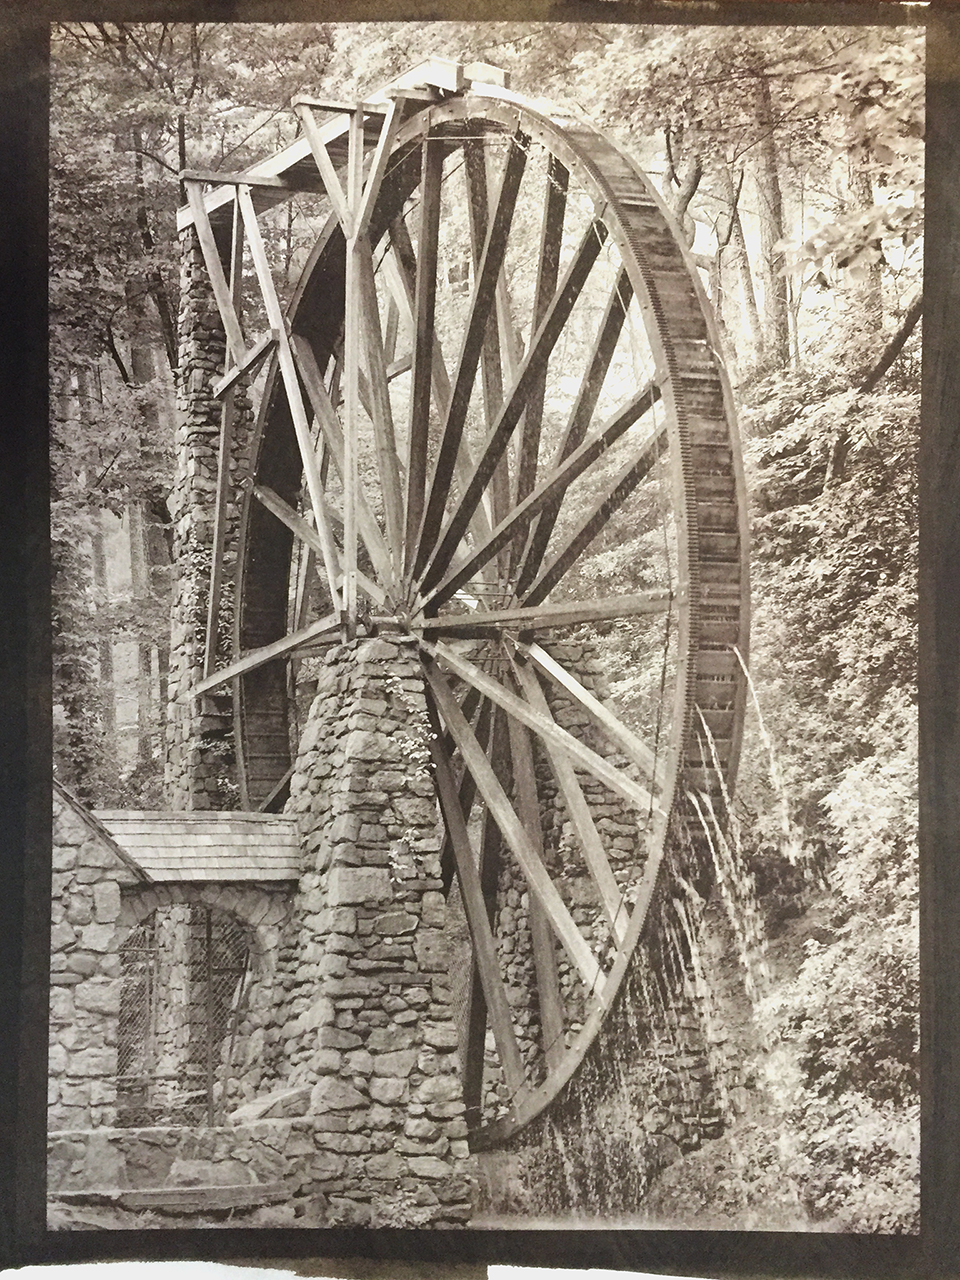
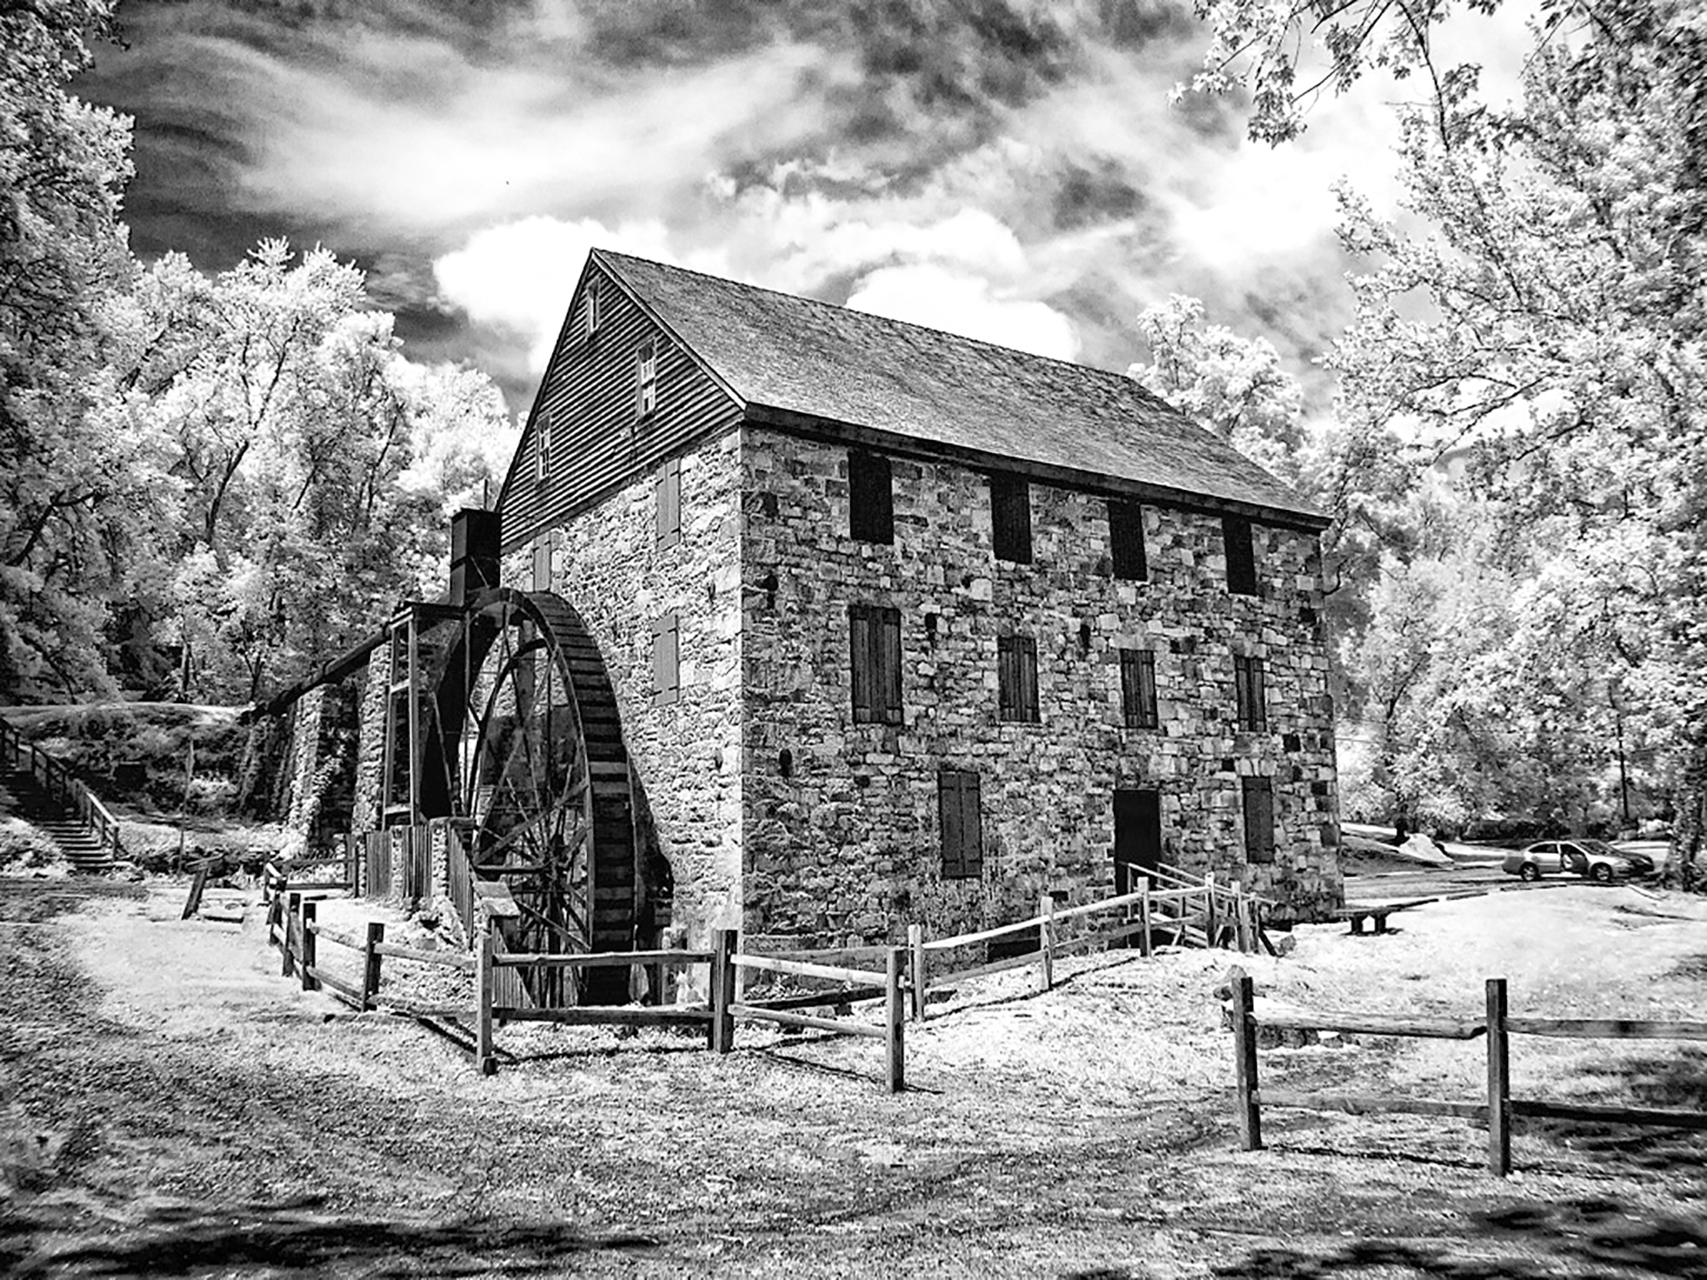
- Grist Mill Photography
- Ultra Long Exposure Photography.
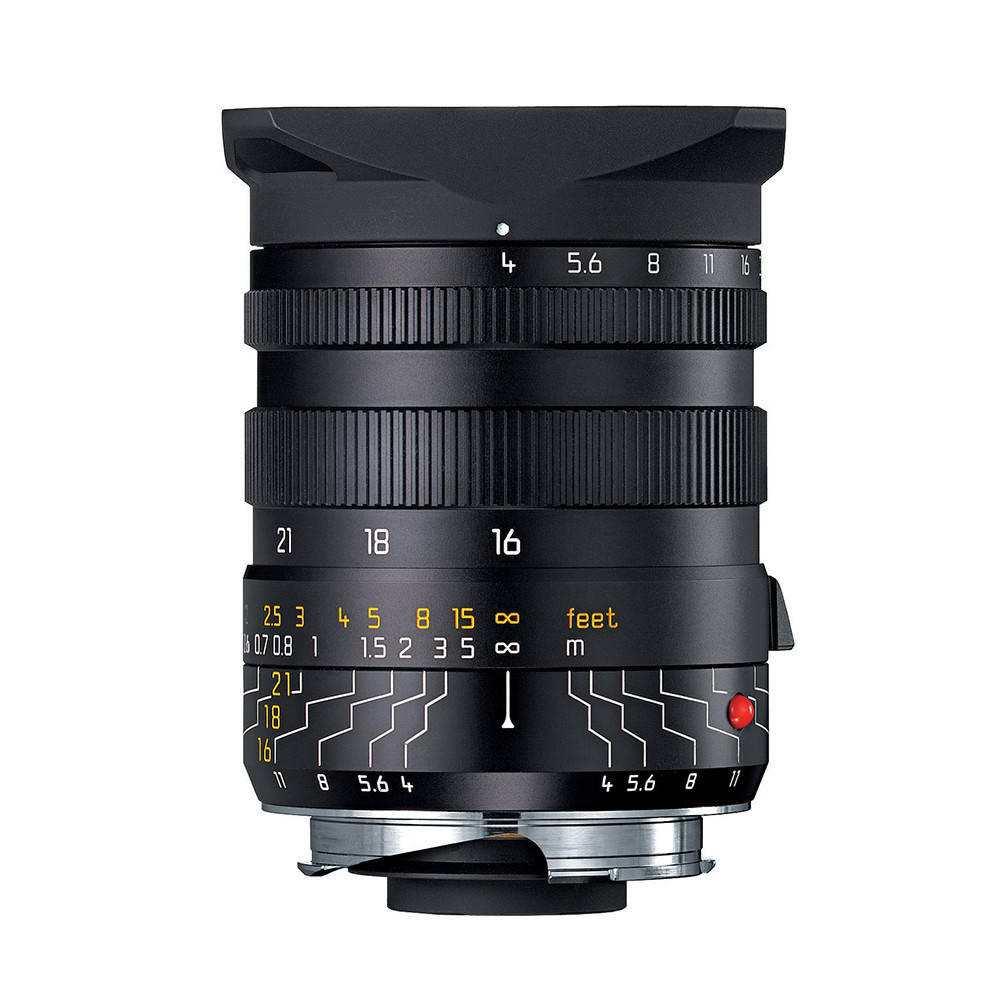
This post is a tutorial on Ultra Long Exposure photography using the Fuji X-E1 camera with its 18-55mm lens, a 6 stop B+W ND filter and a Sekonic L758DR spot meter.

Fuji X-E1 with its 18-55mm lens
The Fuji X-E1 is my 3rd in the Fuji line. I started with the X100 and moved to the X Pro 1 in order to have interchangeable lenses, then to the X-E1 to take advantage of its Electronic Shutter Release. I have always been a Canon shooter with closets full of L lenses. But due to a spinal operation that went dreadfully wrong I lost 80% use of both hands and arms. No longer able to hold heavy camera equipment I started on a long journey searching for high quality camera system that was small and light weight and produce world class images. A long story shortened, I settled on the Fuji X lineup and their fine quality lenses along with a few CV and Leica M mount lenses.
Now, the Fuji X-E1 with its electronic shutter allows me to hook it up to my water drop machine, Lightning Trigger and Hummingbird control system! The only lacking item is its short lens lineup. With the introduction of the new 55-210mm lens this spring even that will no longer be a problem for me!
Long exposure has several issues that you must overcome to successfully create the etherial, emotionally charged image.
- Long Shutter Speed: Even in low light you will find it difficult to get a shutter speed at f/8 (sharpest).
- Difficulty Focusing: Darkness you know…
- Unreliable Metering: Especially with an installed ND filter.
- Camera Shake: Requires a STURDY tripod and REMOTE SHUTTER RELEASE.
The Long shutter speeds generally can range from 15 seconds to 20 minutes. These are difficult to reach unless you shoot at night with light from the moon. What I find that I do is shoot at dusk on or just before sunrise to overcome this issue. Usually I will add a Neutral Density Filter (ND) to reduce the total amount of light reaching the image sensor. This will allow you to shoot with more ambient light and generally make this style of photography easier!

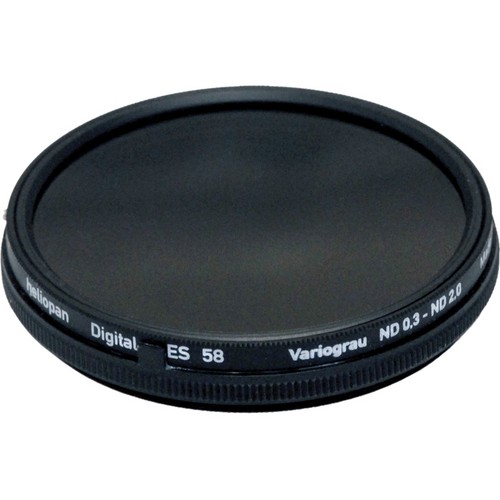
Heliopan Variable ND Filter

Shutter Speeds in Full Stops
I like the B+W line of ND filters and keep 3 on hand for each of my lenses I use: 3 Stop, 6 Stop and 10 Stop. There are also some really good variable ND filters as well. But be warned: You get what you pay for with these! If you get one of the Fader filters on Ebay for $30 then you are sure to be disappointed. But on the other hand if you get the Singh Ray Vari ND (~$450) or the Heliopan Digital Vari ND (~$350). The trouble with the variable ND filters is that they are generally limited to 6 stops before they start to generate artifacts into your images.
If you take a look at your standard 1 stop shutter speeds you can see what adding 6 stops of ND filter will do… If you have a metered exposure say, f/8 at 1 second, adding a 6 stop ND filter will give you a 1 minute exposure!

Aperture in Full Stops
If you desire a longer shutter speed you can also increase your aperture value up to a higher number forcing the shutter speed down to allow more light to strike the sensor.
We started at f/8, but by moving it 3 full stops to f/22 (see chart on the right) we can then move our shutter speed 3 more stops slower to 8 minutes!
You can move the aperture and shutter speeds up and down to get the balance you need for your artistic interpretation you desire for your image. Remember though, the sharpest that most lenses are capable of is at f/8!
Ok, lets talk about the issues in focusing!
It is dark out, you can see very little detail in your viewfinder! How can we accurately focus? Here are some ideas for you to consider!

Use a Light as a focus point
- If shooting a subject like a pier or a lighthouse, set your camera on manual focus and adjust the focus to create a sharp round ball of one of the pier lights. These lights are a great focus point. You can also look between pilings for areas of dark/light.

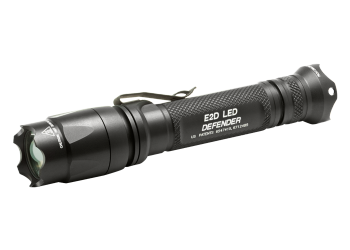
Surefire E2D
- If there are no lights to focus on then you can use a high power flashlight to high light the part of the scene you wish to focus on. There are several high power LED tactical lights that you can get and are a good idea to have in your case. Look at the Surefire E2D LED light.
- Get someone to go stand at your selected focus point if possible with a light, then focus on the light!
- You can manually set your focus distance to the hyper focal value if you have previously determined it for your camera/lens combination.
- Remember, manual focus is the best and easiest way to get the focus that you desire.
Unreliable Metering…
Ok, this is a biggie. You will find that when using a 10 stop ND and on some cameras, the 6 stop ND that the in camera metering system does not work reliably. Plus to make this even more interesting consider a very long exposure, say 10 min where the light is changing and getting a stop or 2 darker during the exposure! These are not small matters to overcome. There are several work arounds for this from a simple pain in the but to advanced hand held meters!
Here is a list of suggestions for you to consider..
- Try shooting in Aperture mode: Allow the camera to attempt to set the shutter speed. If shooting at dusk or in the dark with a ND filter installed you have about a 50/50 chance on getting the correct exposure. But… this is DIGITAL, and you will have a histogram with your exposure which will give you a baseline on which to adjust the exposure up or down! This is a good low cost way to get it spot on for the 2nd shot. There is a down side to this though, if the shutter speed is long, then you have to wait the same amount of time after the exposure for the in camera noise reduction software to run. This means that a 8 min shot becomes a 16 min wait! Workable but time consuming.
- Leave your ND filter OFF the camera, in manual exposure mode: Compose, focus and meter, then screw in the ND filter and adjust the exposure manually to account for the addition of the ND filter. You must be careful to NOT change the focus by screwing on the filter. The exposure adjustment must of course be correct. Leave the aperture sat at a standard value like f/8 and do your adjustment via the shutter speed. So for a exposure of f/8 at 15 seconds with no ND, the addition of a 6 stop ND will change the exposure to f/8 at 15 minutes! you need to be able to do this in your head.
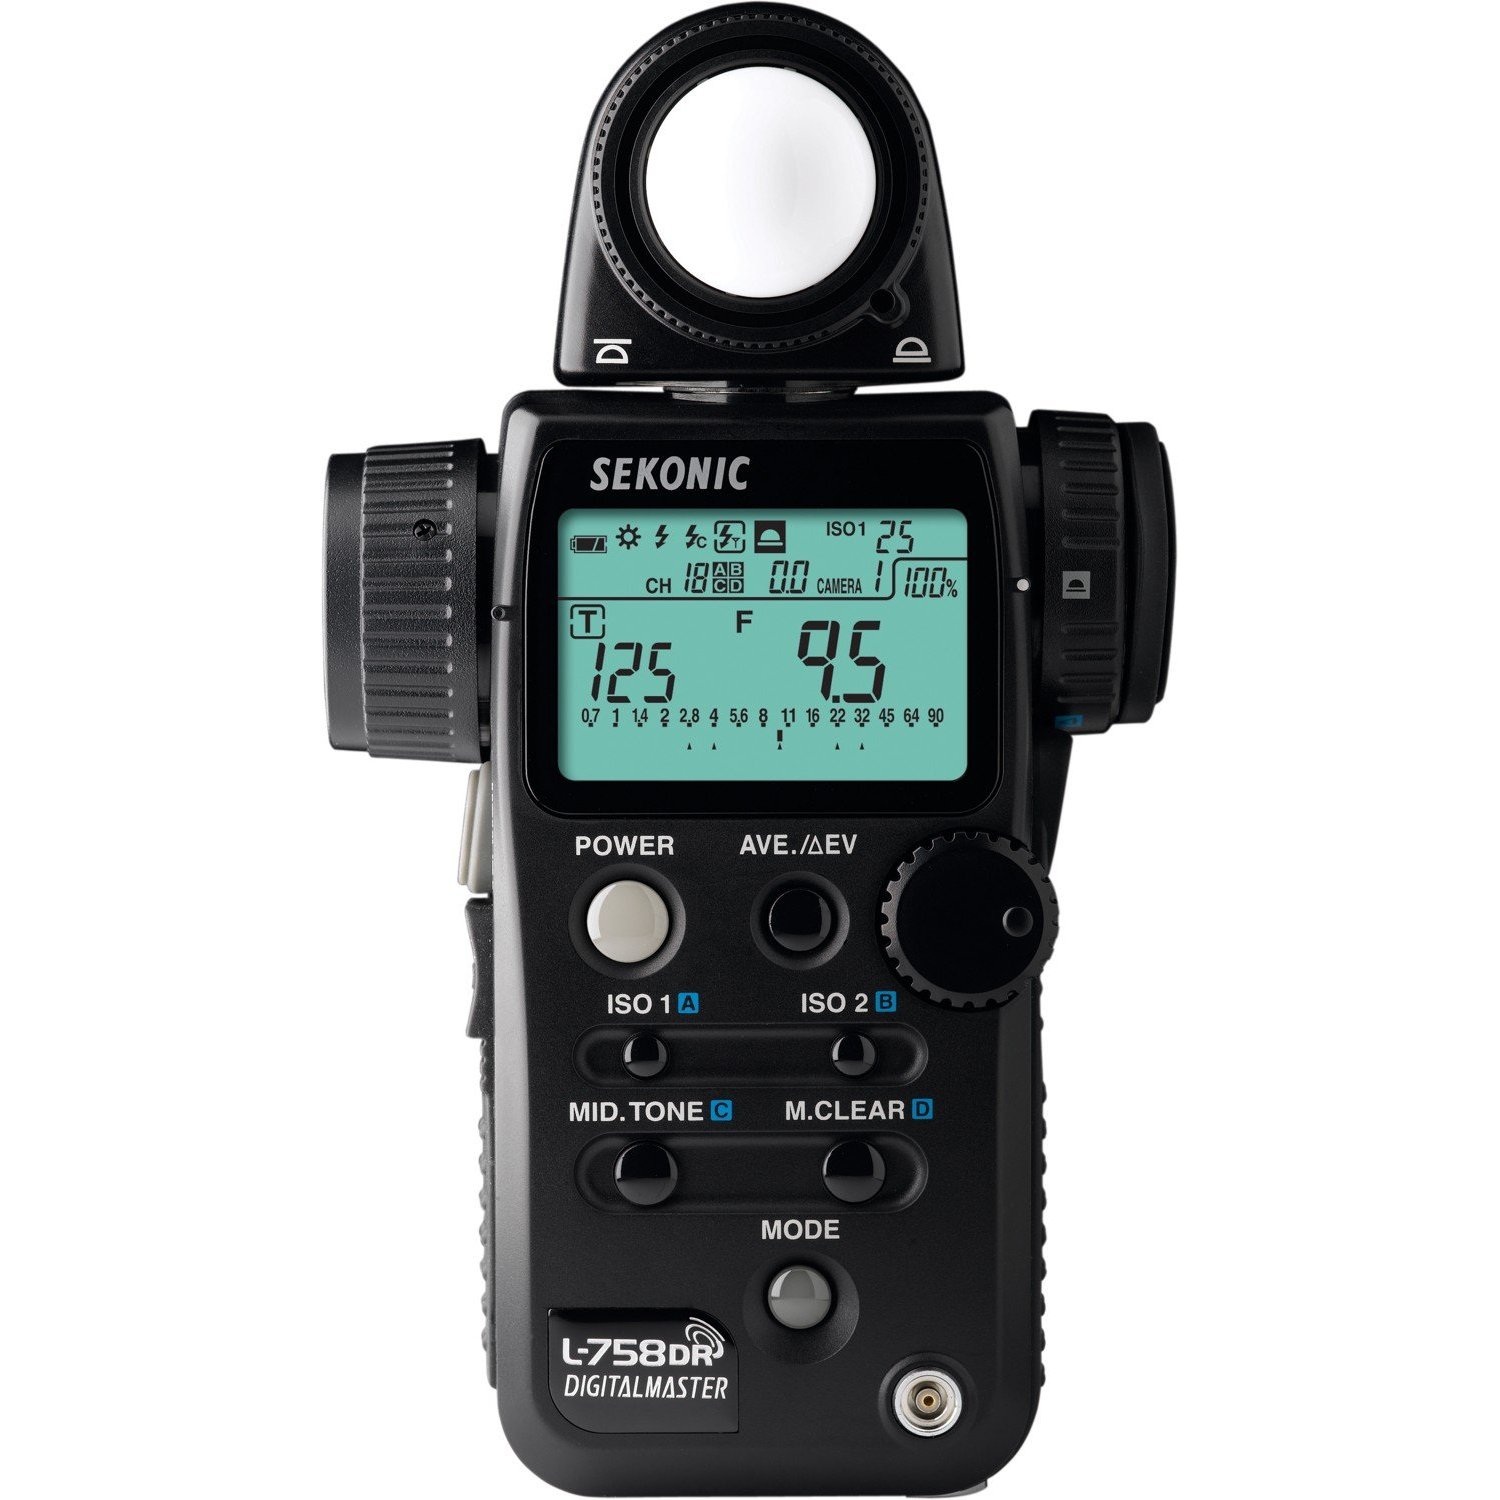
- Use a hand held meter like the Sekonic L758DR spot meter. This meter allows you to set in a filter based exposure compensation of +/- 10 stops. You decide upon the ND filter you wish to use, dial in the exposure compensation into the 758 and meter on a spot in the scene that you desire to be 18% gray and the meter will give you the proper exposure settings!
Using the Sekonic L758DR Spot Meter with the Fuji X-E1 Camera system for Long Exposures…
Now, it is time to go through exactly how I created these images using the spot meter and the Fuji!

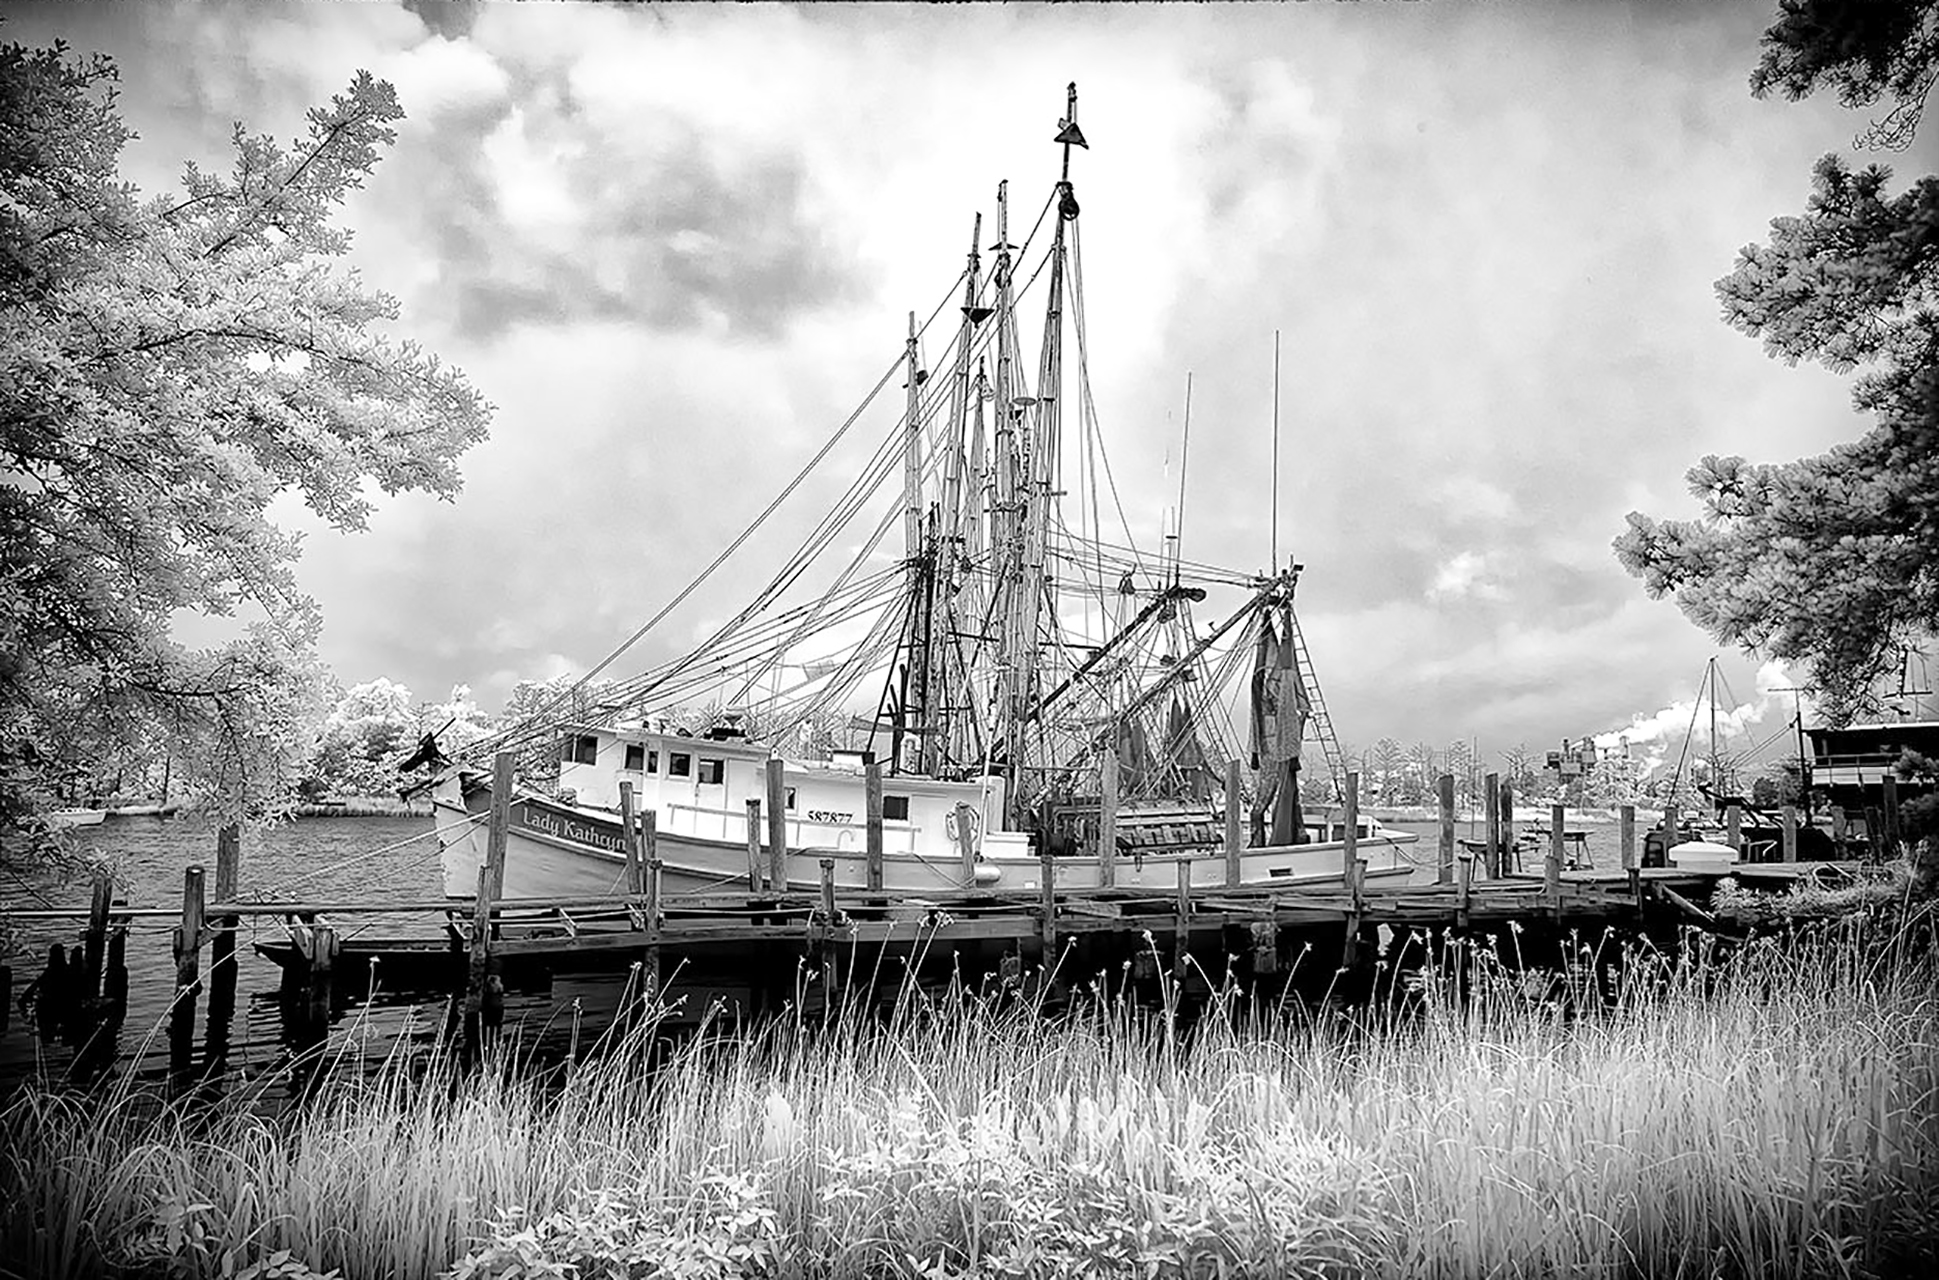
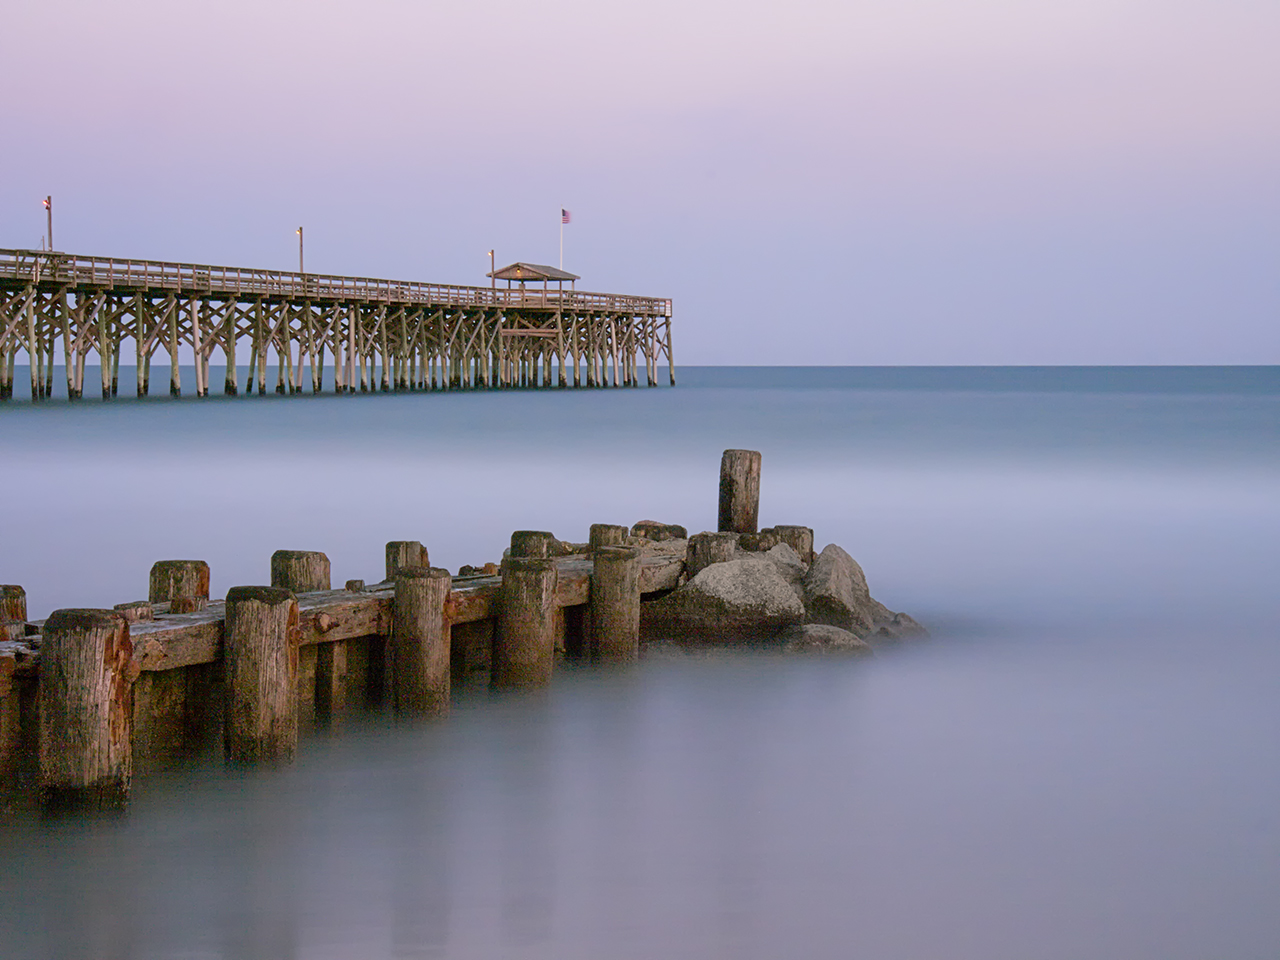
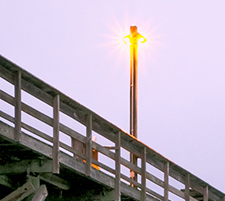
The scene as seen from my eyes at the time I was setting up…
Above is how the scene looked like at 7:30 pm (dark) when the image was taken. As you can see it was so dark that the only way to focus was to use the bright spots of light on the pier to manually focus, then pot meter on the sky with the L758DR meter. This gave an initial meter reading of f/22 @ 2 seconds thus making the sky 18% gray (too dark for me) with ZERO exposure compensation dialed into the meter (not yet adjusting for the 6 stop ND)! Now, adjusting the meter for the 6 stop ND filter by entering 6 stops of exposure compensation, the reading became f/22 @ 2 minutes but with the sky still at 18% gray. My imagined, finished image was one with the sky 2 stops brighter, or moving the spot metered point from Zone 5 to Zone 7 which is 2 stops! So I simply added 2 more stops and moved the shutter speed to 8 minutes (2 stops brighter) and shot the image.
Normally, I would have the 6 stops of compensation dialed into the meter ahead of time and make this a 1 step process.
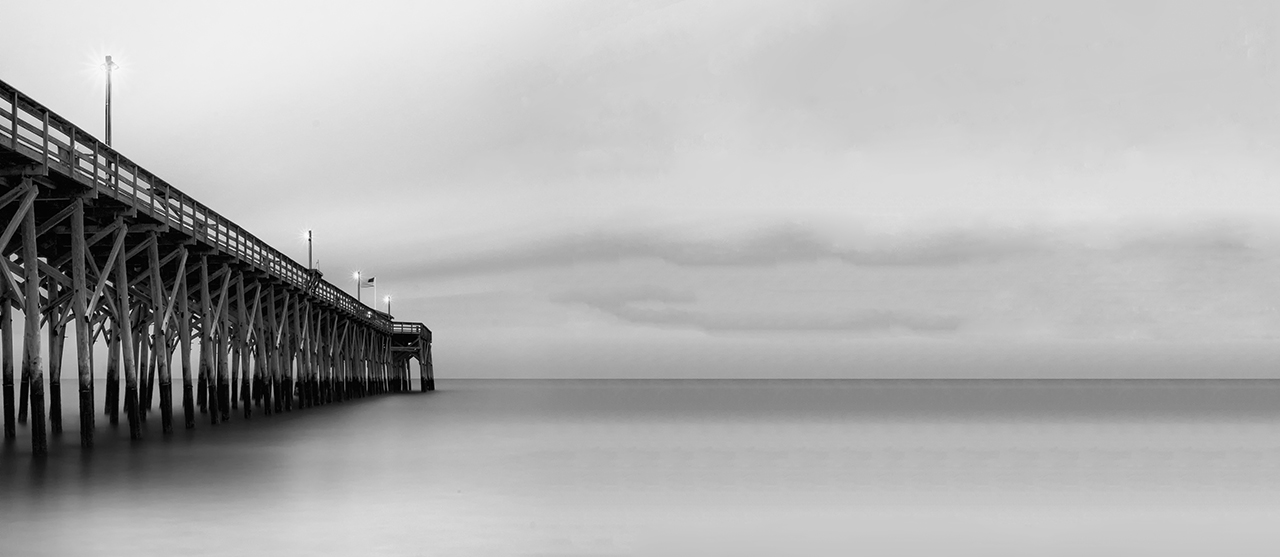
So here is the resulting image…

f/22 @ 8 minutes with a 6 stop ND and moved to Zone 7
I am showing you the images in B&W so that you can better visualize the shades of gray to see the 18% moved from Zone 5 to Zone 7! The Sekonic is very easy to use and is a true 1degree spot meter. To dial in the 6 stops of exposure compensation I held down the ISO1 and ISO2 buttons and turned the control dial. The meter reading adjusted for the ND filter and gave a perfect exposure the first time!

Sekonic L758DR Spot Meter
The exposure compensation shows up on the LCD screen so that you know what you are actually measuring. You could have easily set it to 4 instead of 6 and that would have taken the move from zone 5 to zone 7 for you but I prefer to do that adjustment in my head!
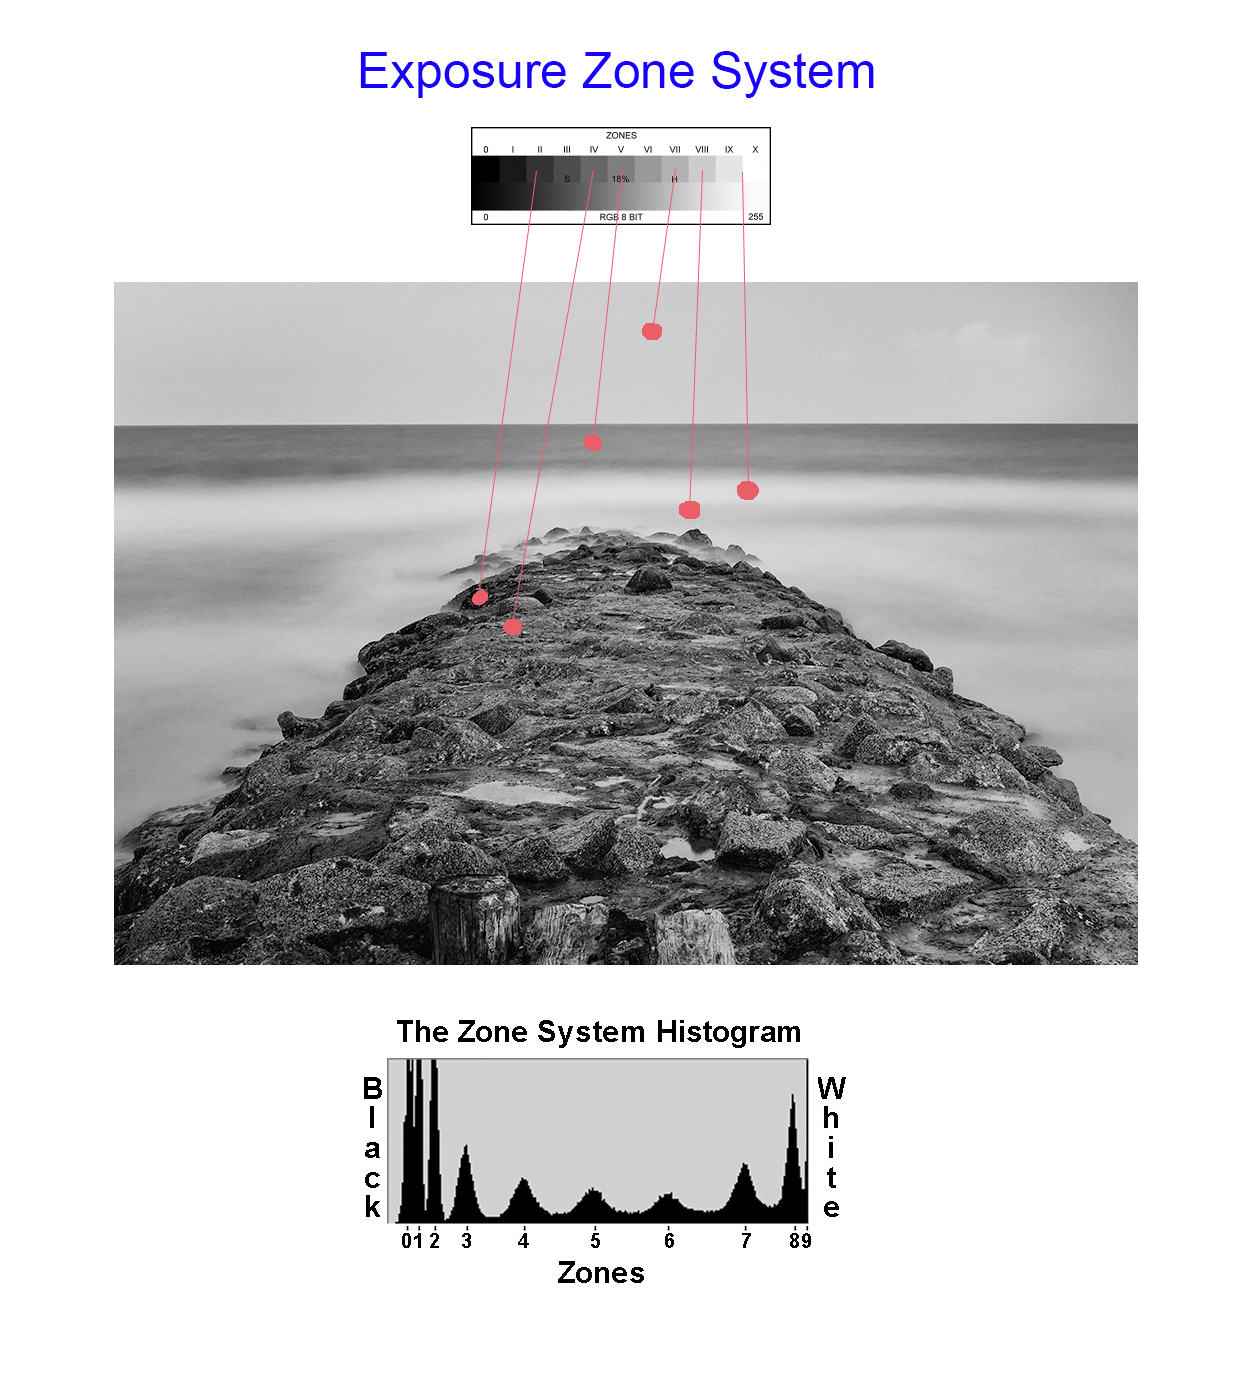
Zones…
Simply stated the Zone System (Ansel Adams), assigned a series of stepped gray changes, 1 stop apart and across a valued scale of 10 stops with Zone 5 being 18% gray which is where ALL camera and handheld meters place the exposure. By looking at the chart below you can see the change between Zone 5 & 7 (2 stops) and what difference it will make on the brightness of the sky! I use the Zone System in ALL of my exposure calculations and it is how I see contrast changes across my image!

The Zones…
There are plenty of great books out there that will teach you the Zone System of exposure control and adjustments! Here are 2 on Amazon:
Here is how you would apply actual Zone values to an image. Then you can shift the exposure to move the metered Zone up or down to adjust the overall brightness of the image!

Using Zones to understand what your meter sees…
Now given the meter reading for Zone 5 you can change the exposure up or down to brighten/darken the overall image! Combine Zone Exposure techniques with Long Exposure photography then you can see how easy it is to control your final image. Plus if you use a handheld spot meter that allows for +/- 10 stops of compensation then you can see how easy it becomes to get a good exposure that is measured in seconds or minutes!
Here is a simple explanation of what each Zone looks like:

The Zone System explained.
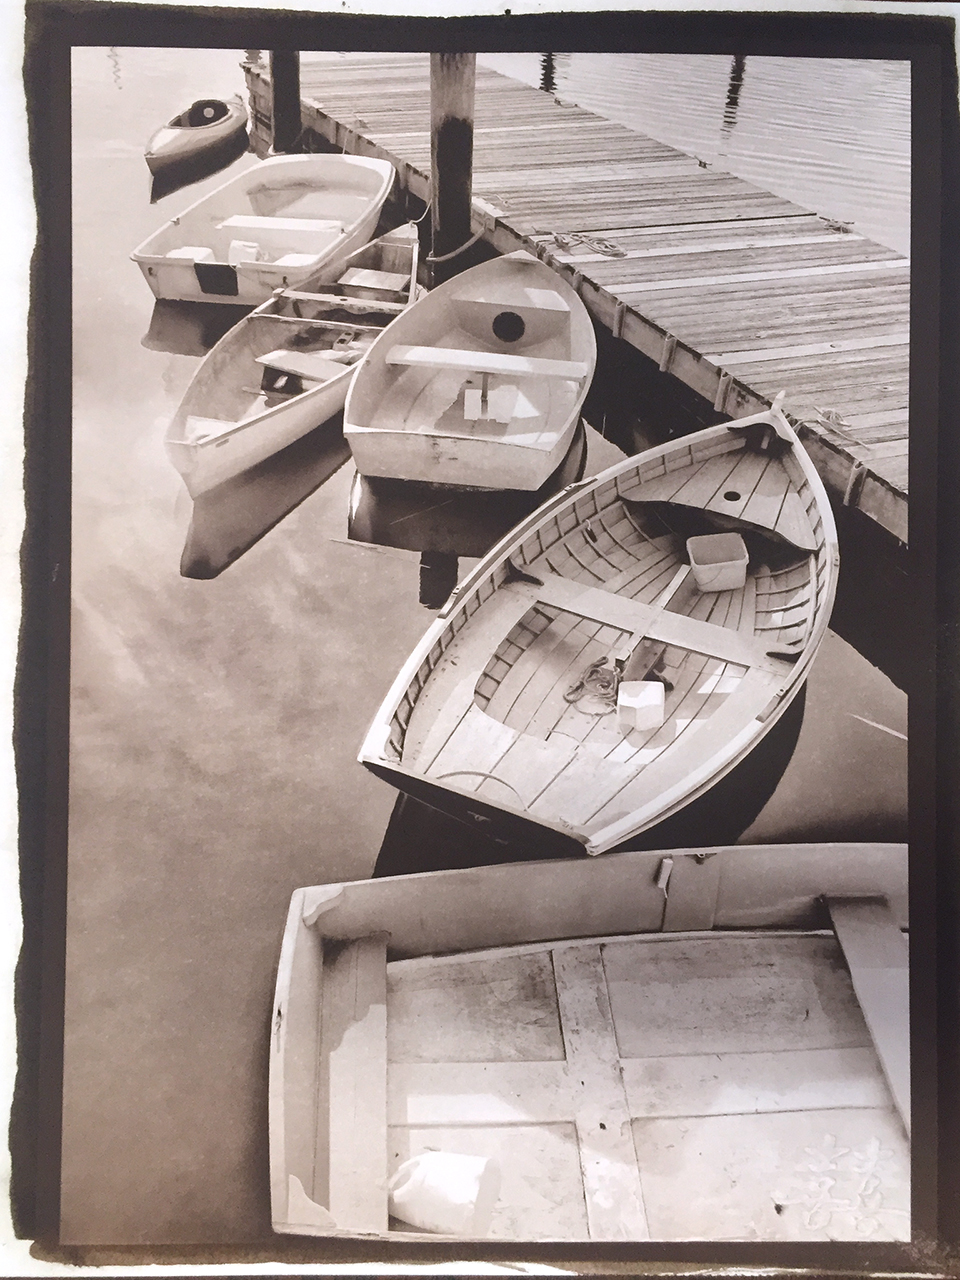
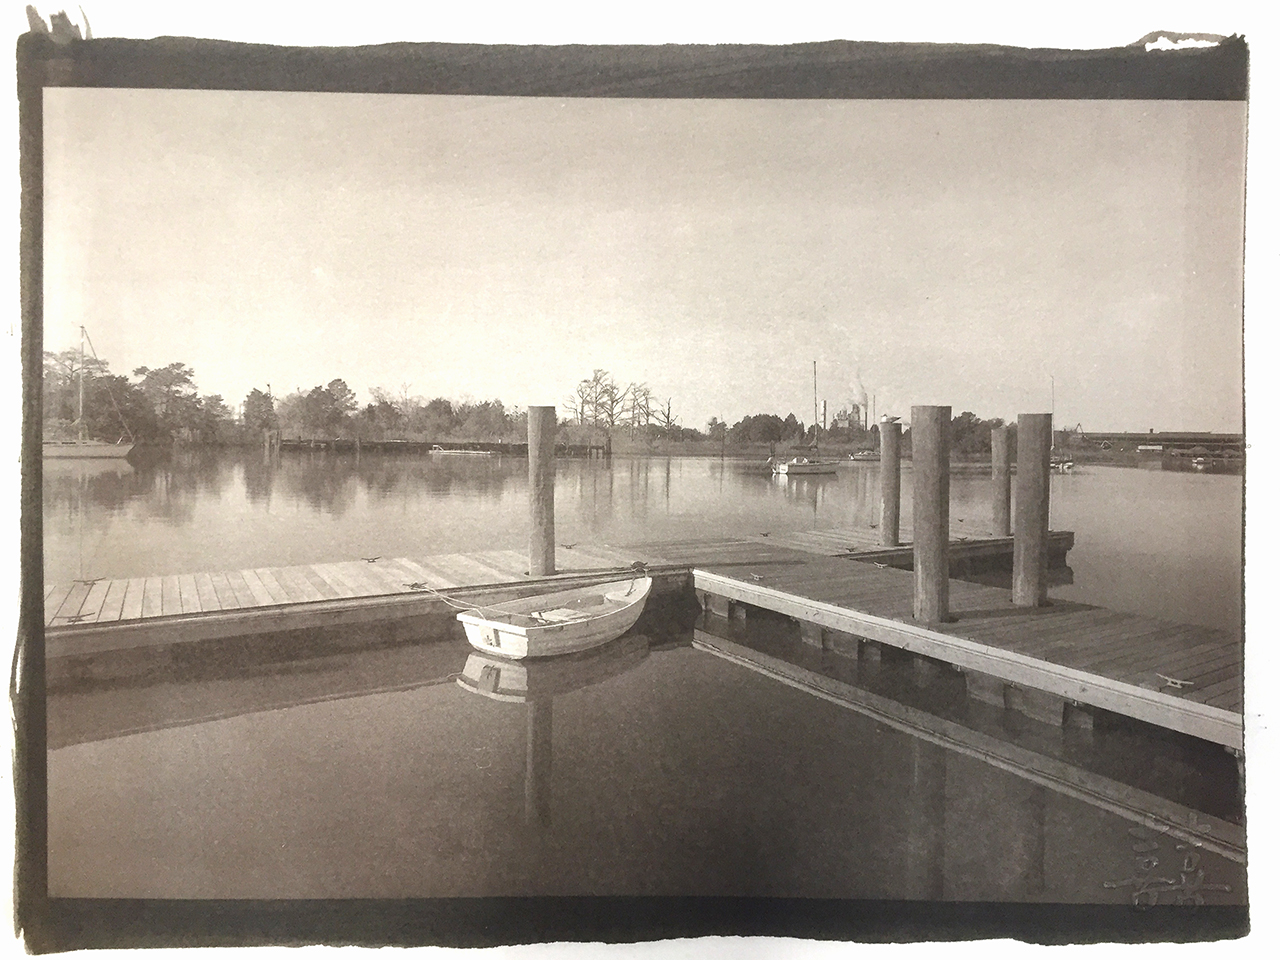
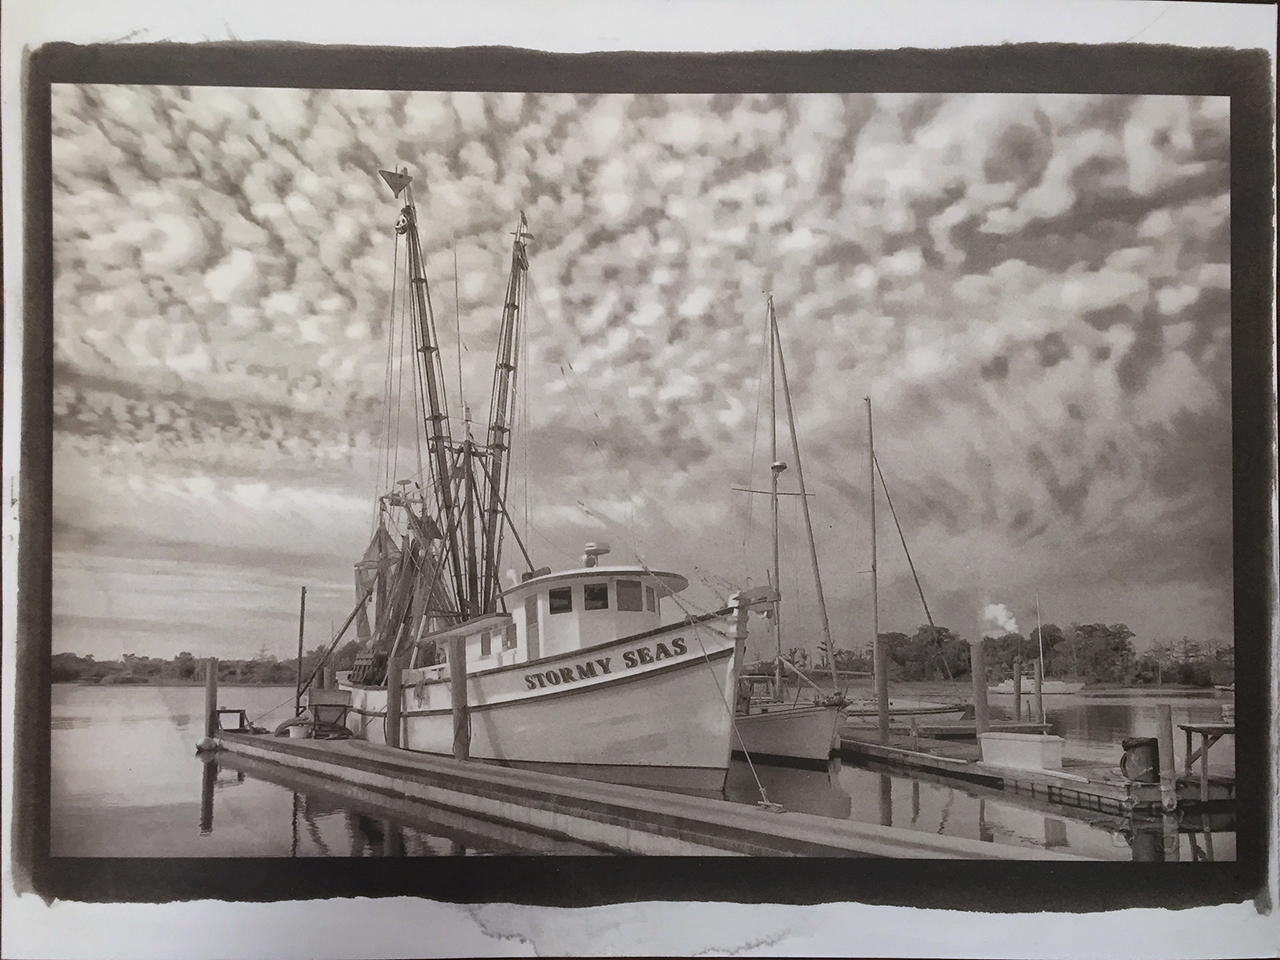
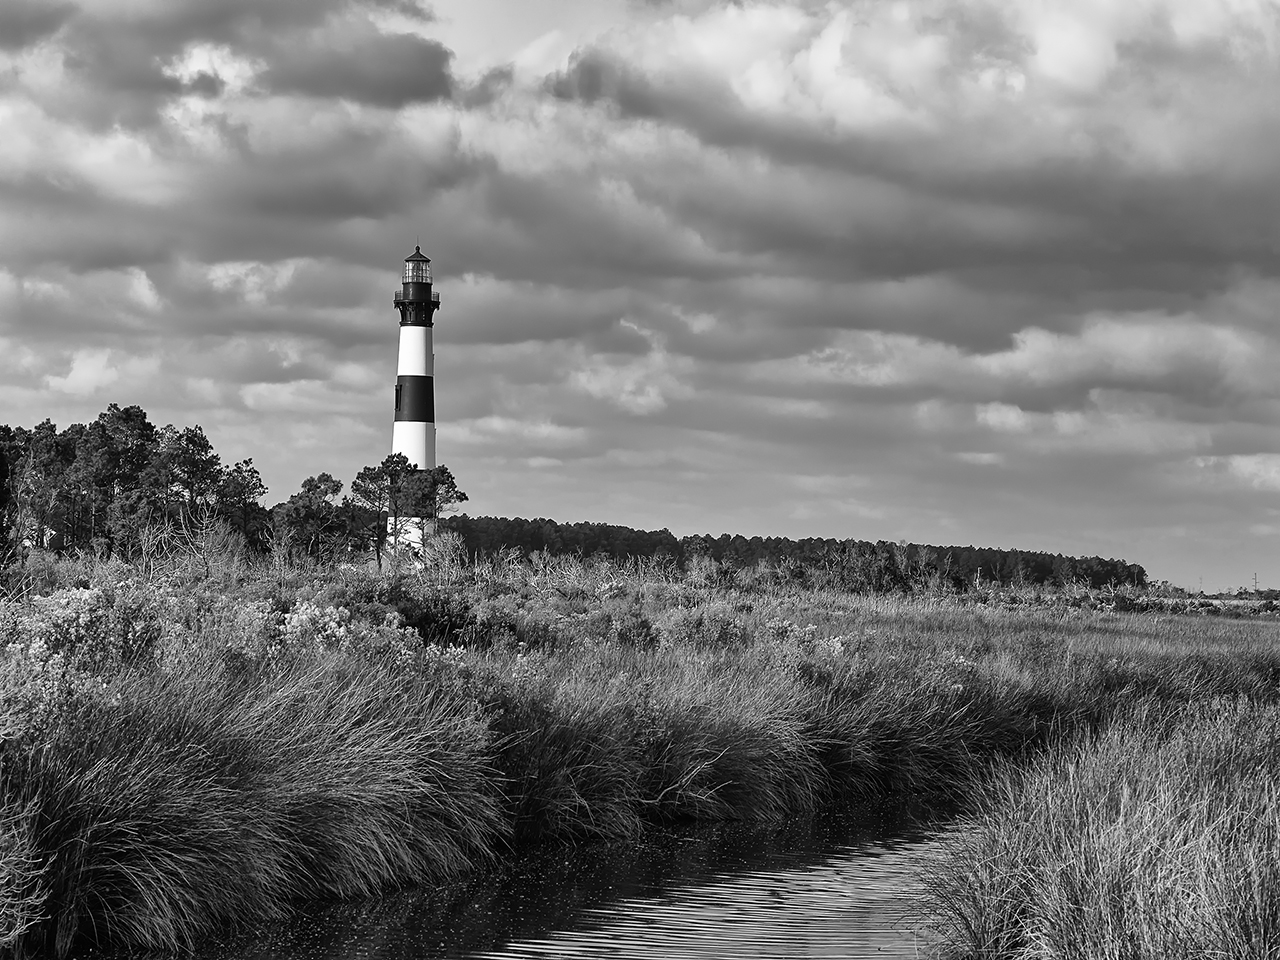
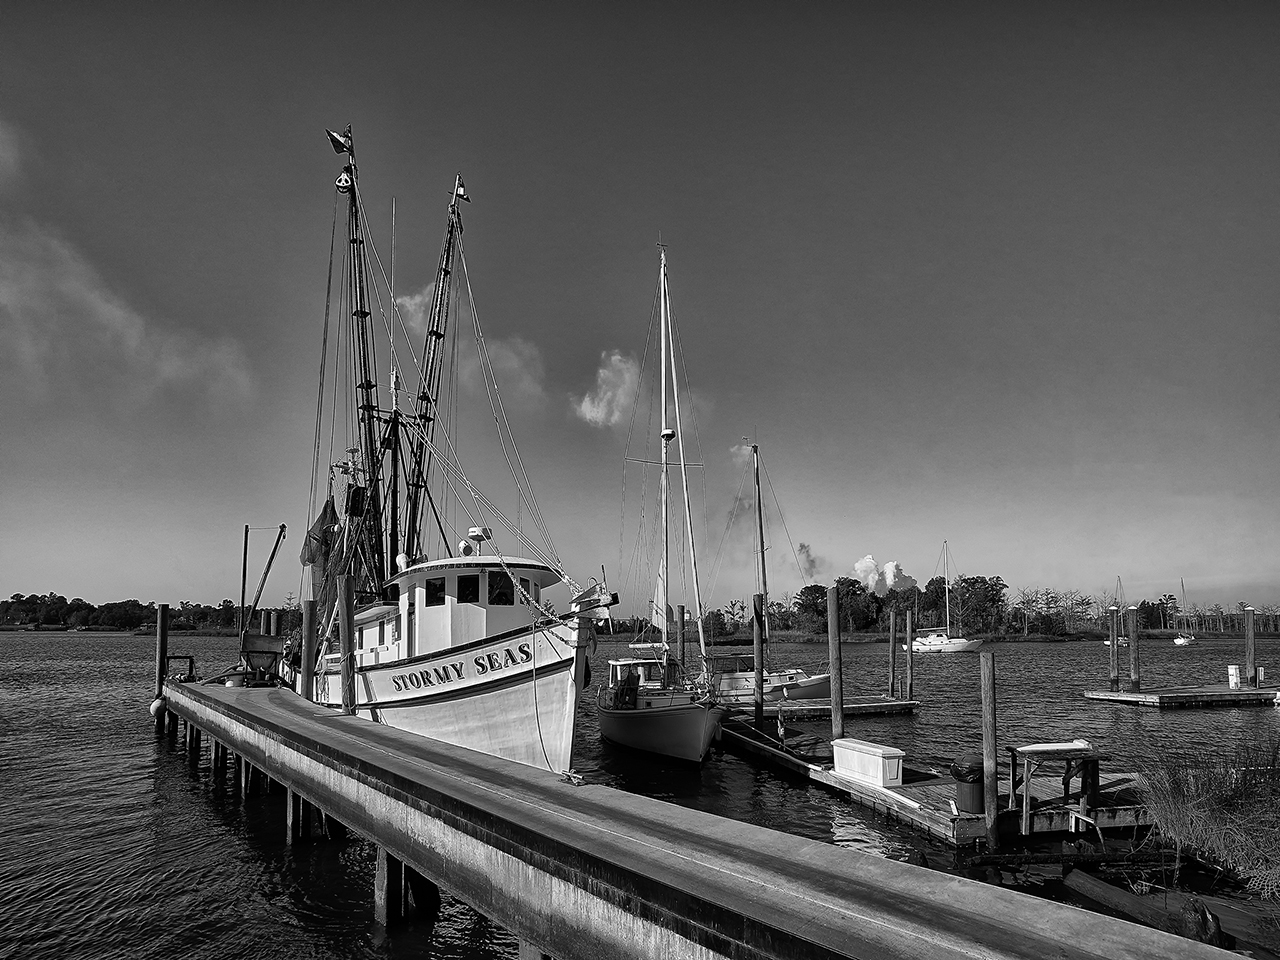
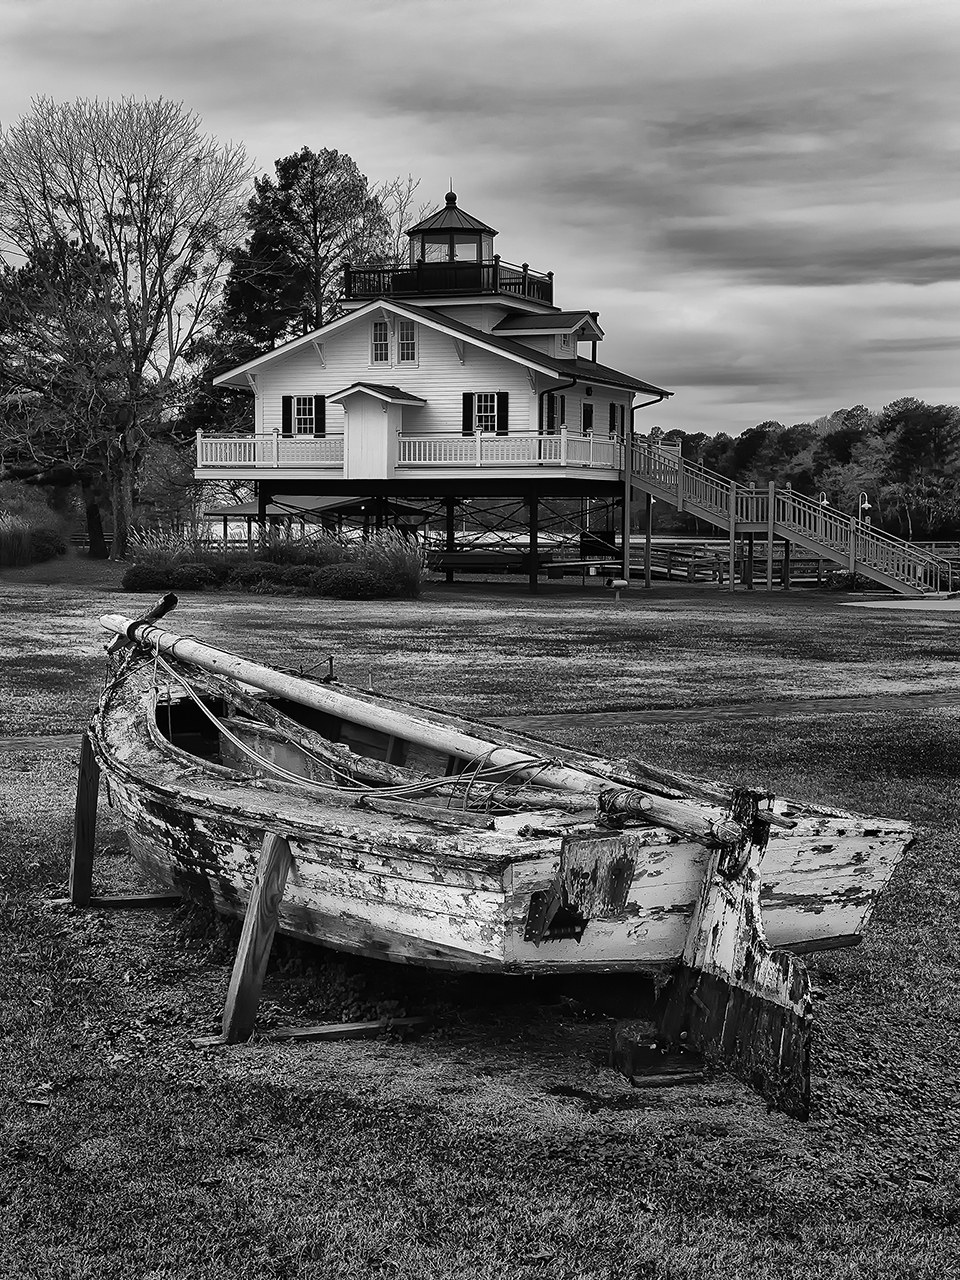
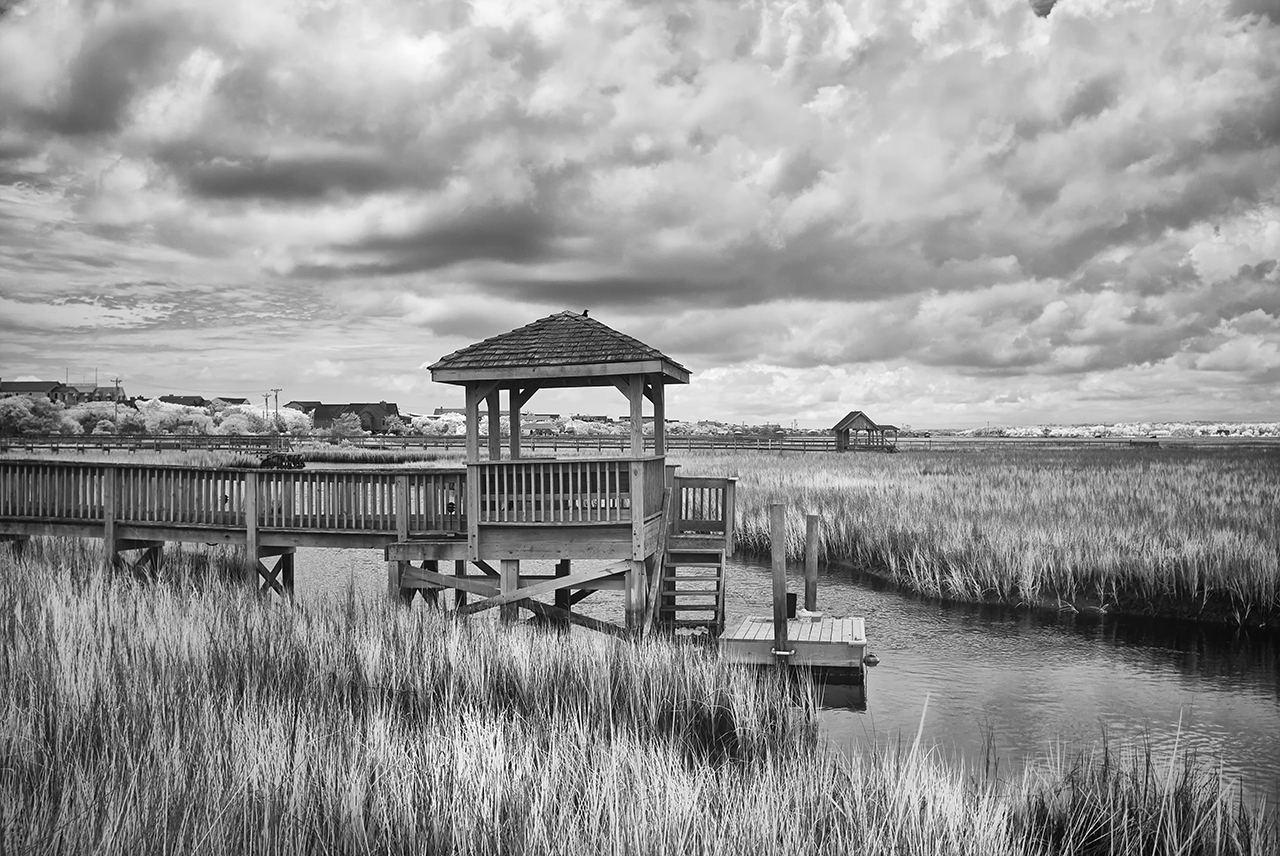
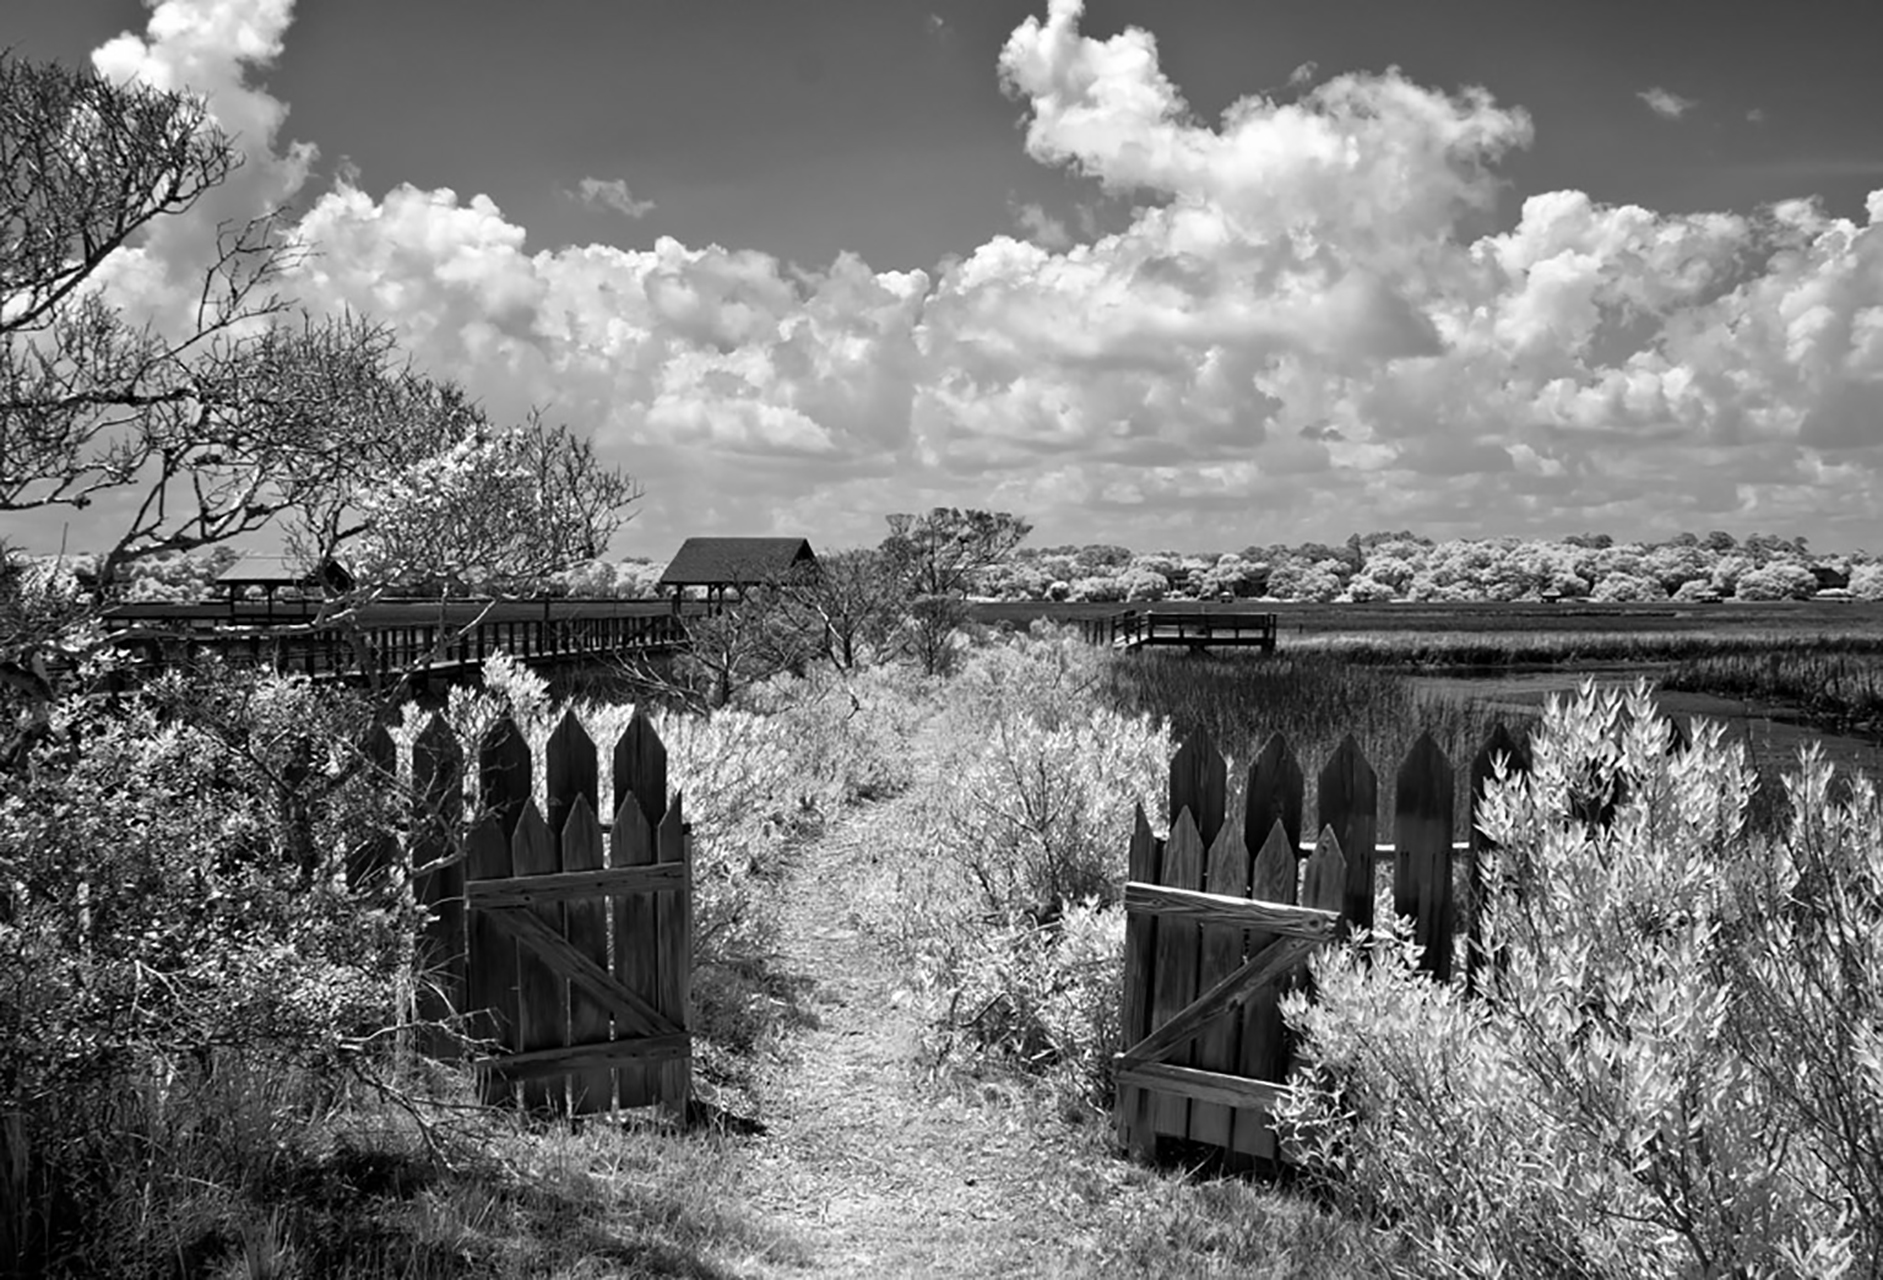
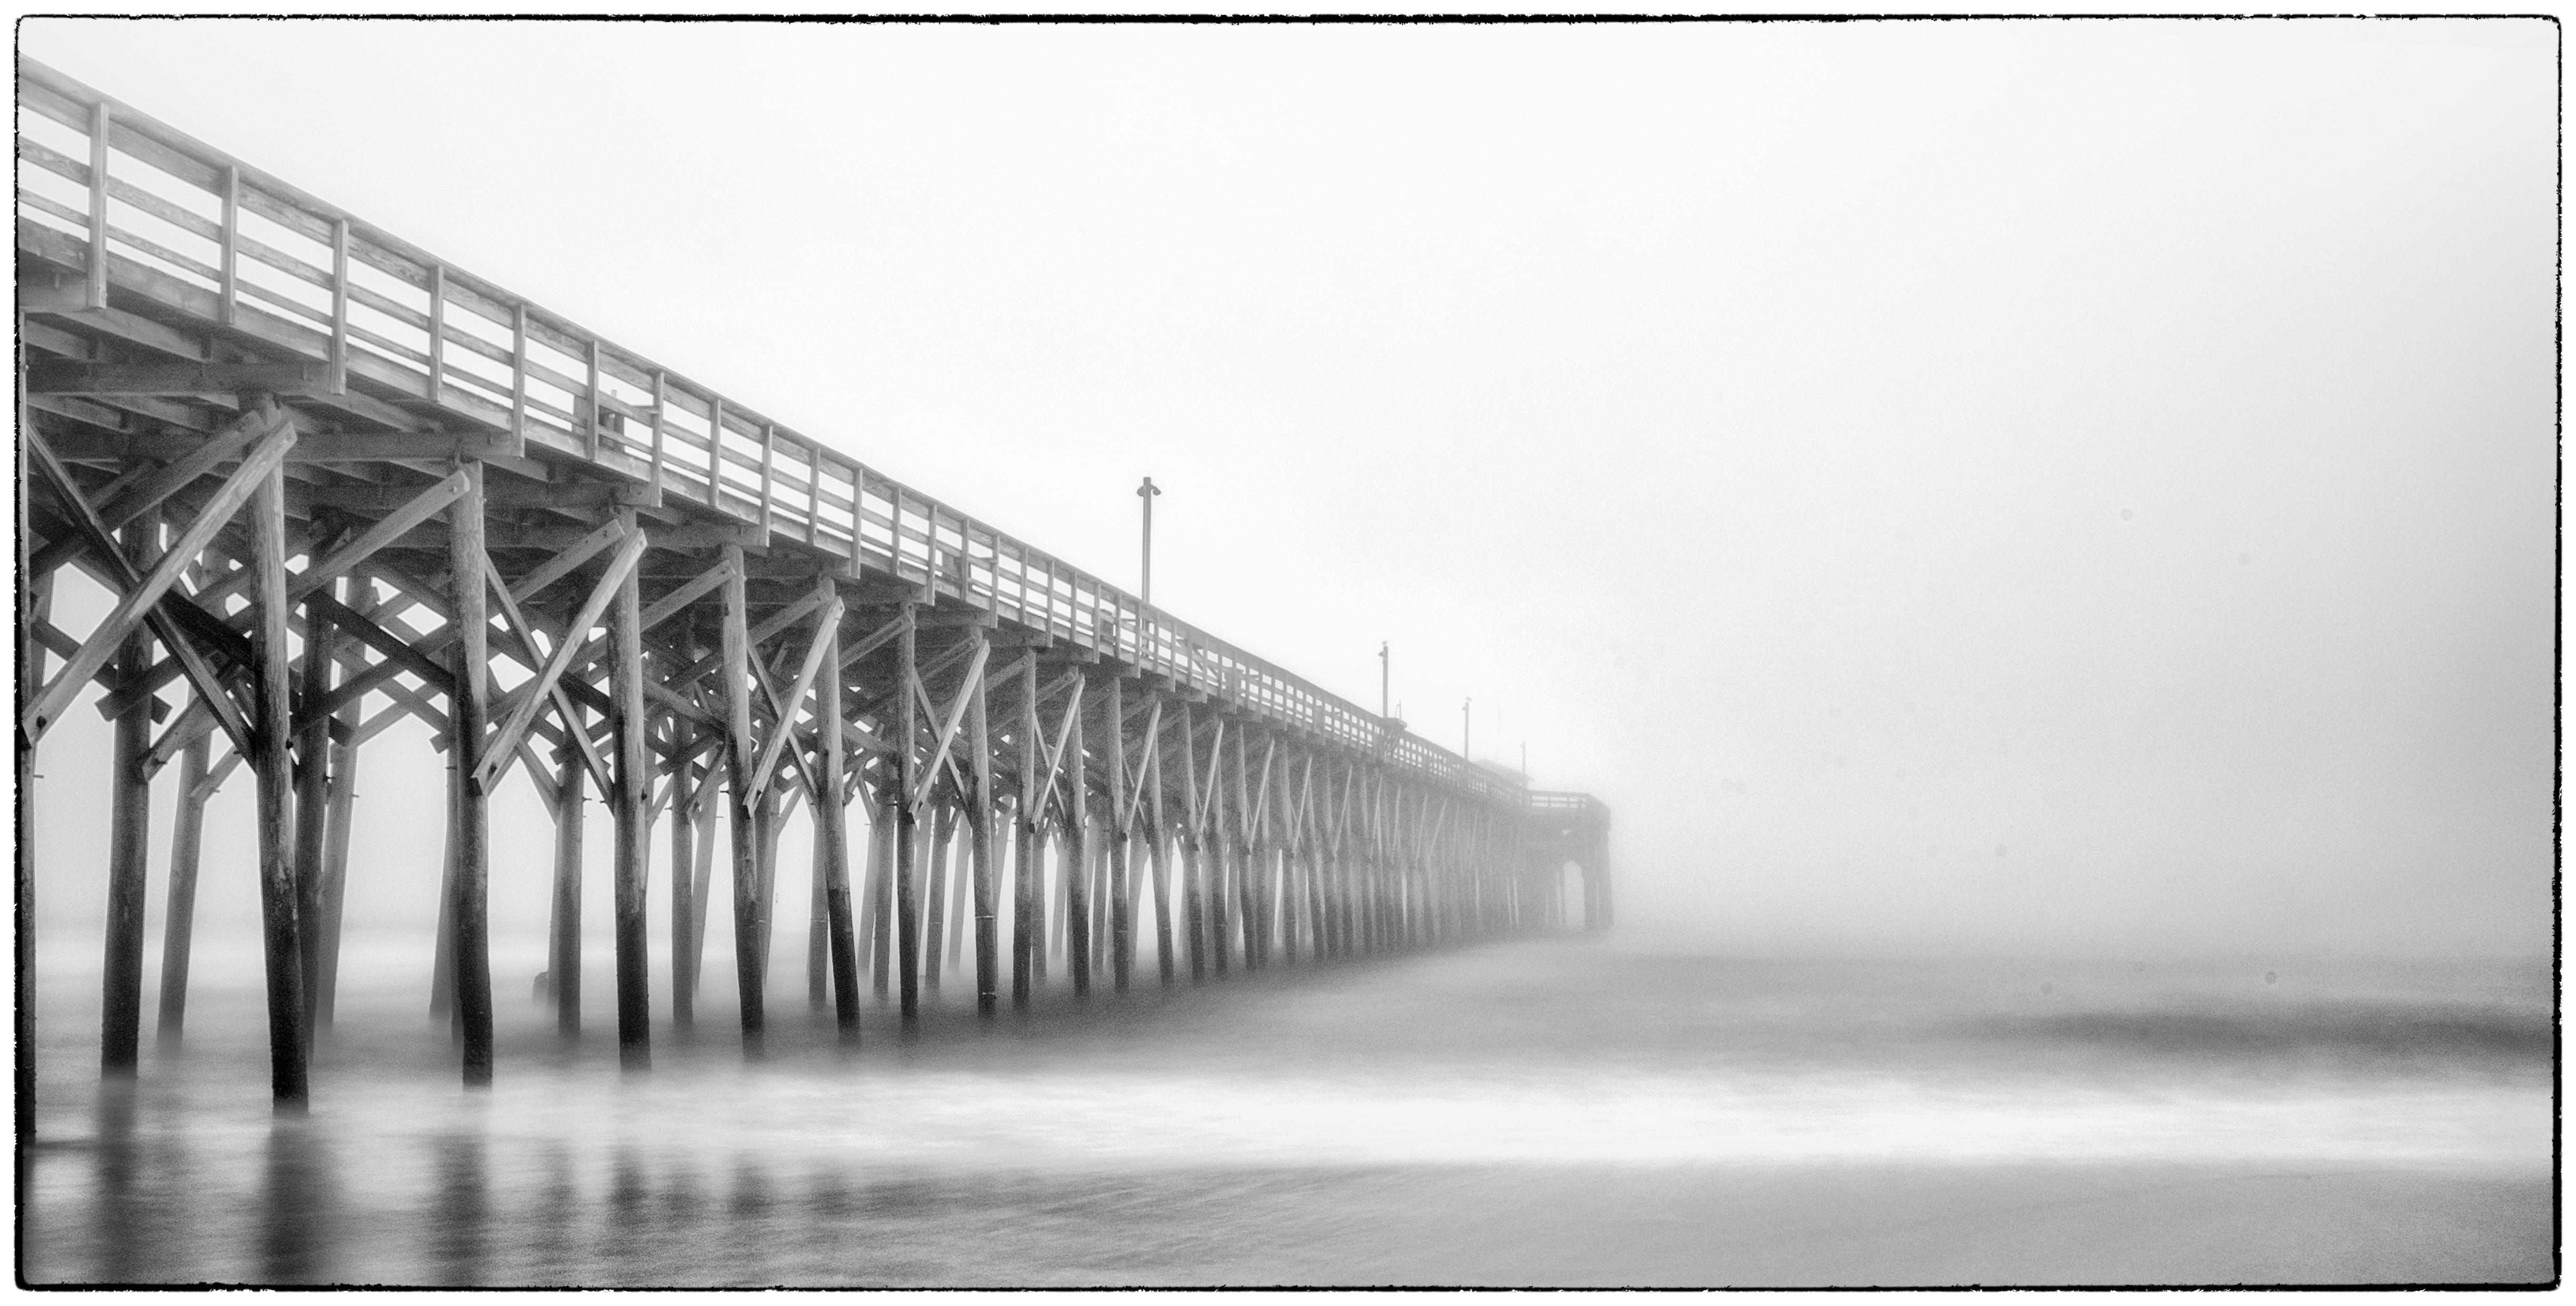
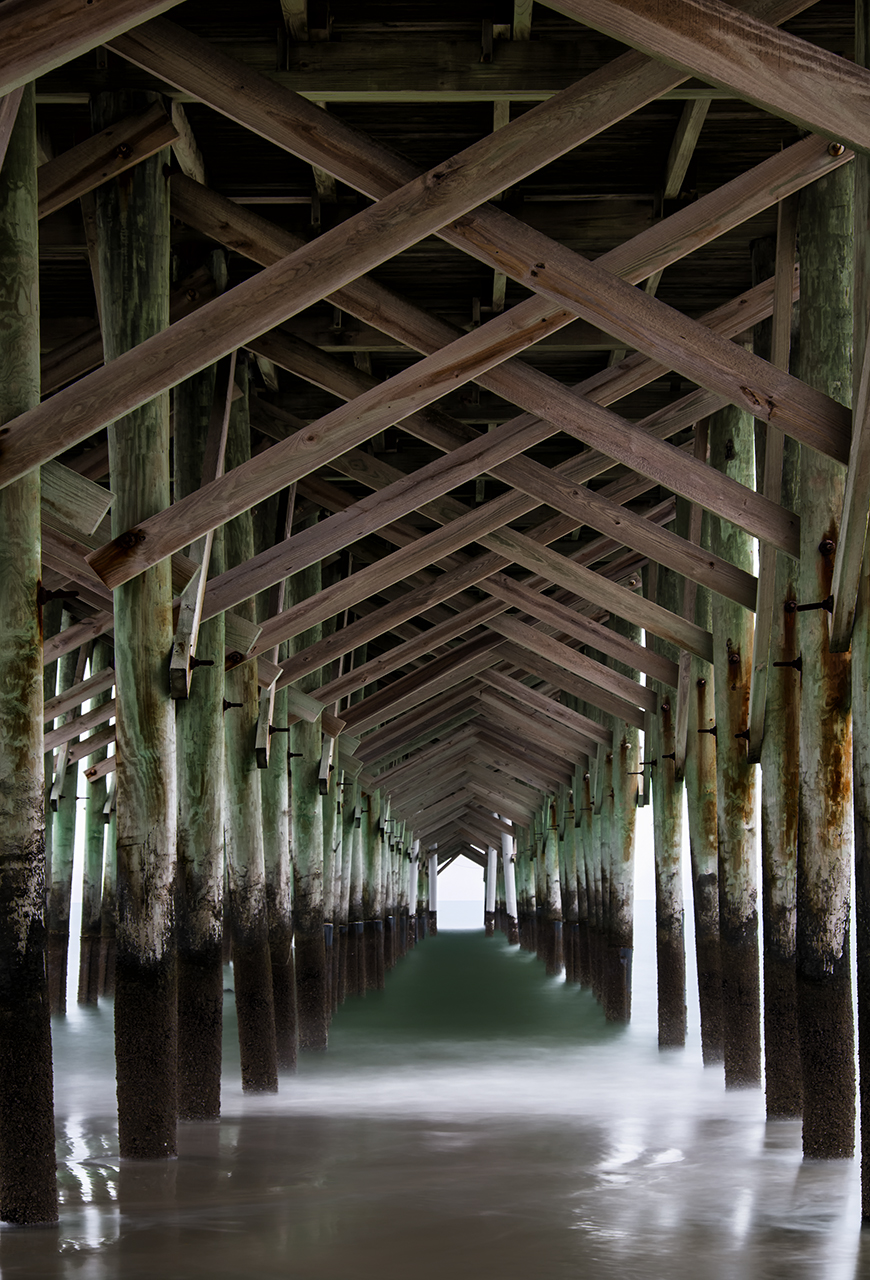
Here are a few more images taken this night on the beach! I hope you enjoyed both the article as well as the images! Please let me know!

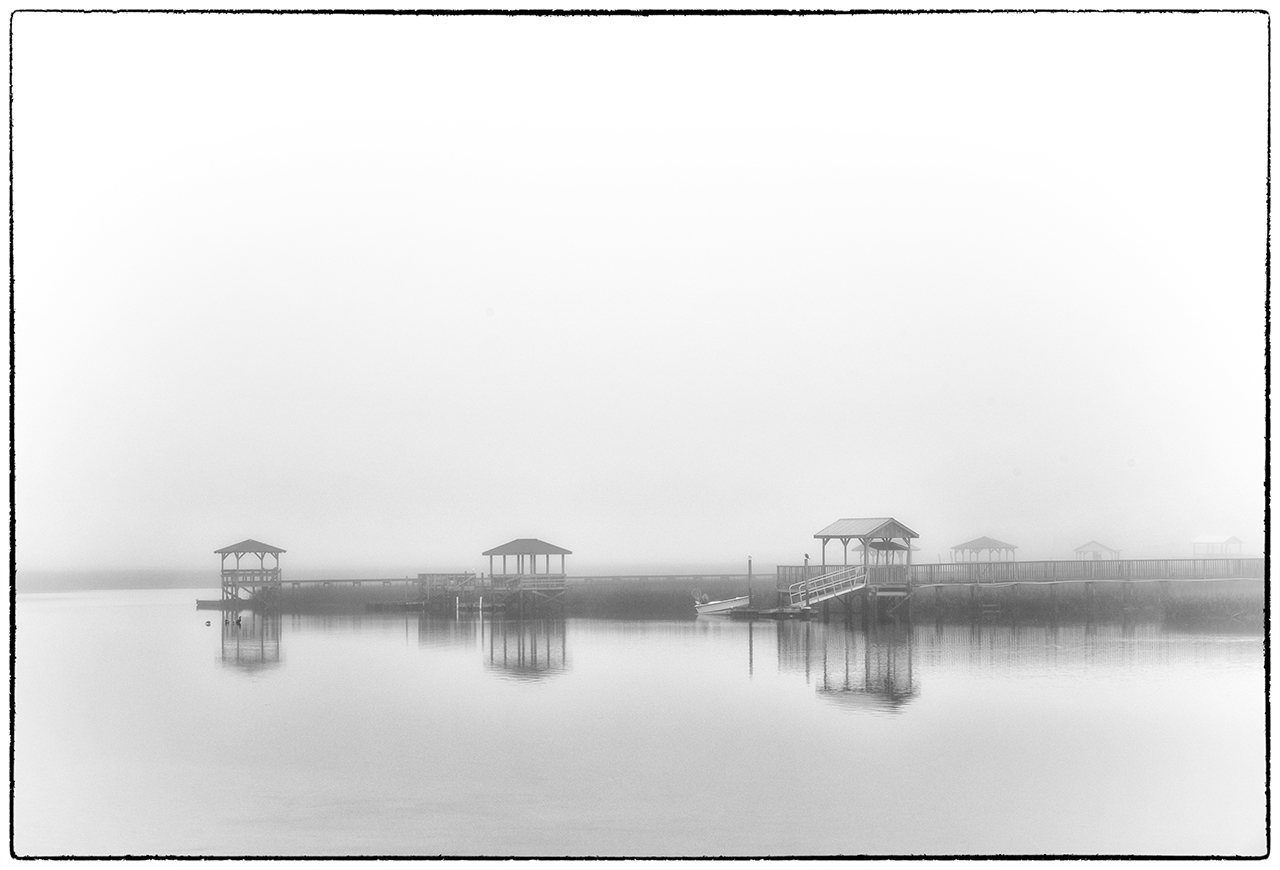
250 second exposure, Fuji X-E1

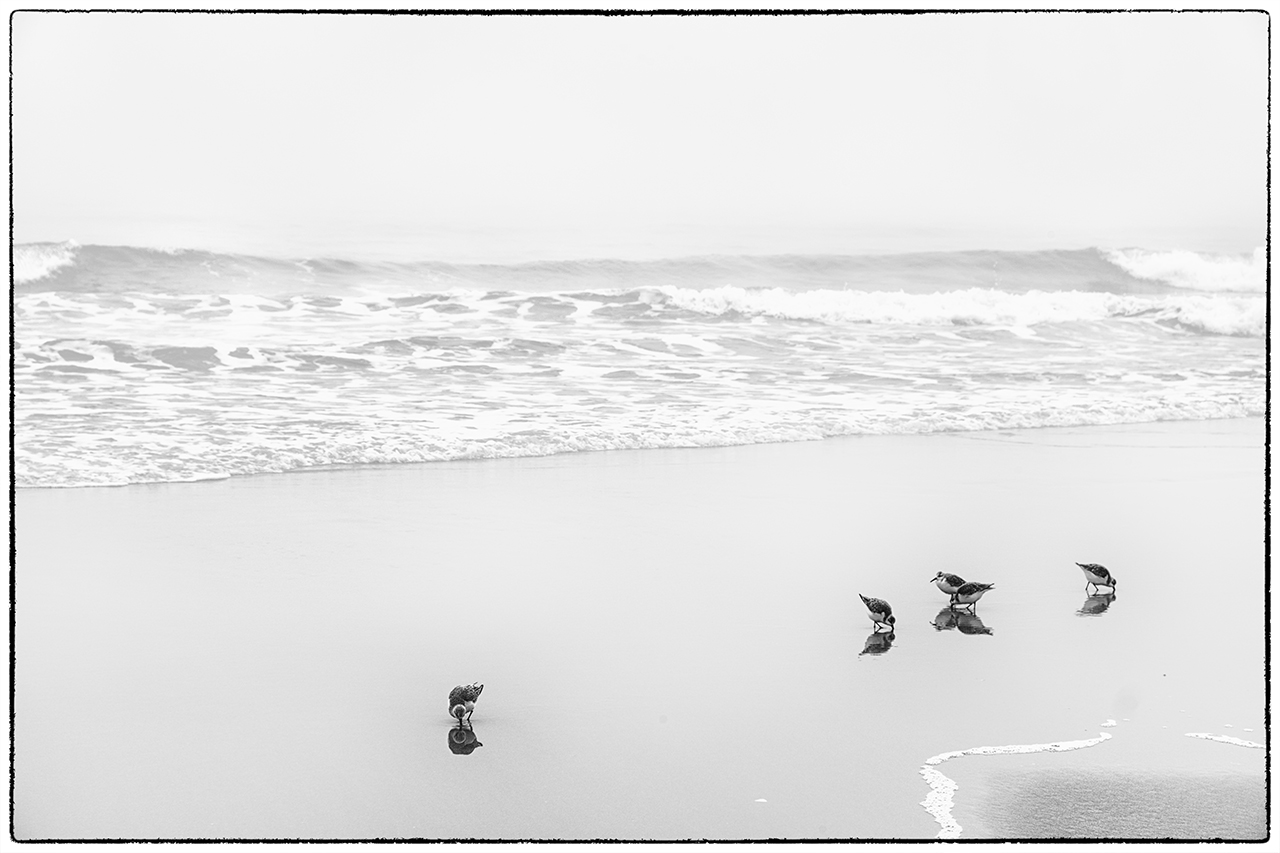
30 second exposure just before sunset, Fuji X-E1 shifted to zone 7