“Oak Reflections in Infrared” Gold Toned Van Dyke Brown Prints on Lana Aquarelle 140lb HP paper
Who knew Gold would be so cool?
After experimenting quite a bit with washing my un coated Lana paper with a 2.5% wash of Citric acid and distilled water and discovering that ALL of my paper issues fell away that the Dmax of my paper/print would so radically improve! Though I do have to admit that pre washing the paper adds 2 entire days to my workflow and is a LOT of work. I recently ordered some Fumed Alumina powder from Bostick & Sullivan as an alternative to acid washing. B&S says of Fumed Lumina:
A small quantity of fumed Alumina is rolled on to a piece of paper with a dry high density foam paint roller. It spreads evenly on to the paper leaving a velvety surface to the touch. The paper can then be coated with a platinum/palladium solution, dried, exposed and developed in the standard method. It is suspected that the Alumina can be used for other hand coated photographic processes like cyanotype, van dyke, Kallitype, and similar processes. It has already been tested with great success with albumen prints. The coating acts as a sizing enhancer and appears to protect the emulsion from alkali buffers. Contrast increases but appears largely to be due to enhancement of the blacks.

Anderson Mill, Gold Toned Van Dyke Brown Prints on Lana Aquarelle 140lb HP paper
So, this then is the great experiment of March! I will report back on the measured effect as it applies to my process in the next post!
Now, onto the reason for this posting, Gold Toning of Van Dyke Brown prints! Now that I am getting consistent prints from my acid washed Lana Aquarelle 140lb HP and Stonehenge papers I wanted to explore increasing the Dmax further by Gold toning. Rather than mixing my own gold toning solution (basically I am very lazy) I decided to purchase Bostick & Sullivans Gold Toning liquid solution. This is simply 2 bottles of a chemicals, solution A is 2% Ammonium Thiocyanate and solution B is .2% Gold Chloride. You mix 50ml each of A and B with enough distilled water to make 500ml of working gold toner. Easy peasy, no powders to measure and mix. B&S says that you can replenish the solution by adding 5ml of the Gold Chloride for each 8×10 print you tone. I do this in the toning bath but when finished I am thinking that I need to throw it away and treat it more like a 1 shot toner. Since the cost of the Gold Toning kit is so reasonable from B&S ($45) and will make such a large amount of working toning bath 10 bottles of 500ml working bath I am inclined to do so.
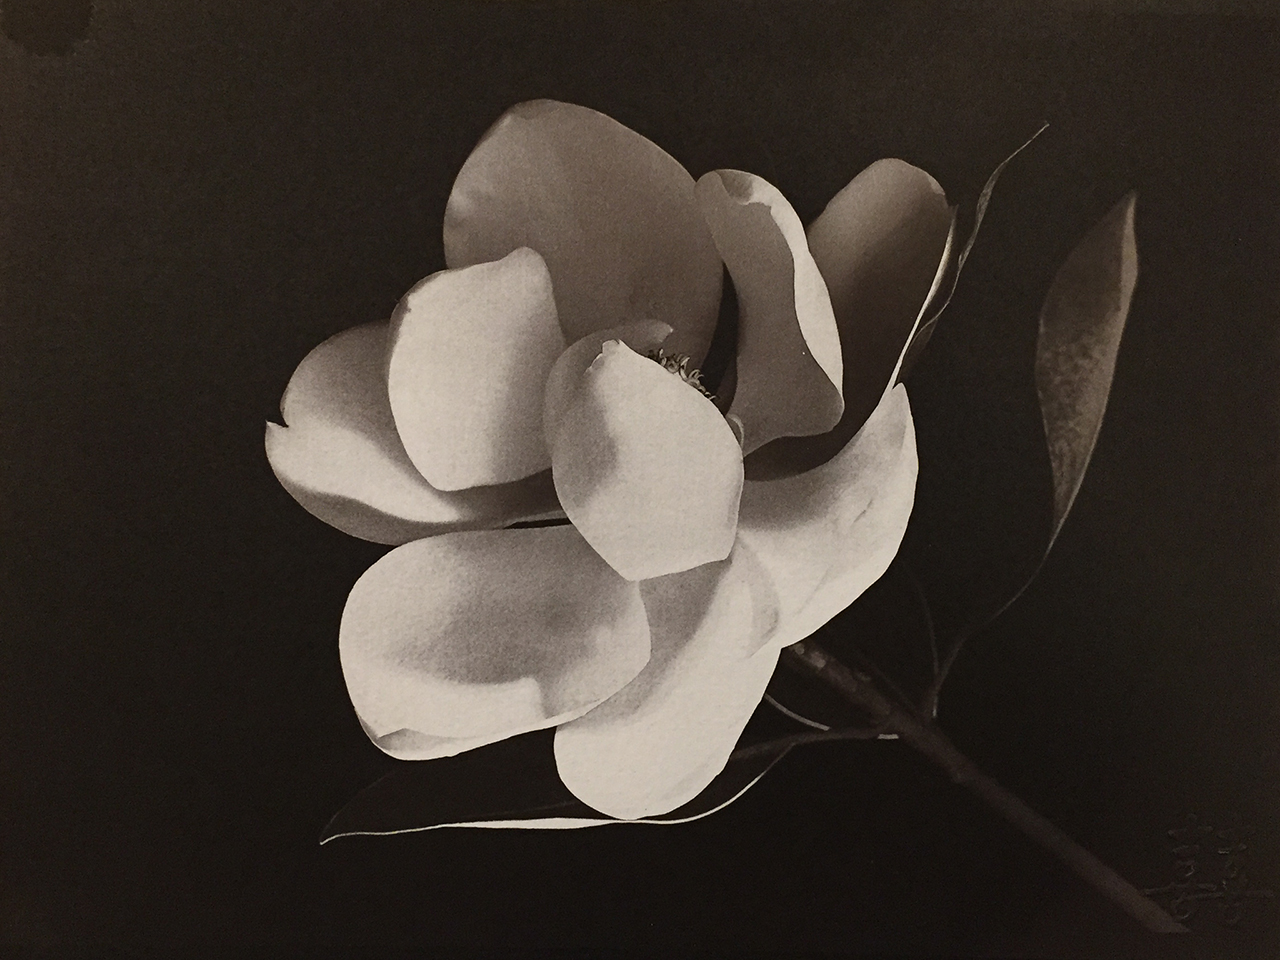
Magnolia Blossom, Gold Toned Van Dyke Brown Prints on Lana Aquarelle 140lb HP paper
The reason for this is simple. It has to do with the processing sequence:
- Expose your coated paper.
- 1st water bath with 2000ml of distilled water and 1 tsp of Citric Acid for 2 min to remove excess sensitizer (yellow Stain) from the paper and to help prevent emulsion wash off.
- Gold toning bath, watching for toning in the mid tones and highlights to indicate finish.
- 2nd water bath with 2000ml of distilled water and 1tsp of Citric Acid.
- Fix.
- Rinse in tap water for 30 min.
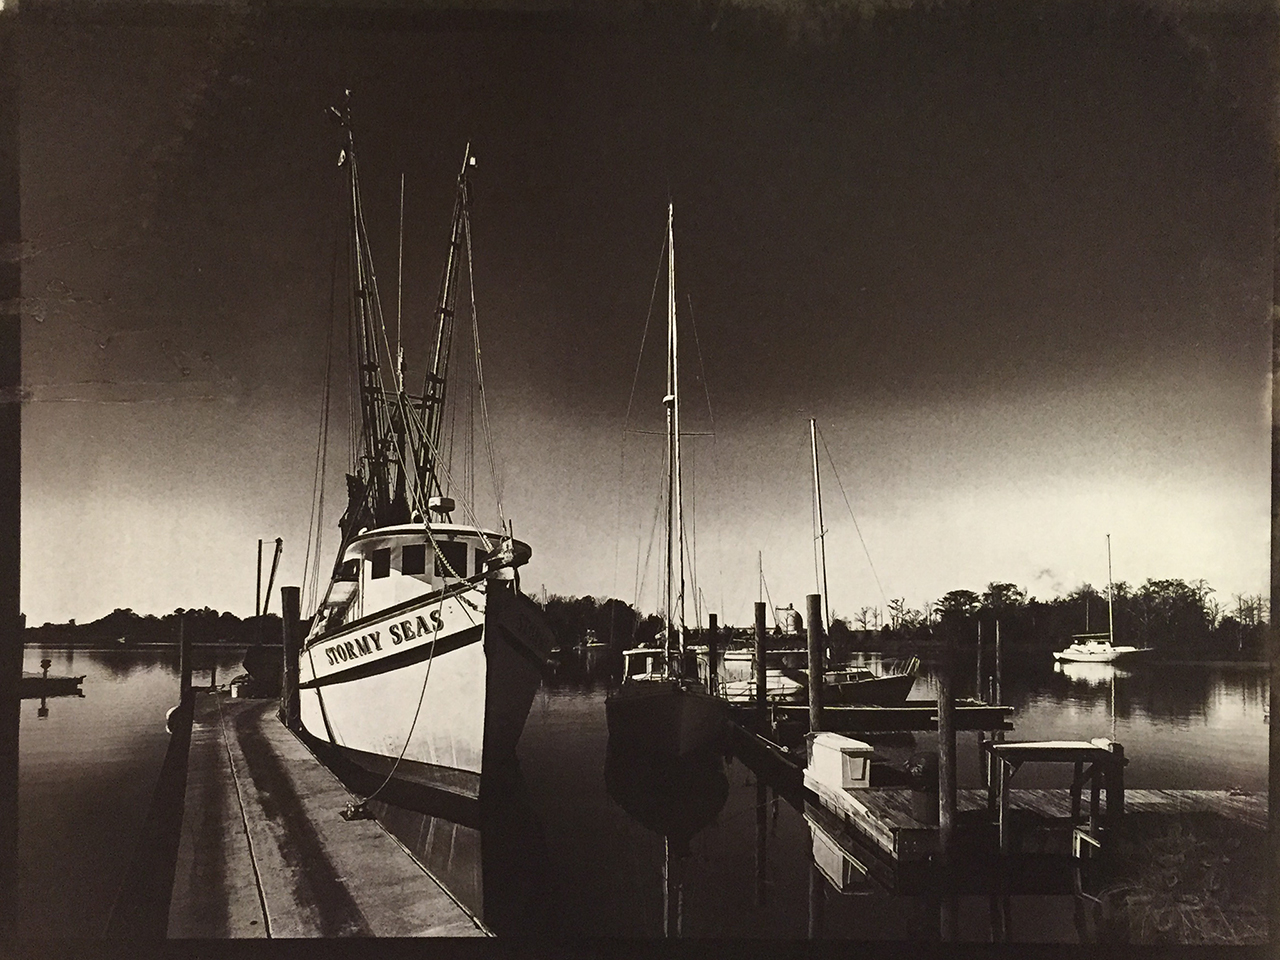
Stormy Seas on the dock, Gold Toned Van Dyke Brown Prints on Lana Aquarelle 140lb HP paper
The issue for me with replenishment of the gold toner solution is that even the TINIEST amount of citric acid will destroy the toning solution. So this means that between step 1 and 2 I have to insert:
1b. Plain tap water bath for 1 min to remove Citric Acid.
Since the Citric Acid will destroy the gold toner and that there is very little chance for me to remove most of it prior to toning then there is the very likely chance that it will be ruined even with a plain water bath prior to toning!
The acid problem with the gold toner is the only real issue to its use. I really do not want to have to put the print into my print washer for 5 min to clear all of the acid so a 1 shot toning bath for about 3 images seem a good trade off to me. Time will tell!
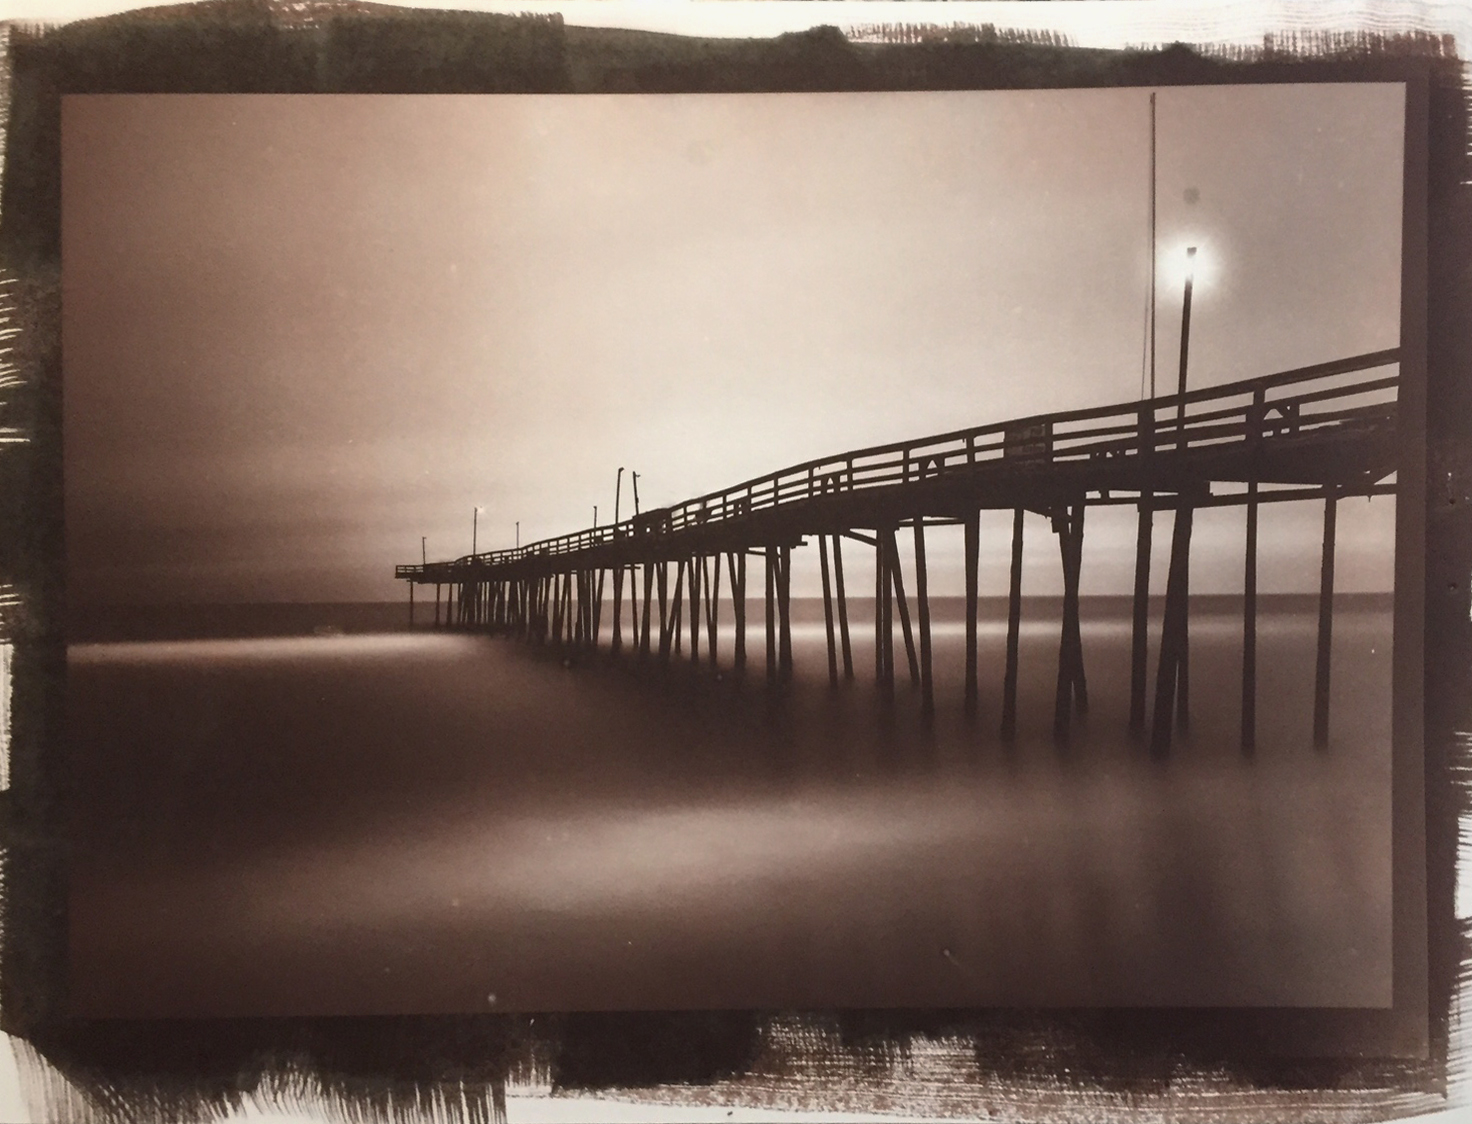
I hope that you have been paying attention to the images spaced through out the post. All of them have gone thru the gold going process and with the exception to the last one I did not add any more Good Chloride to the bath. Because of this you can notice that with the exception of the 1st and last print each print after the 1st look more brown as we progress down the line! With the last one I added 25ml of the gold to bring the bath back up to strength and you can see the difference. You can tell that it is run down by how long it takes for the toning process to complete to the point where you like the results. I have been told by friends online that I could have taken the toning process a bit further. The thing about gold toning is that the gold replaces all of the silver in the print which shifts the print colors from dark brown to a very platinum looking black. You can even get a bluish tint in the dark tones of your print!
I think that the toning process is VERY worth while and highly recommend that you give it a try.
The next post should be on using the Fumed Alumina as an agent to overcome a non-acidic paper coating as well as increasing the prints Dmax!