
And now for something different!
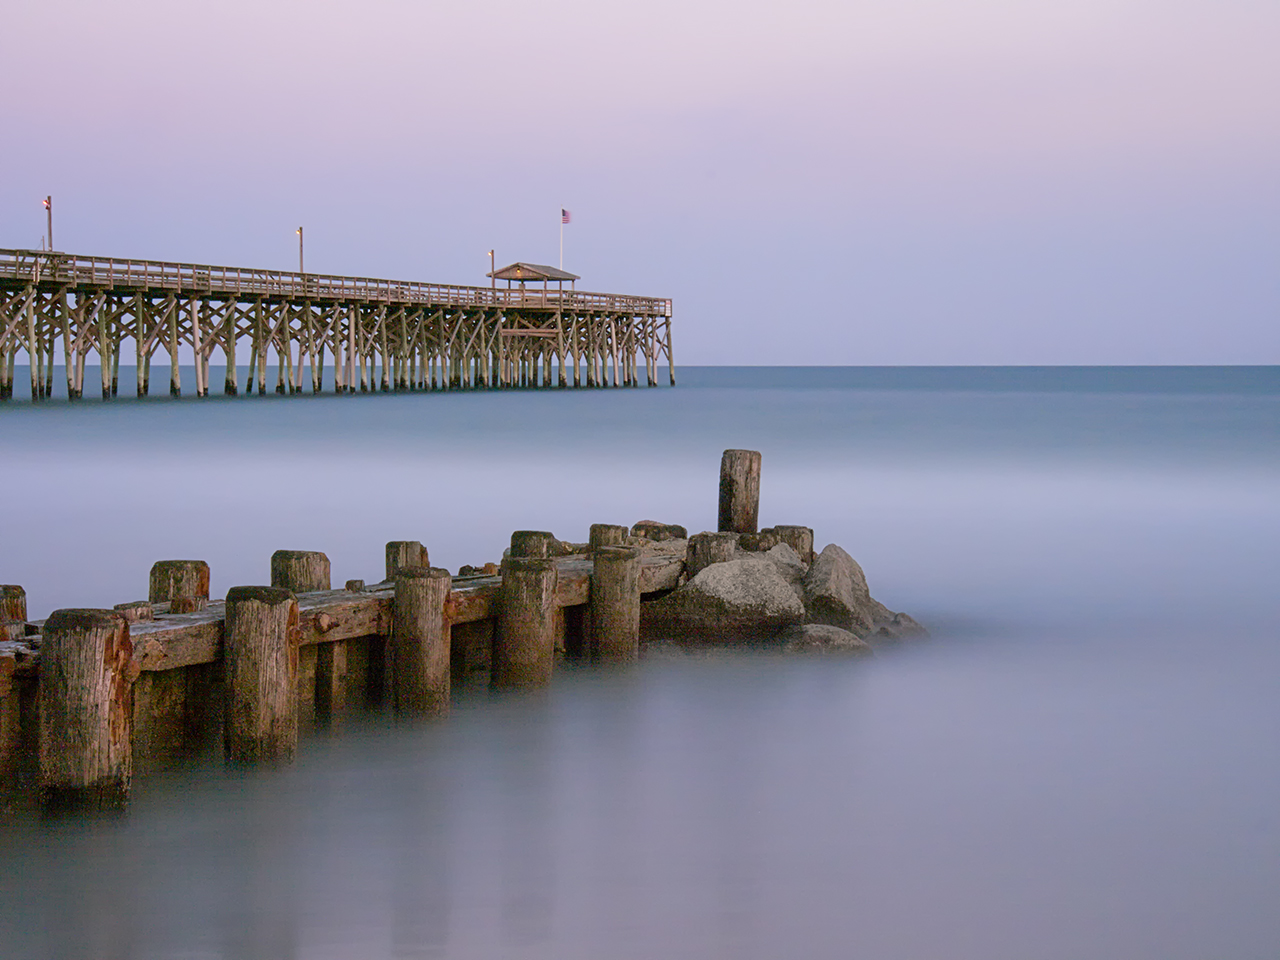
Pawleys Pier, Twilight. 847 Second Exposure, Olympus OMD with the 12-60mm lens. Iso 200, f/22
I know, most of my recent posts have been about the new Fuji X-E1, but tonight I decided to take out the OMD and test it out for ultra long exposures. I have the OMD as a high speed replacement for my Canon DSLR (currently a 7D) in order to reduce weight and ease of use. Overall the camera performs very well and generates impressive, sharp images up into very high ISO’s! But a friend recently purchased one to use and wanted to do some long exposures. So I got mine out, looked over the in camera options and was VERY surprised to learn of several very nice long exposure benefits built into this camera!
- Live View Bulb Mode: This is an amazing feature (are you listening Fuji?)! With this mode, you must first set the max shutter speed length, then the update times. What this means is that you can set an exact exposure or some ultra long one. Then you can let the camera time the shutter or you can use a remote shutter release to start and stop the exposure as one would normally see in a BULB mode. What the added value here is that the camera turns on the live view screen and updates the LCD panel with the image displayed with the CURRENT exposure during the BULB exposure! The timing of the update is the value you set when you set the update times! You can have up to 24 updates. In simple terms, this allows you to SEE the image developing on the LCD panel during the exposure! Way cool and very valuable. The only change I could wish for is for the histogram to also be displayed for each updated image. A remote shutter release with a lock is required for this mode.
- Live View Timer Mode: This works just the same as the BULB mode except that you press the shutter release once to start and once to end! If you forget your remote shutter release you can still get the picture!
- Onscreen Level: This allows you to get the horizon straight! Simple thing but important for any image and critical for long exposures.
- Programmable Function Keys: Makes long exposures in the dark easier but setting Function Button 1 to Manual Focus. This means that you can switch back and forth from manual to auto focus modes without having to go through the menu system.
- On Screen Focus Point Touch Select: With the camera in auto focus mode you can touch the area of the image that you wish to focus on and then do a focus. By using this in conjunction with the function key as described above you can easily change your focus. In the dark, this makes it very easy to select a point of light on a long pier and have the camera focus, then hit the function key to select the manual focus mode to lock it in! If there is not a point of light, having an ULTRA BRIGHT flashlight and lighting something in the scene to focus on works well also!
The OMD worked tonight flawlessly for these long exposures! The longest was over 14 minutes and generated a clean low noise image! But most importantly, I was able to take this image with NO metering at all. I simply chose the Live View Bulb mode and watched the image develop on the LCD screen during the exposure and when it was where I liked it I simply stopped the exposure! Understand, this is not exact as the LCD does not give an exact true image display, but it was always within 1 stop!
Here is a B&W version as well but I think you will agree that this entire outing was easy and fun and gave superb results!

The B&W version processed in Nik’s Silver EFX.
