Travel and the Fuji X Series, a match made in Heaven!
1 camera, 3 lenses and a good filter system and we are good to go!
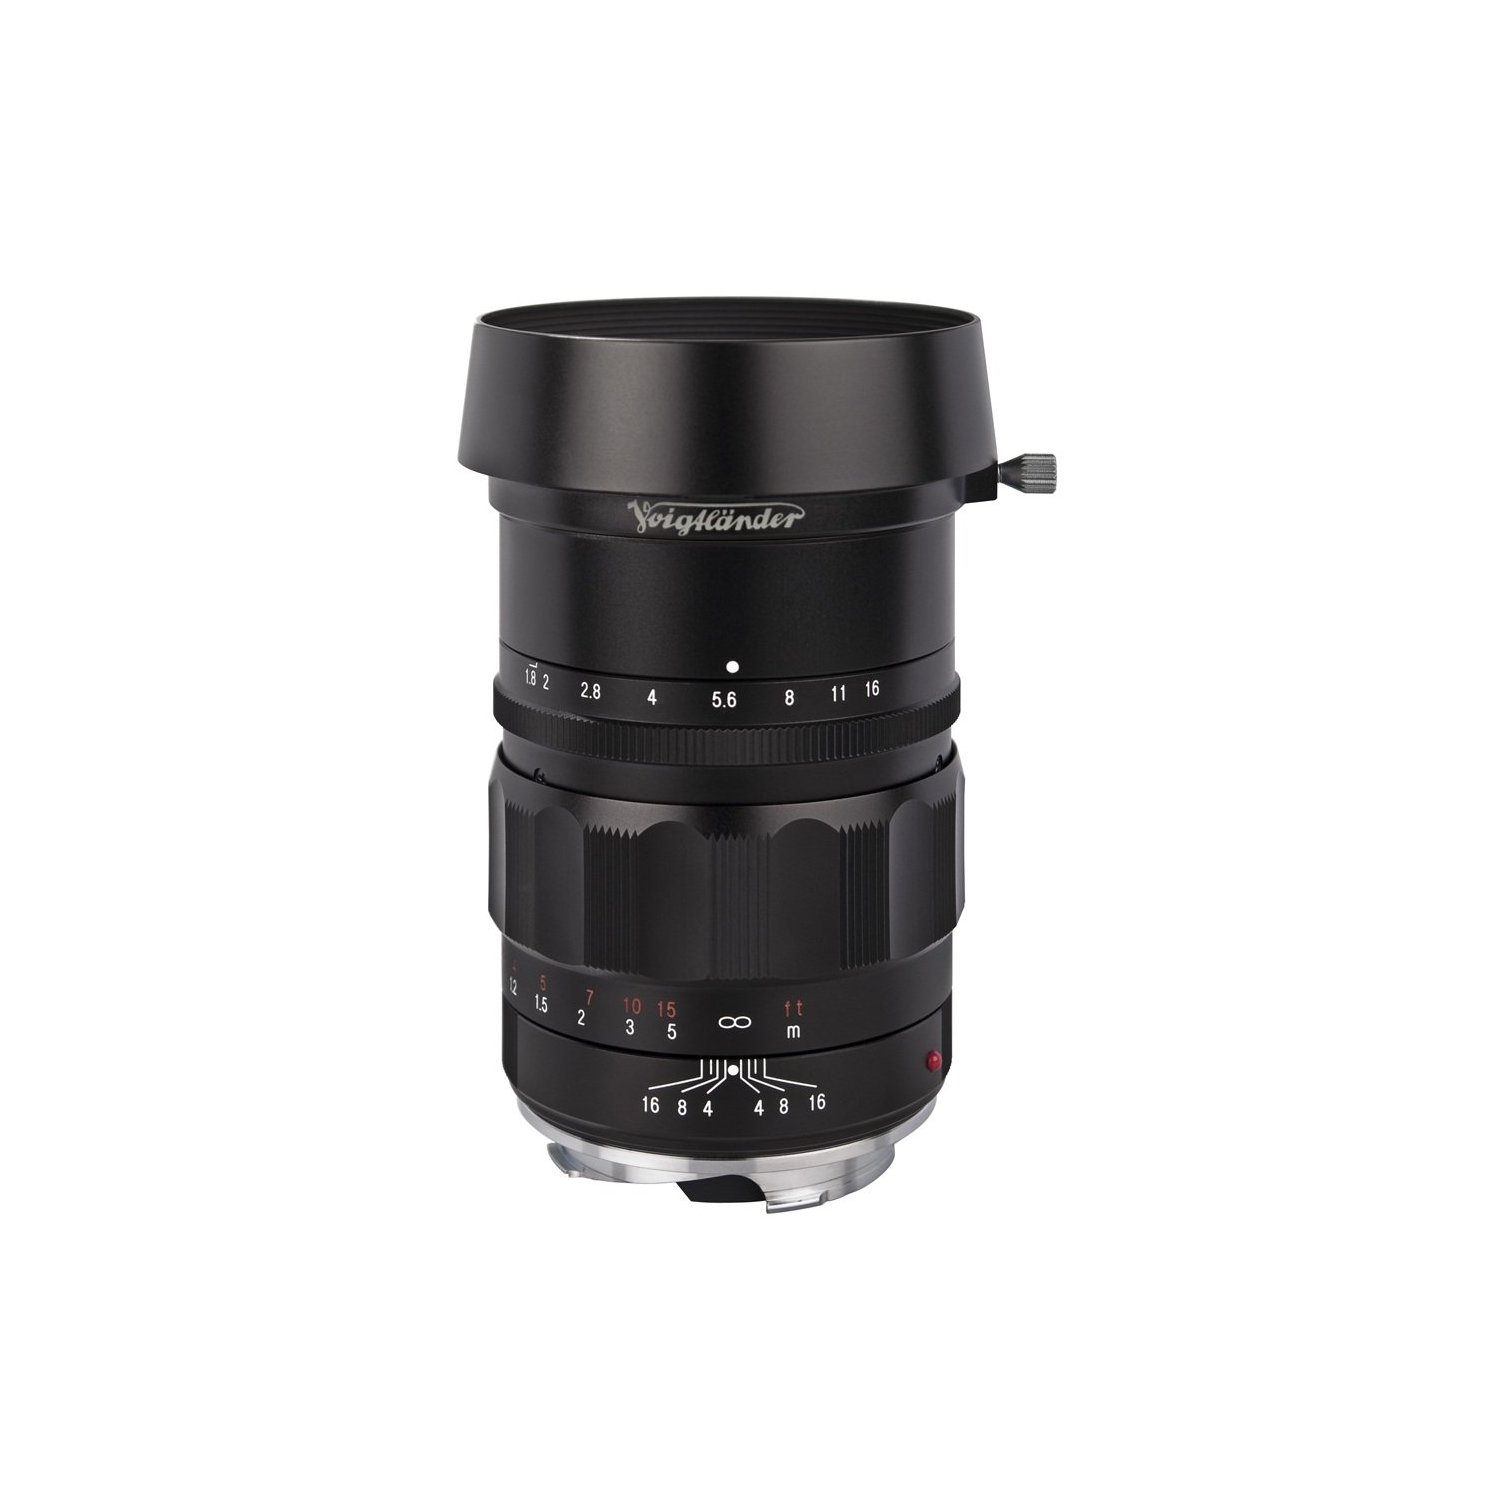
Voigtlander Heliar 75mm f/1.8
I spent last Sunday in Georgetown, SC. I had a gallery change out in a gallery that I am a member of (Co-Op). The change out only took about an hour so I decided to take the rest of the day to scout new locations and just shoot!
There are several places there that I love to visit. As you drive North on Front Street out of the Down Town area you start passing several side streets on the right. Each of these leads to a marina with several Shrimp Boats (and in 1 case many!). I like walking around the docks and working each group of boats then moving in closer and doing detail images. These vessels are not long to be with us so if you have the chance to visit and photograph them you should youmake it a priority to do so!

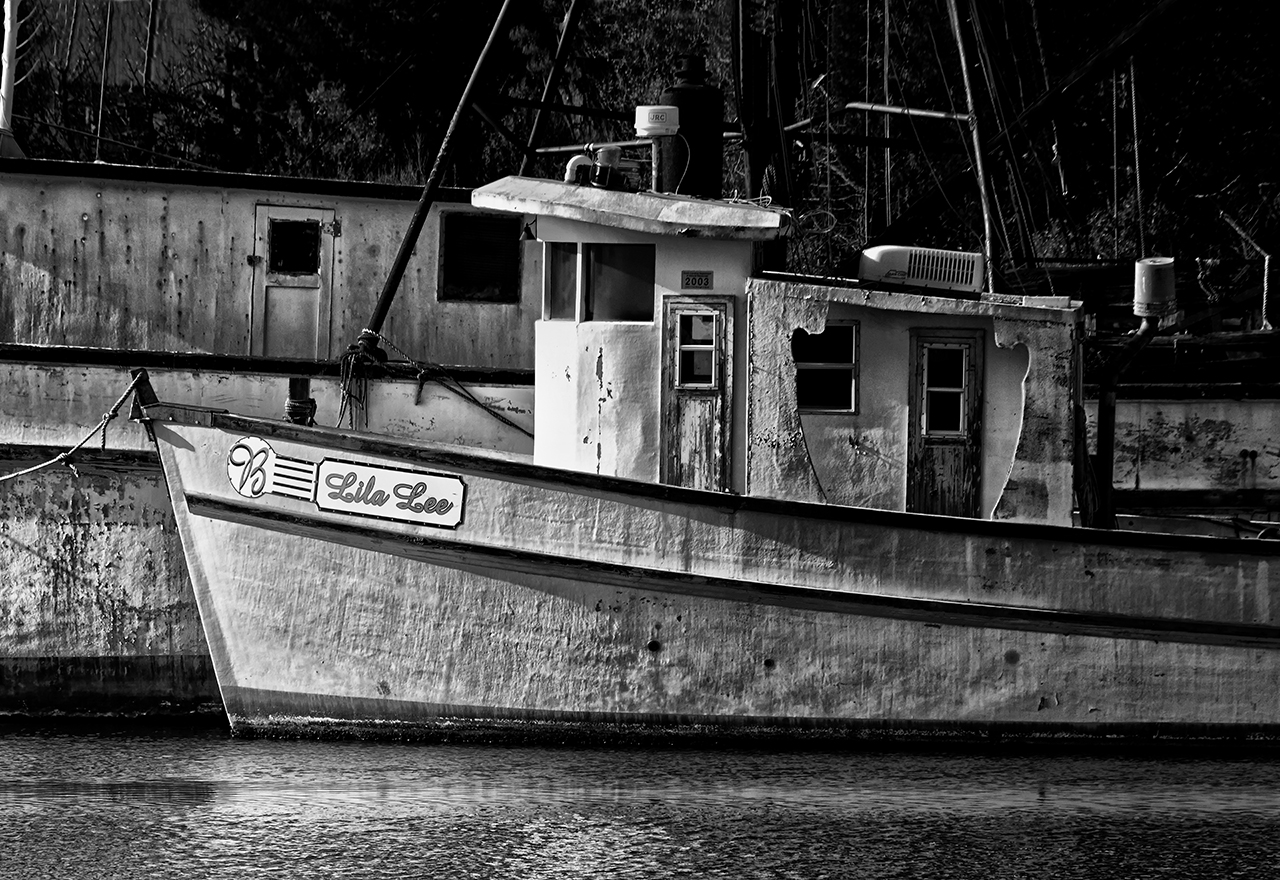
The 3 Shrimpers!
The choice between Color and B&W is a tough one for most photographers. For me, I like B&W much better but I will porcess both for each and every image that I take. So I will have the choice as to what I eventually use readily on hand!
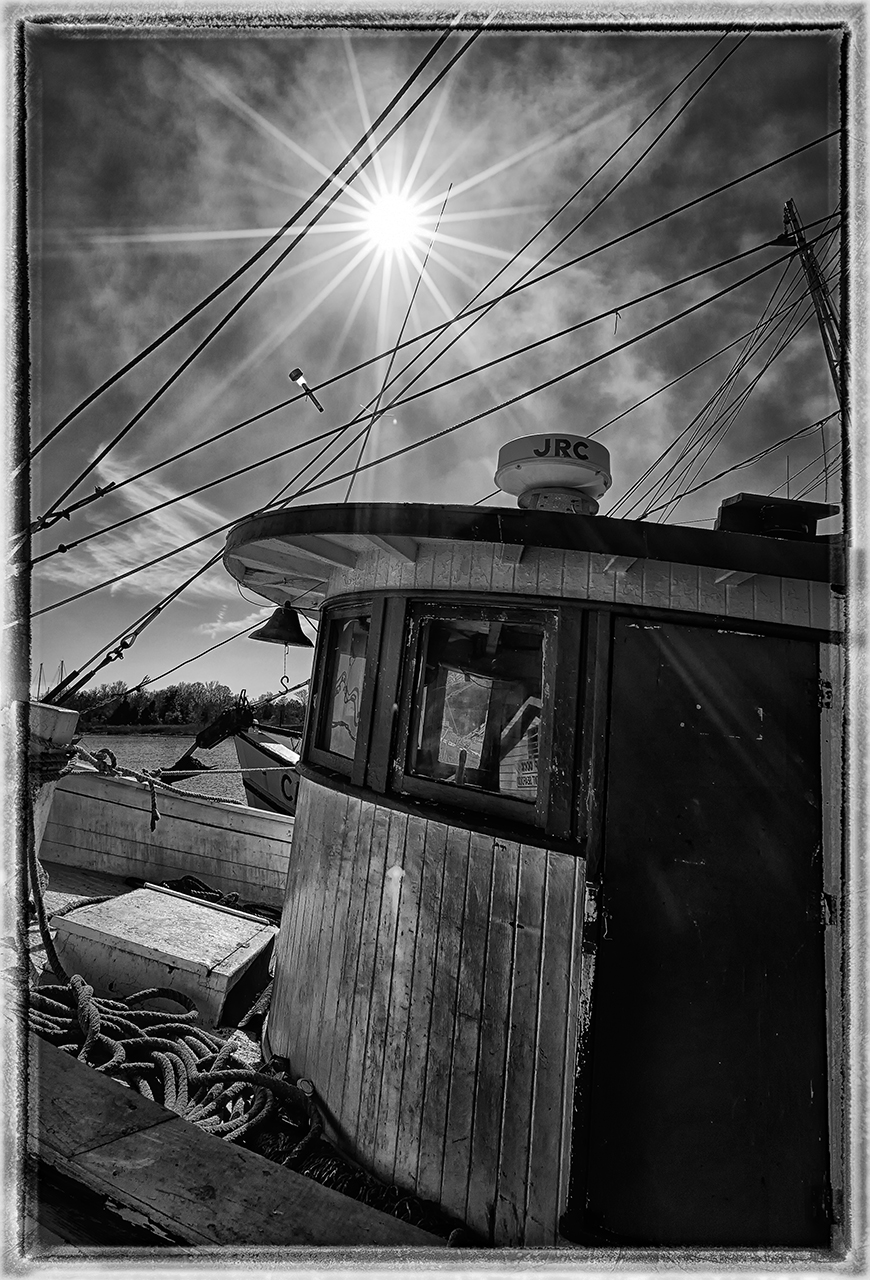
Sun in the rigging…
I do not normally shoot intentional lens flair but for this image I composed the image with it in mind! This generated such a perfect series of light beams that they were visible in front of the boats cabin door! Again, the choice between Color and B&W was a no brainer for me!
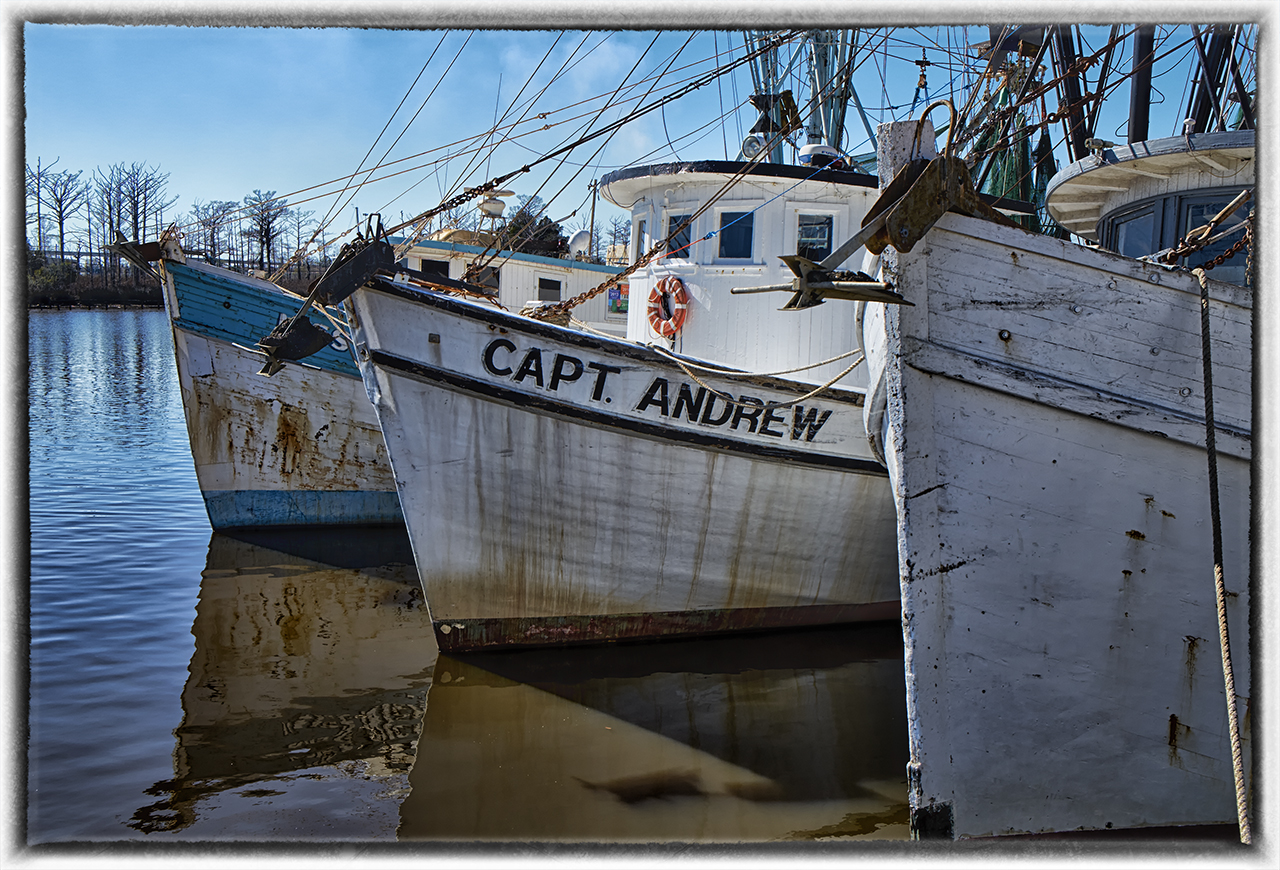
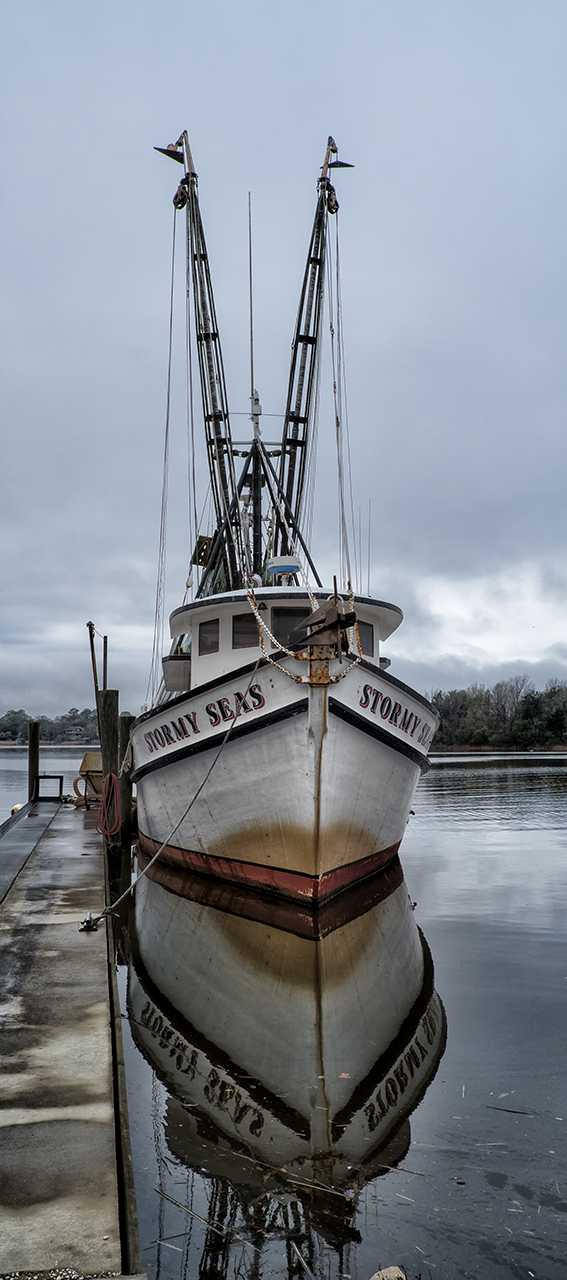
The 3 Bows…

Voigtlander Heliar Ultra Wide-Angle 12mm f/5.6 Lens
In the end I will still offer you a Color Shrimp Boat selection. These boats are old, and full of color! Rust, bright paints, bottom paint, lines and life rings can make for a bright and eye catching display if you present it properly with a composition that is pleasing.
At the very end of Front Street you will find several parks along the edge of Winyah Bay with pilings in the fore ground which make idle compositions for long exposures. Plus there is a boat launch that you should walk out on and look north across a long line of pilings!
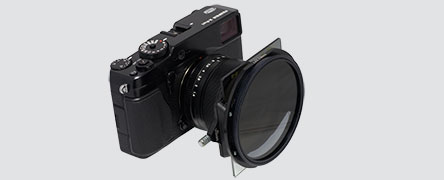
Lee Seven5 Filter System
What fun I had! I found some really great Shrimp Boat compositions and did some long exposures with the Fuji and the Voigtlander Heliar 75mm f/1.8 Lens with the new Lee Seven 5 filter system! Consider, that the Lee system is a bulky but light system (look at the image to the left), when you add in the camera and lens the entire combination can become bulky and heavy making it difficult to use. I also used the Voigtlander Ultra Wide-Heliar 12mm f/5.6 Aspherical and the Fuji M to X adapter for several of these Shrimp Boat images.
This is the main reason that I switched to the Fuji X system (aside from the fact that it generates stunning images!
Ok, as the day go away from me I went further North to the parks looking at long exposure locations for sunset. After looking at all of the locations there I decided to set up at the boat launch and setup looking to the North across the pilings there. The sun was setting fast and I setup using the 75mm f/1.8 and the Lee Seven 5 system with a solid 3 stop ND and a soft Graduated ND to darken the sky. The result was this 90 second exposure:
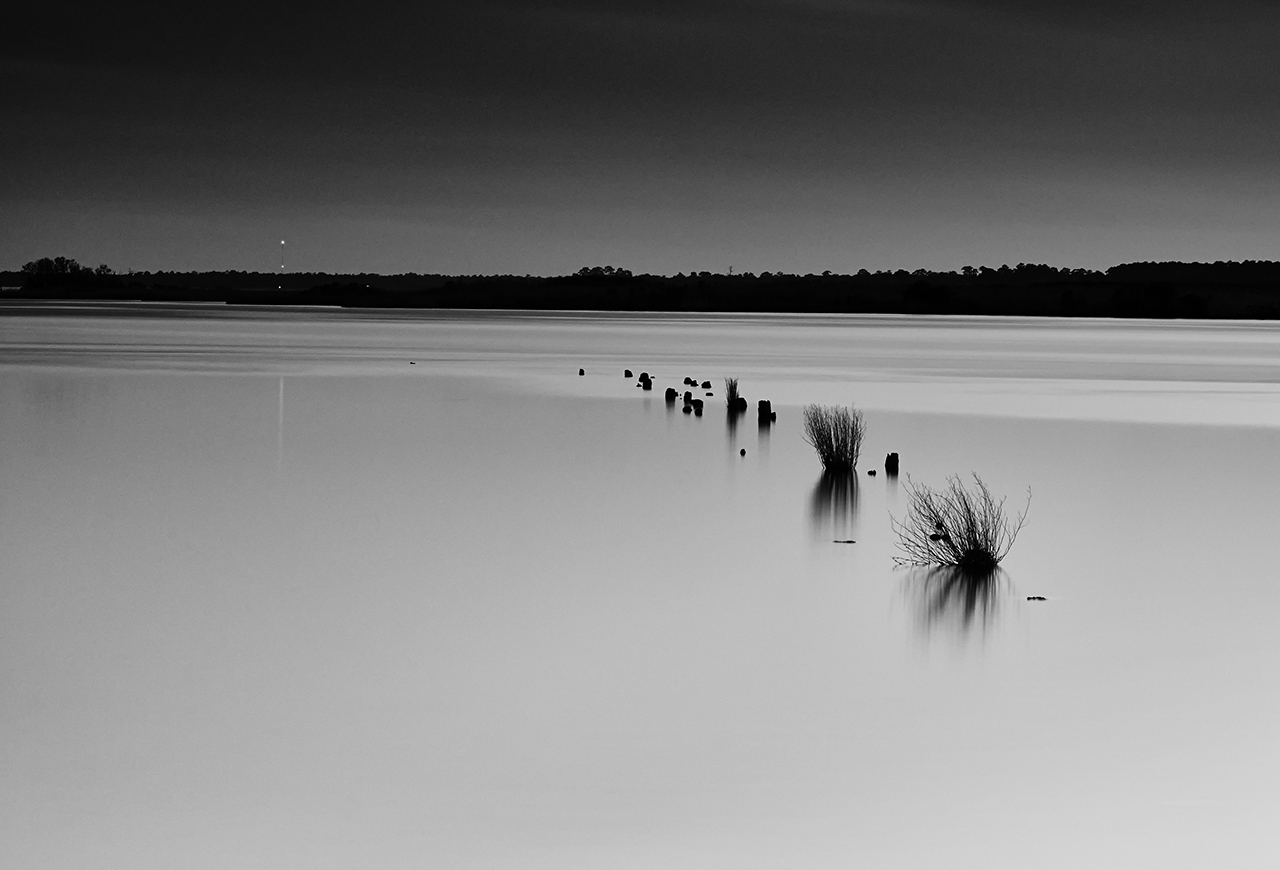
Boat Launch Pilings, Deep Twilight, 90 second exposure
With the sun totally gone and deep into twilight, I simply turned the camera 90 degrees to the right and looked at the industrial complex across the bay with great columns of smoke spewing into the sky! I removed the 3 stop solid ND and kept the soft Graduated ND in place to further darken the sky. So the resulting image was a 240 second exposure and full of color, smooth water and blowing smoke:

240 second exposure, deep twilight.
Do you see how a light weight high quality camera/lens system like the Fuji works to our benefit when traveling and needing the ability to shoot in all conditions? With the X-E1 system there is no limit to my shooting styles including Lightning, Water Drops and Long Exposures.